
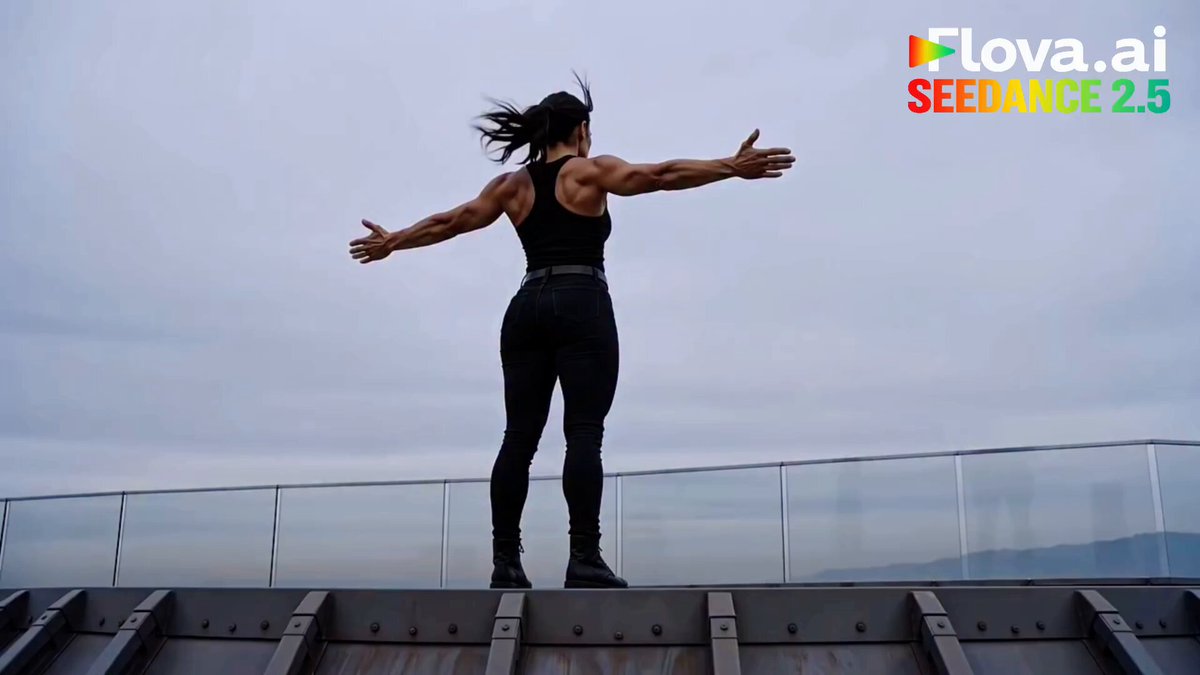
Photorealistic AI Video: Offline Exposure Fusion Workflow
Oct 13, 2026

What Photorealism Actually Requires From an AI Video Pipeline
Photorealism in generated video is rarely the achievement of a single model. It is the product of several narrow competencies stacked together: accurate scene geometry, plausible light transport, believable material response, consistent motion blur, and a noise signature that matches the camera the shot claims to have been filmed with. Most text-to-video systems are tuned for the first two and improvise the rest. The result can look convincing in a still frame and fall apart the moment a highlight rolls across a cheek or shadow detail crawls across a wall.
The root problem is dynamic range. A generative model typically returns a single interpretation of a scene with one tone mapping already baked in. Where the brightest highlights clip and the deepest shadows crush, that information no longer exists — no amount of grading will bring it back. Skin turns waxy, specular reflections flatten into white patches, and fabric textures dissolve into mush.
Offline exposure fusion inverts the order of operations. Instead of grading a finished frame, you generate several interpretations of the same moment — some biased toward highlight retention, some toward shadow detail, some toward midtone texture — and combine them mathematically on your own hardware. Because the work happens locally, you keep control over render settings, you can re-run a shot later with identical parameters, and unreleased footage never leaves your machine. If that last point matters to your clients, it usually matters a great deal.
How Exposure Fusion Differs From Classic HDR Merging
Traditional HDR merging assumes a fixed sensor capturing a mostly static scene at several shutter speeds. Alignment is a small translation, and the weight map is straightforward: trust the midtones, distrust the extremes. AI-generated bracketing breaks both assumptions. Each exposure is a separate hallucination with its own grain, its own micro-texture, and occasionally its own slightly different geometry.
Three consequences follow. Alignment must be non-rigid, which means optical flow rather than a simple offset. Weighting must be confidence-based, because some pixels are genuinely untrustworthy. And fusion must be temporally anchored, because frame-by-frame decisions produce flicker even when every individual frame looks clean.
Why single-pass generation fails at the extremes
Ask any diffusion model for a shot with a window in the background and a face in the foreground. It will usually sacrifice one for the other. Highlights behind the subject blow out into a smooth white plane with no gradient information, while the face gains contrast it never had. Alternatively, the face is exposed nicely and the window becomes a featureless rectangle. Neither failure is a prompting problem; it is a tonal budget problem. One pass equals one tonal interpretation.
Confidence masks and artifact rejection
A practical fusion pass computes, for every pixel, a trio of quality signals: how close the value sits to the middle of the display range, how much local contrast survives, and how saturated the color remains. High scores earn weight. Then a flow residual check flags regions where the passes disagree about geometry — thin structures like hair strands and foliage, motion boundaries, and occluded edges. Those areas get down-weighted or pulled entirely from a single trusted pass rather than blended, which prevents the ghosting that ruins otherwise good composites.
Choosing Models for Each Stage of the Pipeline
No single model needs to do everything. Treat the pipeline as a chain of specialists, and evaluate each candidate against the job it will actually perform rather than against a leaderboard.
| Stage | What to evaluate | Failure mode to watch |
|---|---|---|
| Shot generation (text-to-video) | Motion coherence, camera control, prompt adherence | Drifting composition, morphing objects |
| Shot generation (image-to-video) | Identity retention, parallax realism | Face warping, frozen background |
| Video-to-video refinement | Detail preservation, style restraint | Temporal flicker, texture boiling |
| Depth and pose conditioning | Edge accuracy, scale consistency | Depth halos, limb snapping |
| Upscaling and detail restore | Grain realism, edge softness | Over-sharpened plastic surfaces |
| Matting and rotoscoping | Hair and motion blur handling | Fringing, chattering edges |
| Optical flow | Sub-pixel accuracy on small motion | Warping around fast movement |
When you shortlist tools, run the same six-second clip through three candidates with identical seeds and identical conditioning. Then measure three things: how much static grain flickers between frames, how far identity drifts from first frame to last, and how stable the edges stay on a high-contrast boundary. Those three numbers tell you more than any demo reel.
Also weigh operational criteria honestly. Does the model accept a depth map or a pose sequence? Can it run in a fixed-precision mode so repeated renders match? What is its memory footprint at your target resolution, and does it degrade gracefully when you push frame counts? A model that produces a beautiful eight-second shot at half resolution may still be the right choice if it keeps memory headroom for the rest of the pipeline.
Building the Offline Exposure Fusion Workflow
The workflow below is deliberately model-agnostic. Swap tools freely; keep the sequence.
Step 1 — Lock the shot plan and camera language
Write the shot as a camera operator would. Lens length, height, movement, subject distance, and light direction all constrain generation more effectively than adjectives like "cinematic." Decide early whether the shot is locked off or moving, because a moving camera changes how much of the fusion you can do with static masks.
Step 2 — Generate bracketed passes from a fixed anchor
Generate three to five passes of the same shot. Keep the seed, prompt skeleton, and conditioning identical; change only the tonal target. A typical set is highlight-biased, shadow-biased, neutral, and one texture-emphasis pass. If your tool exposes exposure guidance or allows an initial image, use a graded still as the anchor so every pass shares the same composition. This anchor is the single most important trick for keeping passes alignable.
Step 3 — Align passes with optical flow
Compute flow from the anchor to each pass, in both directions. Forward-backward consistency checks reveal where flow is unreliable. For moving shots, chain the flow across frames rather than recomputing per frame in isolation, which keeps the alignment path smooth instead of jittery.
Step 4 — Build weight maps and fuse
Blend in a Laplacian pyramid so transitions between passes happen at the correct spatial frequency. Low frequencies follow the shadow-biased pass for smooth gradients; high frequencies follow whichever pass has the cleanest local detail. This is the step where naive implementations produce halos — a hard-edged weight map always shows up as a visible seam, so blur the weights at each pyramid level.
Step 5 — Restore detail and stabilize temporally
After fusion, run a temporal pass that looks at a window of frames and suppresses per-pixel variation that is not supported by motion. Conservative settings remove flicker; aggressive settings remove legitimate texture. Tune with a side-by-side loop of the same three seconds.
Step 6 — Grade, upscale, and deliver
Fuse before you grade, always. Once the composite holds both highlight and shadow information, a standard grade behaves predictably. Upscale late, and add grain last so it sits on top of the finished image rather than being magnified along with it. Export a master plus delivery versions, and archive the pass files — you will want them when a client asks for a different crop six weeks later.
Hardware, Storage, and Time Budgets
Offline rendering trades money for time, and the trade only works if you plan for it. Video memory determines your ceiling on resolution and frame count. System memory determines how many passes you can hold simultaneously during fusion. Storage bandwidth determines whether fusion is a coffee break or a lunch break.
A few practical rules keep projects moving:
- Work at a proxy resolution for iteration, then re-run the final pass at full resolution.
- Store intermediates in a 16-bit container. Compressing to 8-bit between passes defeats the purpose of fusion.
- Cache flow fields. Recomputing them for every experiment is the most common waste of hours.
- Batch renders overnight and keep a queue with explicit priority, so a failed shot does not stall the whole project.
- Reserve at least a third of your memory headroom for the fusion stage itself, not just generation.
If your hardware is modest, reduce pass count before you reduce resolution. Three well-aligned passes at full resolution beat six misaligned ones at half.
Prompting and Conditioning for Physical Realism
Prompts influence realism most when they describe physical causes rather than visual outcomes. Instead of "beautiful lighting," name the source: a single softbox at forty-five degrees, a practical lamp behind the subject, overcast daylight through a diffusing glass wall. Instead of "detailed skin," specify that the skin has visible pores and slight sheen on the forehead.
Conditioning channels do the rest of the work. Depth maps keep geometry honest. Pose or skeleton inputs keep bodies plausible. A reference frame locks wardrobe and identity. For shots where the camera moves, provide a motion description that matches the depth progression, or the model will fight itself and produce rubbery parallax.
Negative prompts are just as useful. Exclude a second light source, exclude text overlays, exclude wide-angle distortion when the shot is supposed to be a normal lens, and exclude the flat, evenly lit look that diffusion models default to when they are unsure.
Quality Control Before Delivery
Run the same checklist on every shot. It takes four minutes and saves revisions.
- Play the shot at full speed and at quarter speed. Flicker hides at full speed; geometry errors hide at quarter speed.
- Check highlights for banding, not just clipping.
- Check shadows for noise that changes character between the fused regions.
- Look at motion blur direction and shutter consistency across cuts.
- Watch edges where the subject meets a bright background — that is where halos appear.
- Confirm that skin tones stay stable as the subject moves through different light.
- Verify grain consistency across the entire timeline before adding a global grain pass.
- Confirm color management is identical between the fusion stage and the grade.
Common Mistakes That Undermine Realism
Over-fusion is the most frequent error. Blending too many passes with too much smoothing produces an image with no texture at all, which reads as instantly artificial. Fusion should combine exposure information, not erase detail.
Mismatched motion is second. If passes disagree about how fast something moves, the fuse will smear the moving object. Fix it by regenerating the outlier pass with a tighter motion description rather than by masking around it.
Third is inconsistent noise. Each pass carries its own grain, so fusion can create patches where grain density visibly changes. Normalizing grain before fusion, then adding a single unified grain pass afterward, solves it.
Fourth is color management drift. If passes are interpreted with different transfer functions, the composite will look fine in one viewer and wrong in another. Fix the pipeline early, not at delivery.
Finally, resist the urge to sharpen. Most perceived softness in fused footage comes from misaligned detail, not from resolution. Fix the alignment and the sharpness appears on its own.
FAQ
How many exposure passes do I actually need? Three covers most shots: highlight-biased, shadow-biased, and neutral. Add a fourth only when the shot contains a genuinely difficult material such as chrome, water, or dense foliage.
Can this work on faces in close-up? Yes, and that is where it pays off most, because skin has the narrowest tolerance for clipped highlights. Keep identity conditioning fixed across passes so facial geometry does not shift.
Is offline processing always better than cloud rendering? Not always. Cloud tools win on convenience and peak capability. Offline wins on reproducibility, cost predictability at scale, and confidentiality. Choose based on how many iterations a shot needs and who owns the footage.
What resolution should I work at? Iterate at half resolution, master at full. Fusion decisions are visible at low resolution, but fine texture problems are not, so always do one full-resolution review pass.
How do I stop flicker without losing texture? Stabilize with a conservative temporal filter first, review, then increase strength in small increments. If texture disappears before flicker does, your alignment is the real problem, not the filter.
Do I need specialist hardware? No, but memory headroom changes your workflow. With limited video memory, render passes sequentially to disk and fuse from disk rather than holding everything in memory.
Where This Workflow Is Heading
Exposure fusion is not a trick bolted onto generation; it is a return to image-making fundamentals applied to a new medium. As generators improve, the marginal value of a single extra pass will shrink, but the underlying logic — generate more information than you need, then combine it intelligently — will keep paying off as long as cameras and displays disagree about dynamic range.
Start small. Take one difficult shot with a bright window and a dark interior, generate three passes, align them, fuse them, and compare the result against a single-pass render. The difference will tell you more than any article can, and it will show you exactly which stage of the pipeline deserves your next hour of attention.

Alexander
More Blogs
Read MoreVidu Q4 Alternatives: 4K AI Video Models Compared (2026)
Vidu Q4 alternatives compared: Kling 4.0, Seedance 2.5, Wan 3.0, and Runway Gen-4 — 4K support, input modes, durations, audio, and what each costs in credits on Domer.
Top 4K AI Image Generators in 2026: 5 Models Compared on Real Costs
The top 4K AI image generators on Domer compared: Flux 3 Klein, Nano Banana 2.1, GPT Image 2.5, GPT Image 2, and Nano Banana Pro — 4K credit costs, reference limits, and speed.
Nano Banana 2.1 vs GPT Image 2.5: Which Image Model Should You Use? (2026)
Nano Banana 2.1 vs GPT Image 2.5 Flare compared: credit costs per resolution, aspect ratios, reference images, text rendering, and which tasks fit each model.