
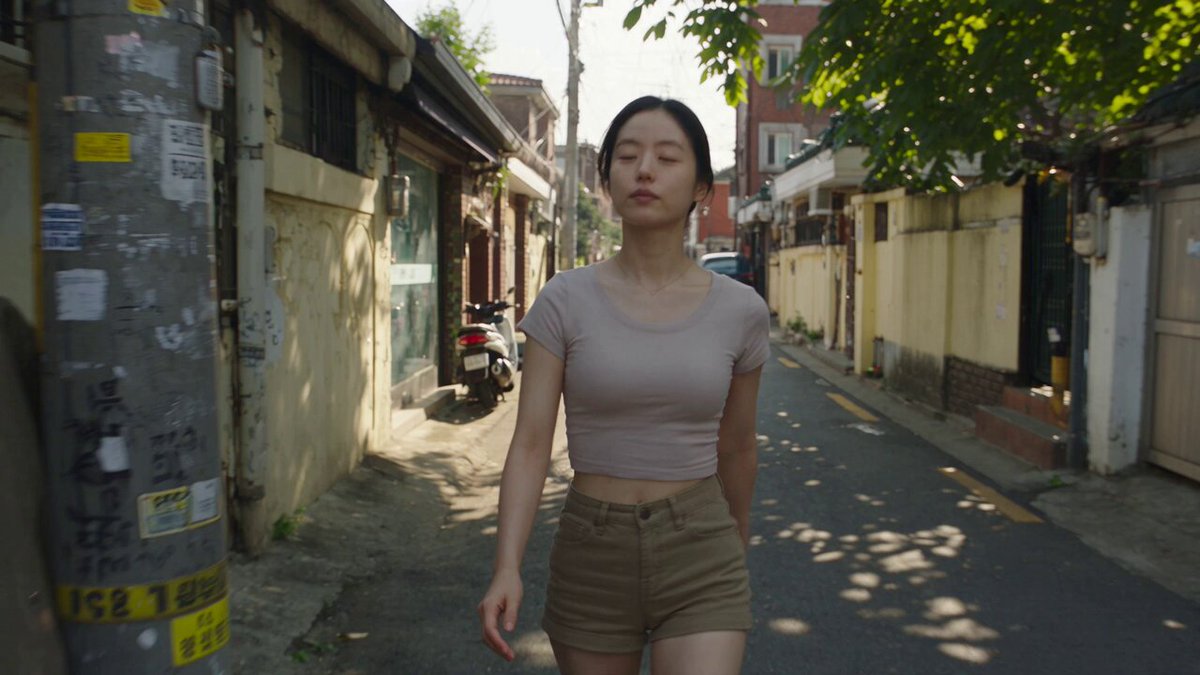
Photorealistic AI Video Workflow for Concept Artists
Oct 13, 2026

Why photorealism became the baseline, not the goal
A decade ago, a concept artist could win a pitch with a single beautiful frame. Today, art directors scroll through animated previz on a tablet, ask for three camera moves, and expect the result to look like it came off a real camera. Photorealism has moved from a finishing flourish to an entry ticket. The interesting question is no longer "can this tool make something that looks real?" It is "can this tool keep looking real across forty shots while I still have time to change my mind?"
That shift changes what you should evaluate. Most public comparisons rank generators by the beauty of their best single output. Concept work rarely lives in single outputs. It lives in sequences: a character turnaround, a location flythrough, an action beat broken into six angles. The moment you need the same face, jacket, and lighting condition across that sequence, single-frame quality stops being the deciding factor. Consistency, controllability, and the speed of a revision loop take over.
This guide is written for working concept artists, previz leads, and small studios who need to pick a stack and defend that choice to a producer. It focuses on workflow structure rather than leaderboard scores, because the ranking of any given model changes faster than the time it takes to learn it.
How to evaluate photorealistic tools without getting lost in demos
Every tool looks impressive in a curated reel. To compare them fairly, build a small, boring test that reflects your actual job. A useful benchmark set is five shots: one static hero frame, one slow push-in, one full-body motion, one close-up of a face, and one shot with a hard lighting change. Run the same five prompts through every candidate tool and review them side by side.
Consistency across a sequence
Score each tool on how well it preserves identity, costume, and set dressing between shots. A tool that nails a single portrait but reshuffles a character's jacket details on the next prompt is a liability for production. Watch for drift in: facial structure, hairline, fabric weave, prop placement, and the color temperature of a location.
Control surfaces and identity locking
List what levers the tool gives you. Can you feed a reference image and weight it? Can you mask a region and only regenerate that part? Can you supply a depth pass, a pose skeleton, or a camera path? Tools with more control surfaces feel slower at first and dramatically faster by shot twenty.
Iteration speed and the cost of changing your mind
Measure the wall-clock time from "that is wrong" to "that is better." Include queue time, render time, and how many adjustments you can make in a single pass. A generator that produces gorgeous results in ten minutes but forces a full re-render for every tweak will lose to a slightly less polished tool that supports local edits.
Comparing tool categories rather than brand names
Rather than ranking individual products, which dates quickly, it helps to sort the landscape into categories defined by what each is optimized for. Most tools fall into one of three buckets, and most professional pipelines end up using at least two of them.
Control-first systems
These tools prioritize reference adherence, structural guidance, and repeatability. They tend to accept image conditioning, depth or pose input, and regional masks. Names like Flux and the Runway family sit in this space, along with several open-weight options you can run locally. They are the workhorses for character turnarounds, product-adjacent design work, and any shot where the art director has already approved a specific look.
Narrative-first systems
These tools excel at interpreting scene description, camera language, and physical cause and effect. Sora and Kling are representative of this group. They are strongest for previz, action beats, and mood pieces where you want the model to make smart choices about staging. The trade-off is usually less precise identity control and longer render times, which makes them better for exploration than for locked-shot delivery.
Speed-and-budget systems
A third group optimizes for fast, inexpensive iteration: MiniMax, Luma Ray, Pika, and similar tools. Their output may need more cleanup, but they let you test twenty compositional ideas in the time a heavier system takes to produce four. In a concept pipeline, these are invaluable for thumbnails, camera-angle exploration, and reference generation for painters.
A practical stack is usually one tool from each category: a fast explorer for ideation, a narrative model for staging and motion, and a control-first model for final delivery.
Mapping tools to the stages of a concept art pipeline
Tool choice should follow the pipeline, not the other way around. Here is how the categories map to typical stages.
Thumbnail and mood exploration
At this stage, quantity beats fidelity. Use fast models to generate many variations of a location or silhouette. Prompt broadly, keep a contact sheet, and mark the two or three directions worth developing. The goal is to break your own first idea, not to produce a finished image.
Hero asset turnarounds
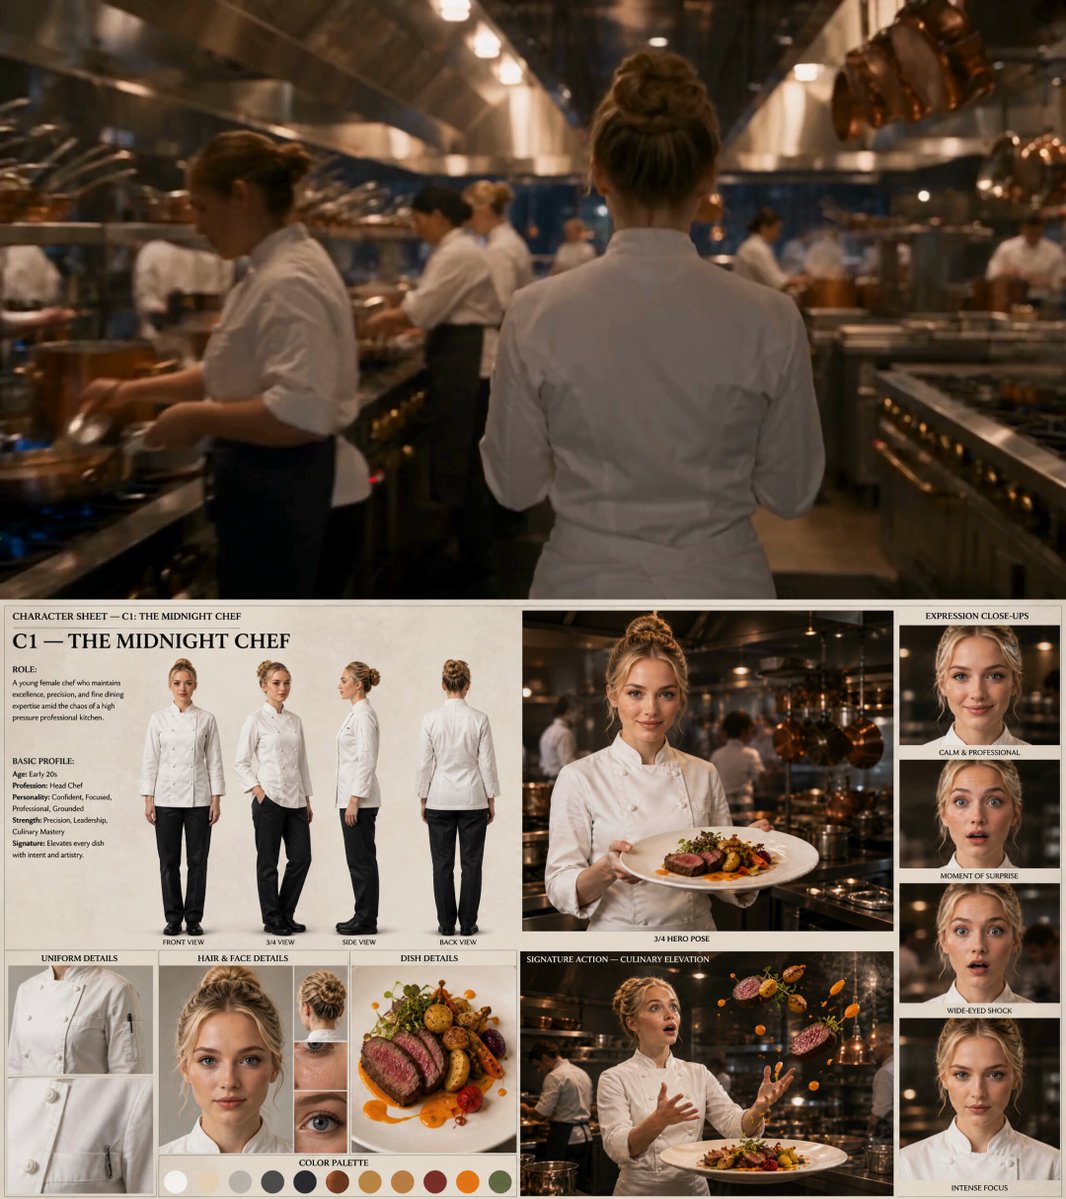
When a character or prop needs to be seen from multiple angles, control-first tools earn their keep. Start from a single approved keyframe, then generate alternate views using image conditioning. Keep the lighting rig constant across all views so the eye reads them as one object rather than unrelated renders.
Cinematic previsualization
This is where narrative-first models shine. Feed a shot list and let the model propose staging, pacing, and camera movement. Expect to discard a lot; the value is in seeing timing and framing decisions you would not have written down yourself.
Final delivery and handoff
Before handoff, unify the sequence: consistent color, consistent grain, consistent lens feel. Many teams do this in a compositor rather than in the generator, because editorial tools give you finer control over the final ten percent.
Building a multi-model workflow that stays visually consistent
Running several generators is easy. Keeping the results coherent is the hard part. The following practices consistently separate clean pipelines from chaotic ones.
Reference discipline and shot bibles
Maintain a single folder of canonical references: one face plate, one costume plate, one set of color swatches, one lighting example. Every prompt in the project cites at least one of these. When a new artist joins the project, the shot bible is what keeps their output compatible with everyone else's.
Fusion, blending, and cross-model matching
When you need a model to interpolate between two references — say, a costume plate and a pose plate — multi-image fusion workflows help. Feed both, describe the relationship, and generate several candidates before committing. Then normalize the winner's color and contrast so it sits correctly next to shots from other tools.
Color, grain, and lens continuity
Photorealism is partly a texture illusion: subtle sensor noise, a shallow depth-of-field falloff, and a consistent lens character. If one shot looks like a 35mm prime and the next looks like a phone camera, the sequence reads as fake even when each frame is convincing. Apply one grain and one lens profile across the whole sequence as a final pass.
Prompt and direction patterns that improve photorealism
Most "the model will not obey me" complaints are really description problems. Photorealism responds well to specific, technical language.
Lighting language
Replace "dramatic lighting" with a description of source, direction, and quality: single softbox from camera left, cool ambient fill from a window, hard rim light from a practical. Real-world references to time of day and weather add useful constraints.
Material and surface detail
Say what the surface is and how it behaves: brushed copper with visible tooling marks, matte cotton canvas with frayed hem, wet asphalt with broken reflections. Models struggle with generic nouns and do well with specific materials plus a description of wear.
Camera and lens vocabulary
Aperture, focal length, and camera height are strong controls. "Low angle, 24mm, deep focus" produces something structurally different from "eye level, 85mm, shallow focus." Use these deliberately rather than decoratively, and keep them consistent per shot type.
Negative constraints
Describe what you do not want: no text overlays, no lens flare, no additional characters in frame. Short, concrete exclusions work better than long lists.
Efficiency metrics you can actually track
If you want to argue for a tool change, bring numbers. These four metrics are easy to log and hard to argue with.
- First-acceptable-output time. How long until something usable exists, measured in minutes.
- Revision depth. How many passes a typical shot needs before approval.
- Identity retention. Percentage of shots in a sequence that keep character and costume details intact without manual fixes.
- Rework rate. Percentage of shots that get reopened after being marked done.
Track these for two weeks across your candidate tools. The pattern is usually obvious: one tool wins on speed, another on retention, and the best pipeline routes different shot types to different tools.
Common mistakes that undermine photorealistic output
Chasing single-frame perfection early. Polishing shot one for a day before writing the rest of the sequence guarantees you will redo it. Lock the whole sequence roughly, then refine.
Mixing lighting setups between shots. A location lit by a different sun direction in every shot destroys believability faster than any rendering artifact.
Ignoring motion physics. Photorealistic texture with weightless animation still reads as artificial. Check that objects accelerate, settle, and collide plausibly.
Overloading prompts. Long prompts with twelve adjectives often reduce rather than increase control. Cut anything that does not change the image.
Skipping the normalization pass. Ungraded sequences of individually perfect shots look like a collage. One consistent grade fixes it.
No version discipline. Without naming conventions, you will lose the one approved variant. Name files by shot, version, and model.
A decision framework for choosing your stack
Ask four questions in order.
What does the deliverable require? A pitch deck needs breadth; a locked previz sequence needs consistency; a marketing film needs finish. Requirements drive the category, not brand loyalty.
How many shots share a character or location? Above roughly five shared shots, prioritize control-first tools and build a reference bible before generating anything.
How often does the director change their mind? High-change environments favor fast, cheap iteration tools for the first three rounds.
What does your team already know? A slightly weaker tool that your artists have internalized beats a stronger one that requires a week of retraining mid-project.
Write the answers down. When someone asks why you chose a particular tool, the reasoning is the deliverable.
Frequently asked questions
Do I need several tools, or can one do everything? One tool can cover a project, but most professional pipelines use two or three because no single model is best at exploration, motion, and identity retention simultaneously.
How do I keep a character consistent across many shots? Start with one approved keyframe, weight it as a reference on every subsequent generation, keep lighting and lens language identical, and normalize color at the end.
Is a locally run model worth the setup effort? If you need strict reference adherence, unlimited iteration, or confidential assets, yes. If your work is exploratory and fast-moving, hosted tools will usually be quicker to operate.
How long should a previz pass take? A useful rule is one day of exploration per major sequence, then a consolidation day where you cut the sequence down and unify the look.
Why does my output look like AI even when it is technically sharp? Usually because of continuity problems rather than rendering problems: inconsistent grain, mixed lens character, or lighting that changes direction between shots.
Should I finish shots in the generator or in compositing? Finish grade, grain, and lens effects in a compositor. Generators are for generating; editorial tools are for unifying.
How do I present AI-assisted previz to a skeptical client? Present it as exploration, not final art. Show the range of directions you tested and the reasoning behind the chosen one. Clients accept AI-assisted exploration far more readily than AI-assisted final delivery.
The takeaway
Photorealistic output is now table stakes. The competitive advantage has moved to the workflow around it: how fast you can test an idea, how reliably you can hold a character together across a sequence, and how cleanly you can unify the result. Build a small benchmark, log four metrics, keep a strict reference bible, and route each stage of the pipeline to the tool category that suits it. Do that, and the choice of any individual model becomes a logistics detail rather than a creative gamble.

Alexander
More Blogs
Read MoreVidu Q4 Alternatives: 4K AI Video Models Compared (2026)
Vidu Q4 alternatives compared: Kling 4.0, Seedance 2.5, Wan 3.0, and Runway Gen-4 — 4K support, input modes, durations, audio, and what each costs in credits on Domer.
Top 4K AI Image Generators in 2026: 5 Models Compared on Real Costs
The top 4K AI image generators on Domer compared: Flux 3 Klein, Nano Banana 2.1, GPT Image 2.5, GPT Image 2, and Nano Banana Pro — 4K credit costs, reference limits, and speed.
Nano Banana 2.1 vs GPT Image 2.5: Which Image Model Should You Use? (2026)
Nano Banana 2.1 vs GPT Image 2.5 Flare compared: credit costs per resolution, aspect ratios, reference images, text rendering, and which tasks fit each model.