
Create
Text-to-Video Workflow: Image and Sound Synthesis Guide
Nov 5, 2026
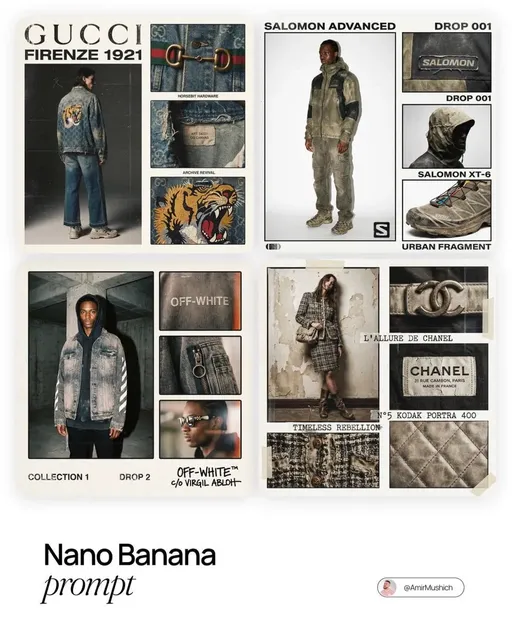
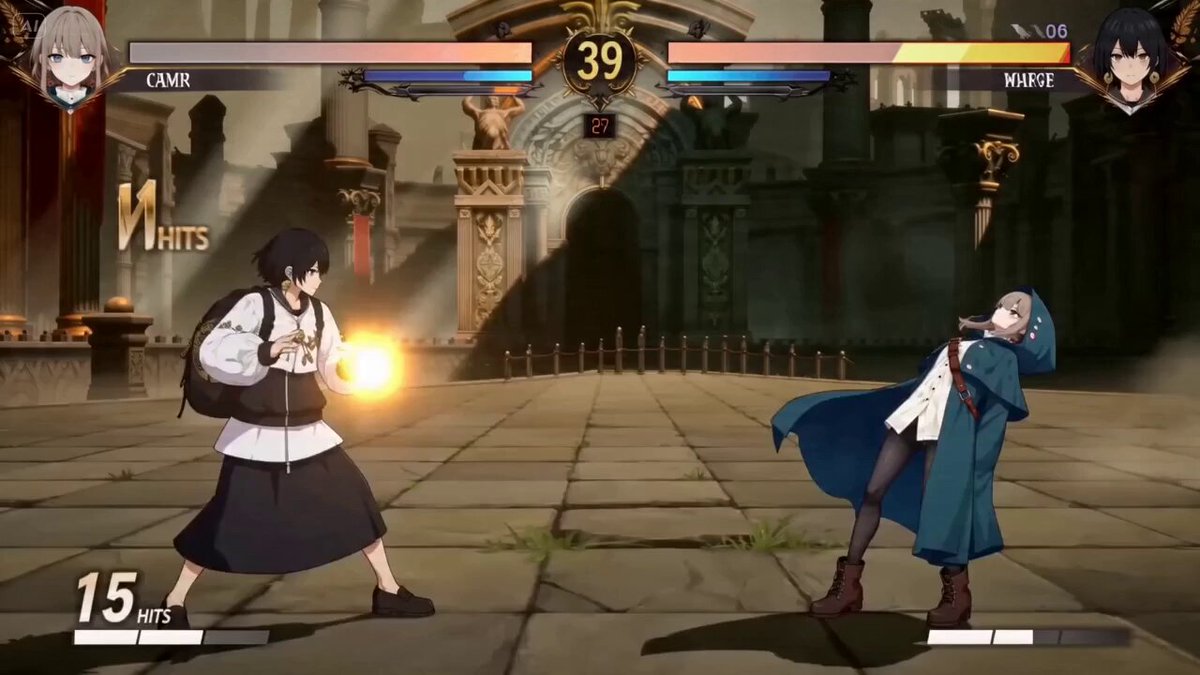
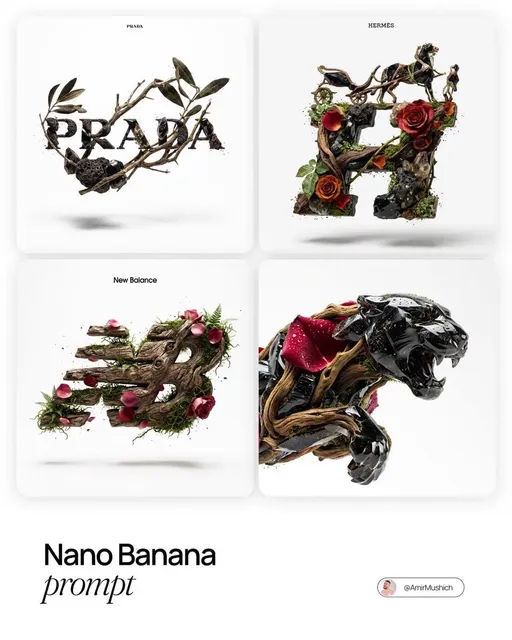
Text-to-video generation has moved from novelty to practical production. The strongest results do not come from typing one dramatic prompt and hoping for a masterpiece. They come from a repeatable workflow that separates story planning, image synthesis, motion generation, sound design, editing, and quality control. This guide explains that workflow in neutral terms, so you can apply it with the AI video tools you already use or plan to test.
The central idea is simple: use images to control what the audience sees, use audio to control what the audience feels, and use an editorial process to make both elements support the same story. When those layers are connected, short AI clips start to feel like scenes. When they are not connected, even impressive individual shots feel random.
Start With a Storyboard, Not a Prompt
A single prompt can produce a striking clip, but it rarely produces a coherent sequence. Generative models are good at inventing details and bad at remembering your intentions across multiple shots. A storyboard solves that problem before generation begins. Treat AI video as production work, not as a slot machine.
Define the story spine
Write one sentence that describes the emotional turn in the scene. For example: a lone radio operator hears a signal that proves she is not alone, but the transmission cuts out before she can answer. That sentence gives every department a job. The image work must show isolation and wonder. The motion work must show hesitation and urgency. The sound work must move from static to a human voice and back to silence.
Without a story spine, creators tend to generate beautiful shots that do not connect. With a story spine, you can reject a beautiful shot because it does not serve the turn.
Create shot cards
A shot card is a short production note for one clip. It should include the shot size, subject, action, location, lighting, estimated duration, camera behavior, and audio cue. A useful card might read: medium close-up, radio operator at desk, hand hovers over switch, dusty control room, warm desk lamp against blue window light, four seconds, slow push in, distant static and a single beep.
Shot cards keep prompts focused. Instead of asking a model to generate an entire story, you ask it to solve one visual problem at a time. They also make it easier to compare generations, because you know what the shot was supposed to accomplish.
Set constraints before generating
Decide the aspect ratio, delivery duration, visual style, dialogue language, caption style, and final export format before you generate anything. A vertical social clip and a widescreen narrative scene need different framing, pacing, and sound decisions. Changing aspect ratio late in the process often destroys composition and forces unnecessary regeneration.
Build a Reliable Text-to-Image Base
Stills are the cheapest place to solve composition, character design, lighting, and color. If a frame does not work as an image, motion will not save it. Image generation gives you more control than text-to-video alone, especially for recurring characters and specific locations.
Write prompts as art direction
A useful image prompt is not a pile of adjectives. It is a compact art direction brief. Include the subject, action, environment, light source, lens or framing, palette, texture, mood, and exclusions. For example: an original character, a middle-aged radio operator in a worn canvas jacket, seated at a metal desk, hand near a switch, dusty control room, warm desk lamp and cold dawn light through a window, medium close-up, muted amber and teal palette, subtle film grain, quiet tension, no text, no logos, no extra people.
That prompt gives the model hierarchy. It says what matters, how it should look, and what should stay out. If the model ignores a key detail, move that detail earlier in the prompt rather than adding more decoration.
Protect character consistency
Character consistency is one of the hardest parts of AI video. Build a small reference sheet before generating the scene: one neutral portrait, one three-quarter view, one full-body view, and a detail of wardrobe or props. Use the same reference images across shots, keep the same descriptors, and avoid mixing unrelated style references. Multi-image reference features can help, but they work best when the references agree with each other.
Use original characters rather than living people or recognizable likenesses. This avoids legal and ethical problems and gives you more freedom to adjust details. Keep a continuity note with hair, age range, clothing, accessories, and distinctive marks. A small change in a jacket color or hairline can break the illusion between shots.
Select images like an editor
Generate more options than you need, then review them on a contact sheet. Reject images that fail at the story level before you judge technical polish. A stunning frame with the wrong expression is not usable. Upscale only the selected frames. Keep the generation notes and seeds where available, because a successful look is easier to repeat than to describe from memory.
Convert Stills Into Motion With Image-to-Video
Image-to-video is usually more controllable than pure text-to-video because the first frame already establishes composition, identity, and lighting. Use that advantage. The motion prompt should describe what changes, not re-describe everything in the frame.
Keep motion prompts physical and specific
Instead of asking for a cinematic masterpiece, describe the camera and the action. A prompt might say: slow dolly in, operator lifts her hand slightly, dust drifts through the lamp light, window curtains move gently, no camera shake, no cut, no new objects. That language gives the model a narrow target.
Short clips work best: three to six seconds for most shots. Longer generations increase the chance of morphing, drifting faces, unstable hands, and invented background details. You can build longer sequences by editing several short clips together.
Use first and last frames when continuity matters
If a tool supports start and end frames, use them for shots that must connect. A first frame establishes the opening composition; an end frame gives the model a destination. This is especially useful for match cuts, prop handling, and character turns. Even with end-frame control, check the middle of the clip, because that is where artifacts often appear.
Generate variations, not infinite retries
Set a practical limit: three to five variations per shot. Review them for story, continuity, and artifacts. If all variations fail in the same way, change the input image or motion prompt rather than generating more. Repeated failures usually indicate a planning problem, not bad luck.
Watch for common visual defects: faces that change identity, hands that merge with objects, text that turns into symbols, feet that slide, backgrounds that breathe, and camera moves that accelerate unnaturally. Fix these in the edit or regenerate with a simpler action.
Design Sound Before You Need It
Audio is not a finishing step. It is half of the viewing experience. A scene with flat sound feels artificial even when the visuals are strong. Plan dialogue, ambience, foley, and music before you lock picture, because sound decisions affect pacing and shot length.
Build an audio map
Create a simple map for each shot: what the audience should hear, what they should barely hear, and what should be silent. For the radio operator scene, the map might include room tone, distant wind, the click of a switch, low electrical hum, a faint signal beep, and a sudden absence of sound when the transmission cuts out. That absence is a sound design choice, not an accident.
Direct text-to-speech like a voice actor
AI voice tools work better when you provide performance direction. Specify pace, emotion, emphasis, pauses, and pronunciation. Generate several takes and choose the one that fits the scene. Use scratch dialogue during animation, then replace it with the final voice performance. Keep captions and subtitles in mind from the beginning, because caption timing influences shot rhythm.
Layer ambience, foley, and music
Avoid relying on one music track to carry the entire scene. Build layers: a quiet room tone to glue cuts together, specific foley for actions, ambience for location, and music for emotional movement. Keep music below dialogue. Use foley to make generated motion feel physical, especially for footsteps, fabric, doors, and objects.
If you use synthetic music, check that it does not imply a false ending or emotional peak at the wrong moment. Music should follow the story spine, not fight it.
Connect Image and Audio Synthesis in One Workflow
Image and audio generation are often treated as separate tasks. They become powerful when they share a timeline. Create an edit decision list that shows shot number, duration, visual description, dialogue, sound effect, and music cue. This document is the bridge between departments.
Start with a temporary audio track, even if it is rough. Scratch dialogue and simple sound effects reveal whether a shot is too long, too short, or unnecessary. Generate visuals to that timing. When picture changes, update the audio map. When audio changes, check whether the cut still lands.
Use consistent naming. A clip called final2_new_last actually makes revision harder. A name like scene01_shot03_radio_hand_v02 tells you what it is, where it belongs, and which version you are reviewing. Archive prompts, reference images, and selected generations with the project. The ability to reproduce a look is part of the workflow, not an administrative extra.
Sync points matter. A door closing, a head turn, a light flicker, or a signal beep can tie generated visuals to audio. Place those events intentionally. If the model cannot produce a precise action, use editing, sound, or a reaction shot to imply it.
Use a Director Layer for Consistency and Continuity
An AI assistant or director-style workflow can help translate a creative brief into a shot list, style bible, prompt templates, and continuity notes. It is useful for organization, not for replacing judgment. The assistant can remind you that the character wears a watch in shot two and cannot lose it in shot five. It cannot decide whether the scene is emotionally honest.
Build a continuity sheet with character details, wardrobe, props, locations, time of day, weather, color palette, camera rules, and forbidden elements. Use the same sheet across image and video models. If you switch tools, the sheet becomes the shared language that keeps output closer to the plan.
Review AI suggestions critically. A generated shot list may be generic, and a generated prompt may be too long. Edit both down to the essentials. The goal is a workflow that is more consistent than manual prompting but still flexible enough for creative discovery.
Quality Control: Review Like an Editor
Quality control should happen in passes. The first pass is story: does the sequence make sense without sound? The second pass is visual: do faces, hands, props, and backgrounds hold up? The third pass is audio: are levels, sync, and clarity acceptable? The fourth pass is delivery: aspect ratio, captions, loudness, and file format.
Watch the full sequence at normal speed before inspecting frames. Viewers experience rhythm, not individual pixels. Then watch again at full screen and pause on cuts. Check for flicker, warped edges, duplicate limbs, shifting logos, unstable text, and sudden changes in grain or color. Keep a rejection log with the reason for each rejection. This prevents you from regenerating the same problem and helps you improve prompts.
For audio, listen on speakers and headphones. Check dialogue intelligibility, clicks, abrupt room-tone changes, and music that masks consonants. Add captions and verify that they do not cover important action. Export a review copy with a clear filename and collect notes before making final changes.
Common Mistakes and How to Avoid Them
One common mistake is writing a single massive prompt that tries to control story, camera, lighting, dialogue, and style at once. The model cannot prioritize everything. Break the prompt into a shot card and a focused art direction brief.
Another mistake is ignoring sound until the end. If the scene only works with a specific music cue, plan that cue early. Otherwise you may discover that the visuals have no rhythm.
A third mistake is using too many camera moves. Constant pushing, orbiting, and shaking makes short clips feel unstable. Choose one clear motion per shot. Let the edit create energy.
Other frequent problems include inconsistent aspect ratios, low-resolution references, missing continuity notes, no asset naming system, and judging clips on a small phone screen. Review at full size, keep references clean, and archive every selected generation. Also avoid over-reliance on one successful output. A workflow should produce a reliable sequence, not one lucky clip.
A Sample 90-Second Workflow
Imagine a 90-second teaser called The Last Signal. A radio operator in a remote desert station receives a transmission that may come from another survivor. The sequence needs seven shots: establishing exterior, interior wide, close-up of the radio dial, medium shot of the operator hearing a voice, close-up of her hand on the switch, a reaction shot as the signal dies, and a final wide shot of the station at dawn.
Begin with a 20-minute planning pass. Write the story spine and shot cards. Build a style bible with two colors, one lens preference, and one texture rule. Spend 30 minutes generating and selecting still frames. Reject any frame that looks like a different character or a different time of day. Spend 40 minutes on image-to-video generation, limiting each shot to a simple action. Spend 25 minutes on sound: room tone, wind, radio static, switch click, voice take, and a short music bed. Spend 30 minutes editing and reviewing. The final duration may change, but the story spine should not.
A motion prompt for the hand shot might read: close-up, hand moves slowly toward the metal switch, fingers tremble slightly, dust in the air, warm lamp light, static hum continues, slow push in, no new objects, no cut. A sound pass would add the click, a brief silence, and the returning static. The edit would hold the reaction shot for half a beat longer than expected, because silence needs room.
This sample is not a rigid schedule. It shows the balance: planning and review protect the project from endless generation, while sound and editing turn separate clips into a scene.
FAQ
Can I create video without generating images first?
Yes. Pure text-to-video is useful for mood shots, abstract sequences, and quick tests. Image-to-video is usually better when you need character consistency, specific composition, or repeatable locations.
How many shots should a short AI video have?
For a 60 to 90 second sequence, seven to twelve shots is a practical range. Fewer shots require stronger performances and sound design. More shots require more continuity checks.
How do I fix character consistency across shots?
Use a reference sheet, repeat the same descriptors, keep wardrobe and hair notes, and avoid mixing unrelated references. Generate stills first, approve the character, then animate only approved frames.
Is AI-generated audio good enough for final delivery?
It can be, especially for narration, ambience, and simple effects. Always review pronunciation, emotion, sync, and loudness. For dialogue-heavy scenes, a human voice performance still gives more nuance.
Do I need editing software if I use AI video tools?
You can assemble simple clips inside some AI tools, but a standard editor gives better control over timing, captions, audio levels, color, and exports. Treat generation as one stage of post-production, not the whole process.
What is the biggest workflow mistake?
Starting with generation before defining the story, shot list, and sound plan. A clear plan reduces wasted generations and makes every model easier to direct.

Alexander
More Blogs
Read MoreFrom Text to Short Film: A Practical AI Video Workflow
Learn how to turn a written idea into a polished short film with AI video tools: scripting, model choice, shot consistency, sound design, and editing.
AI Transcription and Seamless Video Editing Workflows
Learn how AI transcription enables text-based editing, faster reviews, accessibility, and reliable post-production workflows from rough cut to final delivery.
Photorealistic AI Video Production: A Practical Workflow Guide
Learn a repeatable workflow for photorealistic AI video: model selection, shot planning, prompt design, continuity, audio, and quality control.