
Create
Train Custom AI Video Models for Consistent Scene Workflows
Oct 1, 2026
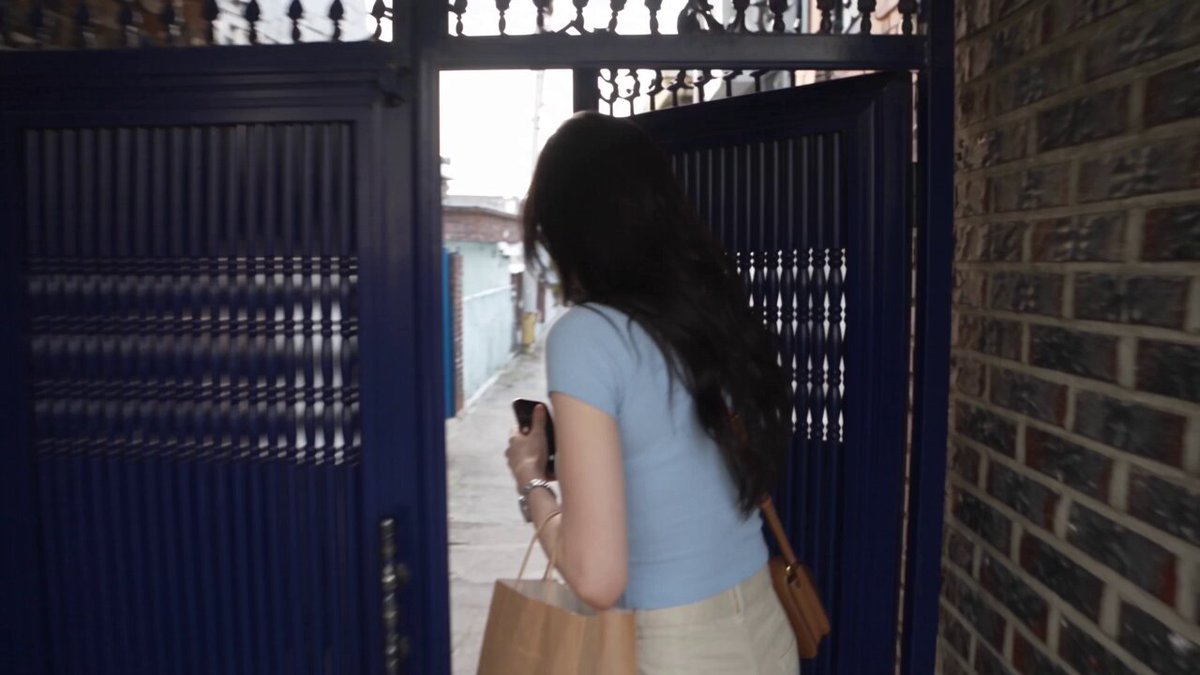
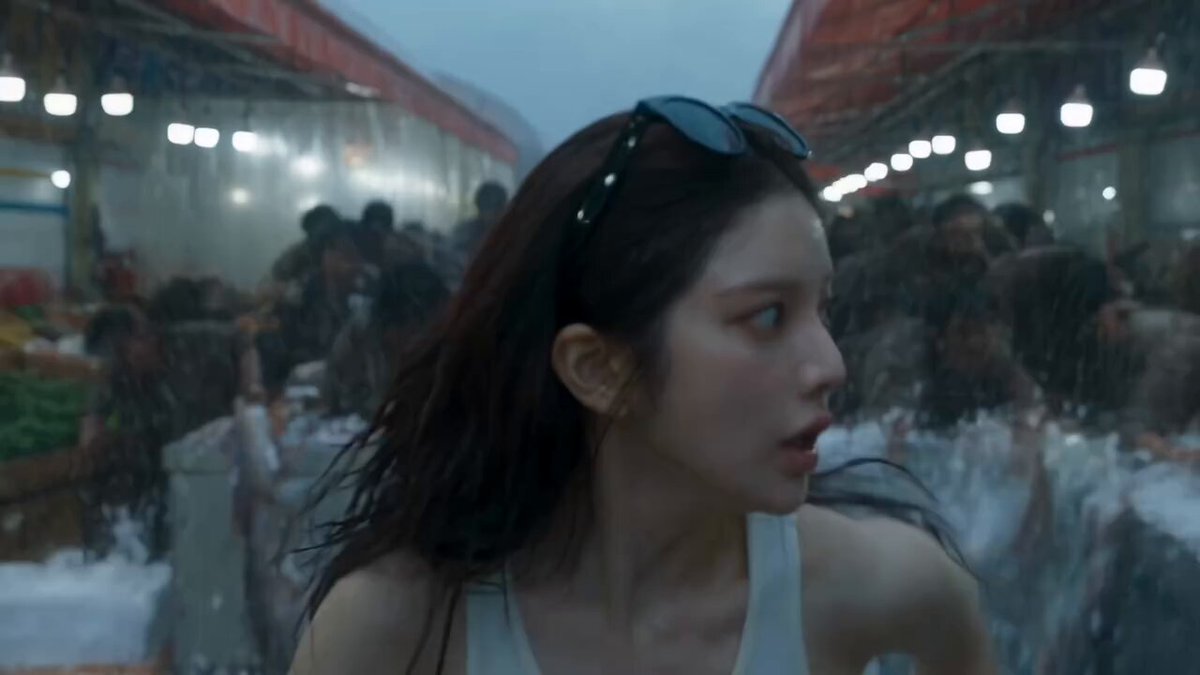

Why Custom Models Change AI Video Production
Generic text-to-video tools are designed to impress in a ten-second demo. They are not designed to survive a three-minute narrative. The failure rarely announces itself dramatically: it shows up as a face that drifts between shots, a jacket that changes color after a camera turn, a street that quietly rearranges itself when the angle shifts. Individually these are small flaws. Stacked across forty shots, they destroy the illusion of a continuous world.
The reason is structural. A general-purpose model has been optimized to produce plausible motion from a prompt. It has no memory of your specific protagonist, your specific wardrobe, or the specific way light falls in your specific location. Every generation is a fresh guess that happens to be statistically reasonable.
Training a custom model changes the equation. Instead of hoping the base model infers your intent, you give it a compressed representation of your own visual language: your character's face, your color grade, your prop details, your camera habits. The model then generates within that language by default.
This guide is about the practical mechanics of that shift. It covers what "training" actually means for video workflows, how to assemble a dataset that does not waste your time, how to run a repeatable prompt-to-cut pipeline, and how to judge output before you commit to a full sequence. The emphasis is on process rather than on any single platform, because the workflow is what transfers when tools change.
What Training a Custom Model Actually Means
"Training" is an overloaded word. In practice, creators use it to describe three quite different technical approaches, each with different costs and different failure modes.
Fine-Tuning a Base Model
Full fine-tuning adjusts the weights of an existing model using your dataset. It produces the strongest stylistic fidelity and the most reliable identity retention, but it demands the largest dataset and the most compute. It also tends to be brittle: a model fine-tuned on a single location becomes noticeably worse at everything else, which is a problem the moment your story moves to a second set.
Training an Adapter
Adapter-based training — the approach most commonly associated with low-rank adaptation methods — freezes the base model and trains a small set of additional parameters. You get most of the identity fidelity of fine-tuning with a fraction of the data and time. Adapters are also composable: you can load a character adapter alongside a style adapter and a lighting adapter, then blend them per shot.
For most episodic work, adapters are the right default. They let you keep the base model's general competence while layering your specific look on top.
Reference Conditioning Without Training
Finally, there is the approach that involves no weight updates at all: conditioning the model on reference images at generation time. Tools that accept multiple reference frames and fuse them into a single consistent subject fall into this category. It is fast, requires no training run, and works well for characters who appear in only a handful of shots.
The honest decision rule is simple. If a character or location appears in more than roughly fifteen shots, train an adapter. If they appear in fewer, condition on references. If they define the entire visual identity of a franchise, fine-tune.
Building a Reference Dataset That Works
Dataset quality dominates everything downstream. A mediocre adapter trained on excellent data will outperform an excellent adapter trained on mediocre data every time.
Shot Selection and Coverage
Collect images that vary across the axes you need the model to generalize over, and hold steady on the axes you need it to reproduce. For a character, that means many angles, expressions, and lighting conditions, but consistent physical features. Twenty to forty well-chosen stills outperform two hundred near-duplicates pulled from the same burst of frames.
Deliberately exclude anything you do not want the model to learn. If your only reference of a character shows them in a red coat, the adapter will associate the coat with the identity. Remove outliers, blurry frames, and images with heavy motion blur before you start.
Captioning and Metadata Hygiene
Captioning is where most creators cut corners and then blame the model. Write captions that separate the variable from the constant: describe clothing, pose, background, and lighting explicitly, so those attributes do not get absorbed into the identity embedding. A caption such as "woman, short dark hair, studio portrait, neutral expression, grey background" teaches the model which parts of the image are the person and which parts are the setting.
Keep a naming convention for trigger tokens and use it identically everywhere. Inconsistent token spelling is a silent quality killer.
Catching Dataset Problems Early
Before a full training run, generate a handful of test images from a very short training cycle. Look for three things: does the face hold its structure from a three-quarter angle, does the model hallucinate distinctive accessories, and does background bleed appear? If any of those fail, fix the dataset rather than increasing training steps. More steps on a bad dataset produces confident bad output.
A Repeatable Prompt-to-Cut Workflow
Ad hoc generation produces lucky clips, not sequences. The following pipeline keeps decisions in a fixed order so that each stage has a stable input.
Step 1: Lock the Look Bible
Write down the non-negotiables before generating anything: lens character, color temperature, contrast curve, film grain, and the two or three camera distances you will allow. Include a single reference still that represents the target. Everything downstream is compared against this document, not against taste in the moment.
Step 2: Generate Keyframes First
Produce still images for every shot in the scene before animating any of them. Stills are cheap, fast to iterate, and easy to compare side by side. Approving a scene as a storyboard of finished-quality stills prevents the most expensive mistake in AI video: discovering a continuity problem after you have animated twelve shots.
Step 3: Animate With Controlled Motion
Once keyframes are approved, animate each one with a motion prompt that describes movement rather than appearance. Appearance is already encoded in the keyframe and the adapter; repeating it in the motion prompt creates competing signals. Describe speed, direction, and camera behavior instead — "slow dolly in, subject turns head slightly to the left, background remains static."
Step 4: Run a Consistency Pass
Assemble the animated shots in an editor and watch the scene at full speed before refining anything. Continuity errors are far easier to spot in motion than in a grid of thumbnails. Note every drift, then decide whether it is fixed by a tighter prompt, a stronger reference set, or a short repaint of a single frame range.
Step 5: Sound and Edit
Sound design is not a postscript. Ambience, room tone, and footsteps bind cuts together even when the visuals wobble slightly. A dialogue scene with clean audio forgives more visual imprecision than most creators expect.
Keeping Characters and Scenes Consistent Across Shots
Consistency is a layered problem, and treating it as one problem is why it feels unsolvable.
Identity, Wardrobe, and Props
Identity lives in the adapter. Wardrobe and props live in the prompt and the reference conditioning. Split them deliberately: describe clothing in every prompt because it can change, and rely on the trained model for the face because it should not. When a prop must remain identical across shots — a watch, a scar, a specific car — generate a clean reference image of it and include it as a conditioned input.
Lighting and Lens Continuity
Audiences forgive a slightly different collar far more readily than mismatched light. Keep a simple scene map listing the key light direction and color temperature for each location, and repeat those terms verbatim. Treat the lens the same way: if the scene is a 50mm look, every shot in that scene uses the same descriptive language.
When to Retrain Instead of Re-Prompt
Retraining is worth it when the same problem recurs across multiple unrelated shots. If a character's face holds in close-ups but breaks in wide shots every time, that is a dataset coverage gap — add full-body references. If it breaks in one specific shot only, that is a prompt or keyframe problem. Diagnosing the pattern first saves days of pointless training runs.
Choosing Tools and Planning Your Render Budget
Model quality matters less than the fit between a tool's strengths and your specific workflow.
Evaluation Criteria That Predict Real Performance
Judge a video model on four dimensions. Temporal coherence asks whether objects hold their shape across frames. Prompt adherence asks whether the model does what you asked rather than what it prefers. Motion realism asks whether physics reads correctly. Reference fidelity asks how faithfully it reproduces a conditioned subject. Run the same five-shot test on every candidate tool, and score blind.
Support for Custom Models
If a platform does not accept custom adapters or multi-image reference inputs, it cannot serve a series workflow regardless of how good its demo footage looks. Check that path before you invest time in learning a tool's prompt syntax.
Forecasting Render Volume
Estimate four to six generations per approved shot. A ninety-second sequence with thirty shots therefore implies roughly 120 to 180 generations before you account for pickups. Plan your subscription tier or compute allocation against that number, not against an optimistic single-pass estimate. Creators consistently underestimate volume by a factor of three, and the constriction shows up as rushed approvals at the end of a project.
Quality Control Before You Commit
A fast, repeatable rubric beats subjective review. Score each shot from one to five on four axes: subject identity, motion naturalness, physical plausibility of contact and weight, and artifact severity — hands, teeth, text, and edges are the usual suspects. Any shot scoring below three on identity or physics goes back; everything else can usually be repaired in post.
Keep a rejection log. Recording why a generation failed turns a frustrating afternoon into a reusable dataset of prompt patterns. Within two projects you will have a personal list of phrasings that reliably produce clean output and phrasings that reliably produce mush.
Finally, evaluate at delivery resolution. A shot that looks acceptable in a small preview window often reveals banding, flicker, or softness at full size.
Advanced Techniques Worth Learning
Once the basics are stable, a few techniques expand what is achievable.
Multi-image fusion conditions a generation on several references at once, blending a face, a wardrobe plate, and a location plate into one coherent frame. It is the fastest way to establish a new shot without retraining.
Motion transfer uses a driving performance to control body movement while the appearance comes from your adapter. This is the most reliable route to acting beats — a turn, a hesitation, a hand gesture — that text prompts struggle to specify.
Style transfer across a full sequence applies a consistent grade and grain pass to every shot at the end of the pipeline rather than during generation. Uniform post-processing hides small inconsistencies and unifies shots generated on different days.
Depth and camera-motion passes add parallax to otherwise flat generations and make virtual camera moves feel deliberate instead of accidental.
Troubleshooting the Most Common Failures
Face drift across shots. Almost always a dataset issue. Add more varied angles, especially profiles and three-quarter views, and re-run the adapter.
Flicker and texture crawl. Usually a resolution mismatch between keyframe and target. Generate the keyframe at the target aspect ratio and resolution, and avoid aggressive upscaling in a single jump.
Warping limbs and hands. Reduce motion prompt complexity and shorten the clip. Long generations accumulate error; two four-second clips joined in the edit usually beat one eight-second clip.
Style collapse after training. The adapter has overfit. Lower its influence weight or reduce training steps, then re-test on shots outside the training set.
Inconsistent color between shots. Move color decisions into post. Generation-time grading is unstable across sessions.
FAQ
How much reference material do I need? For a character adapter, twenty to forty curated images is a workable starting point. Quality and variety matter far more than volume.
Can I train on video instead of stills? Yes, but frame extraction reintroduces near-duplicates. Curate aggressively after extraction, keeping only frames that add new information.
How long should a generated clip be? Four to six seconds per generation is the practical sweet spot for most models. Build length in the edit.
Do I need a different adapter for each character? Usually yes. Separate adapters keep identities from bleeding into one another, and let you adjust influence per shot.
What is the biggest beginner mistake? Animating before approving stills. It multiplies rework by an order of magnitude.
How do I keep a series visually unified over months? Freeze the look bible, keep the adapter version controlled, and archive the exact prompt that produced every approved shot. Reproducibility is the foundation of a consistent series, and it is entirely a documentation habit.

Alexander
More Blogs
Read MoreAutomate Video Transcripts with AI: A Practical Workflow Guide
Learn how to turn video into accurate transcripts with AI automation, timecodes, speaker labels, SEO-friendly formatting, QA checks, and reusable workflows.
Change an iPhone Video Thumbnail: Mobile Workflow Guide
Learn how to change an iPhone video thumbnail with a reliable mobile editing workflow, from frame selection and cover design to export checks.
Boise Video Agencies: AI Workflow Guide for Local Teams
Discover how Boise video agencies can use AI video workflows to plan, produce, and deliver local campaigns with consistent brand voice and audio.