
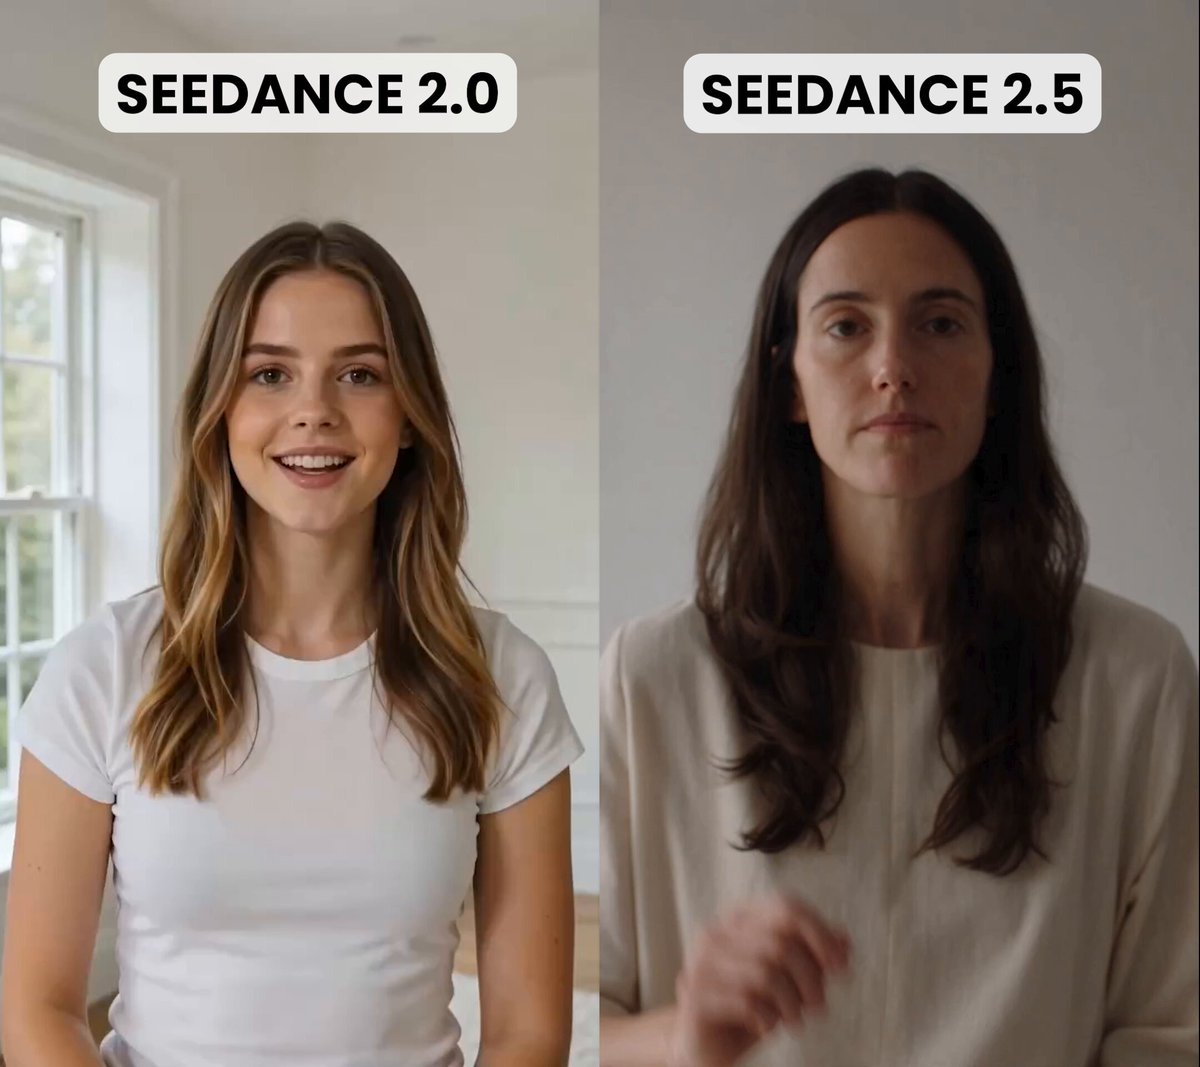

Generative video tools have become genuinely impressive, and that is exactly why the hard part of the craft has moved. Generating a beautiful eight-second clip is no longer the bottleneck. The bottleneck is directing a collection of clips so that they feel like one deliberate piece of storytelling with a beginning, a middle, and an end. Anyone can produce a striking fragment; very few produce a sequence that holds attention for three minutes.
The shift matters because it changes what you should spend your time learning. Memorizing keyword lists and chasing the newest model gives diminishing returns. Learning how to break a script into renderable units, how to protect character identity across shots, how to build a sound design that carries the cut, and how to assemble everything into a rhythm — those skills compound. They also transfer between tools, which means your investment survives the next round of model releases.
This guide is written as a production workflow rather than a tool tour. It walks through the layers of an AI-driven video pipeline, gives concrete examples at each stage, and finishes with decision criteria, a list of common failures, and answers to the questions that come up most often when people move from experimenting to shipping.
The Four Layers of a Modern AI Video Pipeline
Every AI video project, whether it is a 30-second social spot or a 12-minute narrative short, passes through the same four layers. Teams that struggle usually have a strong layer three (generation) and a weak layer one (story) or layer four (assembly). Teams that ship consistently invest evenly.
Layer 1: Story and Script
This is where you decide what the audience feels at each beat. In AI production, the script is not just dialogue and action — it is a promise about what must be visible on screen. If the script requires a character to age ten years in one continuous shot, you are signing up for a difficult render. Writing with an awareness of what the pipeline can deliver is not selling out; it is the same discipline a practical-effects director applies when deciding whether a stunt needs a rig or a cutaway.
A useful habit is to write a "render note" in the margin of every scene: a single sentence describing the shot that will carry the beat. If you cannot write that sentence, the scene is not ready to produce.
Layer 2: Visual Development
Visual development covers storyboards, reference sheets, color direction, and shot design. In traditional production this is a department; in AI production it is usually a folder of images plus a document. The purpose is the same: to remove ambiguity before the expensive part begins.
Practically, this means creating three to five reference stills per key character and per key location. Those stills become inputs for image-to-video generation and anchors for prompt language. Skipping this step is the single most common cause of inconsistent results later.
Layer 3: Generation and Consistency Control
This is the layer most people think of as "AI video." It includes text-to-video, image-to-video, video-to-video, motion transfer, and talking-head synthesis. The craft here is not typing prompts; it is choosing the right generation method for each shot and controlling the variables that keep a sequence coherent — reference images, seeds, style descriptors, aspect ratio, frame rate, and clip duration.
Layer 4: Assembly, Sound, and Delivery
Generated clips are raw material. They arrive with inconsistent motion, drift in color, and abrupt ends. Layer four is where you trim, overlap, blend, score, mix, and deliver in the correct formats. Budget at least as much time for this layer as for generation. For a three-minute piece, a realistic split is one day of planning, one to two days of generation, and two days of editing and sound.
Pre-Production: Turning a Script Into an AI-Ready Shot List
The bridge between a script and a rendered sequence is the shot list, and an AI-ready shot list looks different from a traditional one. Instead of camera setups, it tracks render variables.
A practical spreadsheet for a short film uses these columns:
- Shot ID — a stable name like
S02_SH04, so files never collide. - Story beat — what changes emotionally in this shot.
- Duration — target seconds, usually 3 to 8.
- Generation method — text-to-video, image-to-video, video-to-video, or talking head.
- Reference image path — the still that anchors appearance.
- Motion description — one clear action, written as a verb phrase.
- Camera note — lens feel, angle, movement.
- Dialogue or VO — the exact line, with timing.
- Audio note — ambience, music cue, effects.
- Status — planned, generated, selected, locked.
The One-Action-Per-Shot Rule
Generative models handle a single clear action far better than a compound one. "She turns, then walks to the window, then sits" will usually produce a turn, a smear, and a confused body. Split it into three shots, or write "she walks to the window and sits" and let the turn happen off-screen.
This rule feels restrictive until you notice that professional editing already works this way. Films are built from short, purposeful shots. The constraint is closer to a stylistic choice than a technical limitation.
Writing Motion the Model Can See
Ambiguous motion descriptions produce ambiguous results. Compare:
- Weak: "Character feels nervous in a tense room."
- Strong: "Close-up of hands folding and unfolding a paper napkin, shallow focus, slight handheld sway."
The strong version describes visible behavior, a framing choice, and a camera behavior. Every one of those details is something the model can act on, and every one of them is something an editor can cut around.
Planning for Coverage
Even in AI production, generate more than you need. For a key emotional shot, generate four to six variations with slightly different motion strength, camera distance, and lighting. The cost is time, not materials, and the difference between an acceptable cut and a great one is usually found in the third or fourth variation you would not have made if you had stopped early.
Choosing the Right Generation Approach for Each Shot
Different shot types want different pipelines. Using one method for everything is the fastest way to a monotonous result.
Text-to-Video: Best for Establishing Shots
Text-to-video excels at environments, atmospheres, landscapes, abstract transitions, and moments where no specific character identity must be preserved. Use it for the opening establishing shot, weather, crowds at a distance, and texture inserts.
Its weakness is identity. If the same face must appear in five shots, text-to-video alone will drift. Accept that and reserve it for shots where drift does not matter.
Image-to-Video: The Workhorse for Character Shots
When you supply a reference still, the model inherits appearance, wardrobe, and lighting direction. This is the most reliable way to keep a character recognizable. Generate the reference still first with an image model, approve it, then animate it.
A useful workflow: create a reference sheet with the character in neutral light, three-quarter view, then generate variants for different angles. Animate only from approved stills, never from text alone, whenever the character is the subject of the shot.
Video-to-Video and Motion Transfer: For Performance and Rhythm
Video-to-video lets you drive a generated look with a real performance. Shoot or find a simple reference clip of someone walking, turning, or gesturing, then restyle it. This is how you get believable body language without fighting a text prompt.
It is also the best tool for continuity of motion: if a dance move or a hand gesture must match between two shots, drive both with the same source footage.
Talking-Head and Lip-Sync Pipelines
For dialogue-heavy scenes, generate the visual separately from the voice. Record or synthesize the line first, lock the timing, then create the mouth movement against that audio. Attempting to generate audio and mouth shapes simultaneously usually produces sync that looks almost right, which is worse than obviously wrong.
Practical tip: keep dialogue shots short. Two to four seconds per line. Long talking-head clips expose every small artifact because the viewer has time to study the face.
Character, Wardrobe, and Style Consistency Across Shots
Consistency is the hardest problem in AI video and the one most worth systematizing.
The Reference Sheet Method
Build a document with five to eight images per main character: front, three-quarter left, three-quarter right, profile, full body, and one expressive close-up. Include wardrobe details and any distinguishing marks. Label each image with the prompt used to create it. When a new shot is needed, you start from an approved reference, not from memory.
The same applies to locations. A living room that appears in six shots needs a reference sheet too, or the sofa will move and the windows will change direction.
Seed and Setting Discipline
Where a tool allows you to lock a seed or reuse a latent identity, do it — but treat reproducibility as a bonus rather than a foundation. Tools change. A reference image folder and a written style document survive every migration; a seed value does not.
Style Bibles and Color Discipline
Write a one-page style bible covering:
- Color palette, with two or three dominant hues
- Lighting direction and quality (soft window light, hard practical, overcast)
- Lens feel (wide and immersive, or long and compressed)
- Grain and texture treatment
- Aspect ratio and frame rate
Then unify everything in post with a shared grade. A consistent grade hides a surprising amount of variation in generated footage, and it is faster to apply one look to twenty clips than to chase perfect consistency in generation.
When to Accept Drift and Cut Around It
Perfect consistency is not always worth the cost. If a character appears in a wide shot for one second, small drift is invisible. Save your effort for close-ups and recurring hero shots. Learn to ask: will the audience notice, or will only I notice?
Camera Language That Actually Works With Generative Models
Prompt vocabulary for camera work has become fairly standardized, but not all of it translates equally well.
Verbs That Carry Weight
Descriptions of camera movement that models handle reliably include slow push in, pull back, pan left, tilt up, orbit around a subject, handheld follow, and static locked-off. Movements that combine translation and rotation in one instruction are less reliable and often produce wobble. When you need a complex move, build it in two shots or add it in post with a subtle scale and position animation.
The Morphing Threshold
Most artifacts appear when a shot asks the model to change too much at once: a face turning fully around, a person standing up from the ground, hands interacting with small objects. Keep shots under six seconds when they include significant body movement, and under four seconds when hands are visible and important.
Lens and Depth Cues
Terms like shallow depth of field, 35mm, anamorphic flare, and macro are useful shorthand, but they work best when paired with a physical description of the scene. "Shallow focus on a coffee cup, background city lights as soft bokeh" will outperform "cinematic shallow depth of field" on its own.
Multi-Shot Prompting Versus Single-Shot Prompting
Some tools accept a prompt that describes several shots in sequence. This can be efficient for montages, but it reduces your control over each transition. For narrative work, single-shot generation plus editing almost always wins because it lets you choose the exact frame to cut on.
Sound: Dialogue, Ambience, and the Rhythm of the Cut
Sound is where AI video projects are most often lost. Viewers forgive a slightly soft face and reject hollow audio.
Generating Voice With Intention
Record a scratch read of all dialogue yourself, even badly, then replace it with a synthesized voice that matches the character. The scratch read establishes rhythm; the synthesized voice inherits that rhythm. Voice direction should be specified as performance notes — pace, breath, emphasis — not as adjectives like "dramatic."
Ambience as Continuity Glue
A continuous ambience bed across a scene makes separate clips feel like one space. If three shots take place in the same kitchen, use the same room tone at the same level under all three. This single technique does more for perceived continuity than any amount of generation tweaking.
Music as Structure
Score to the edit rather than editing to score. In AI production, clip lengths are somewhat arbitrary, so it is easier to cut picture first and then place music accents on the cuts than to force generated clips into a pre-existing track.
The Three-Second Rule
If you are unsure whether a generated clip holds up, watch it three times in a row. If your eye catches the same artifact each time, cut it shorter or reframe. Most problematic clips can be rescued by trimming the first and last half second and tightening the framing.
Editing and Post-Production: Making Generated Clips Feel Like One Film
The Overlap Technique
When two clips of the same scene do not match perfectly, place them on separate tracks and cross-dissolve over four to eight frames. The dissolve masks the discontinuity without the mushiness of a long transition.
Unifying Color and Grain
Apply one adjustment layer across the entire timeline: slight contrast curve, small saturation shift toward your palette, subtle grain. Then, per clip, correct only exposure and white balance. This two-tier approach is fast and prevents the drifting look that screams "generated."
Cutting on Motion
Cuts land best when they happen while the subject is already moving. If a clip ends with a character mid-step, cut two frames before the movement resolves. The viewer's eye continues the motion into the next shot, and the seam disappears.
Fixing Artifacts in Post
Many generation problems have editorial solutions: a warped hand becomes a tight close-up on the face; a melting background becomes a rack-focus effect; an inconsistent wardrobe becomes a deliberate reveal in a different lighting condition. Keep a list of your recurring artifacts and the editorial fixes that worked, and you will get faster with every project.
Common Mistakes and How to Fix Them
Mistake 1: Writing prompts instead of designing shots. If you start with a prompt, you get whatever the model offers. Fix: start from the story beat, decide the frame, then write the prompt to serve it.
Mistake 2: Using one generation method for the whole project. Everything looks the same and the pacing flattens. Fix: assign methods per shot type — image-to-video for characters, text-to-video for environments, video-to-video for performance.
Mistake 3: Overloading a single clip. Compound actions cause morphing. Fix: one action per shot, split at the script level.
Mistake 4: Chasing perfect character consistency everywhere. Fix: prioritize close-ups and hero shots; accept drift in wide shots and background appearances.
Mistake 5: Ignoring sound until the end. Fix: generate dialogue early and lock timing before animating the face; build the ambience bed as soon as the scene structure exists.
Mistake 6: Never generating enough options. Fix: set a minimum of three variations for every shot above four seconds.
Mistake 7: Delivering at the wrong aspect ratio or frame rate. Generate close to your target, but always crop and conform in post so mixed sources do not fight each other.
Decision Criteria: Building Your Own Stack
The tool question is easier to answer once you know what to evaluate. Score any option against these criteria:
- Control granularity — can you specify camera movement, motion strength, and duration precisely?
- Reference handling — how many reference images can a single clip use, and how faithfully are they followed?
- Clip length — what is the practical maximum before quality collapses?
- Determinism — can you reproduce a result, and does that matter for your workflow?
- Audio integration — does it output usable stems, or do you need a separate audio pipeline?
- Export flexibility — codecs, frame rates, aspect ratios, alpha channel for compositing.
- Learning curve versus output ceiling — a simple tool you master beats a complex tool you fight.
A solo creator making short social pieces should weight criteria 7 and 1 heavily and accept weaker reference handling. A small team producing narrative work should prioritize 2, 3, and 5, because consistency and sound are where a small team's time disappears.
Managed Platforms Versus Assembled Stacks
A managed platform bundles story tools, generation, and editing in one place. The trade-off is control for convenience — excellent when you are validating an idea or producing on a weekly cadence. An assembled stack of separate story, image, video, voice, and editing tools offers more precision and more failure points. Most creators eventually land in a hybrid: one platform for fast iteration, plus specialist tools for hero shots.
FAQ
How long should each generated clip be?
Three to eight seconds for most narrative work, shorter when hands or fast body movement are visible. Longer clips are useful for slow atmospheres without characters.
Do I need to learn prompt engineering?
You need enough vocabulary to describe framing, motion, lighting, and performance clearly. That is closer to writing shot descriptions than to coding.
How do I keep the same character across many shots?
Approve reference stills first, animate only from those stills for character shots, and unify everything with a single grade in post. Accept minor drift in wide or background shots.
Can AI produce a full film without editing?
No. Every credible finished piece involves trimming, overlap blending, sound design, and color work. Plan for post-production as a first-class stage.
What is the biggest time sink?
Re-generating shots that were never clearly designed. A stronger shot list reduces generation passes more than any tool upgrade.
Should I generate audio and video together?
Separate them. Lock dialogue timing first, then animate mouth and body against that locked audio.
How many variations should I generate per shot?
At least three for anything over four seconds, more for emotional beats and hero shots. Store them in a folder named by shot ID so you can compare quickly.
How do I make generated footage look less artificial?
Grade everything together, add subtle grain, keep cuts on motion, and prioritize sound. Smooth, consistent audio and a unified look do more than any single visual fix.
When should I stop iterating on a shot?
When the shot communicates the beat and the artifact is invisible at normal viewing size. Perfecting artifacts nobody notices is the most common way projects stall.
Putting the Workflow Into Practice
Start small and finish something. A 60-second piece with twelve thoughtfully designed shots teaches more than an abandoned ten-minute epic. Build the reference sheets, write the shot list, generate three variations per shot, cut on motion, and spend the final day on sound and color.
Then do it again with a slightly harder brief. Each pass sharpens the two skills that matter most: knowing what to render, and knowing when a shot is good enough to cut. The tools will keep changing underneath you; that judgment is yours to keep.
