
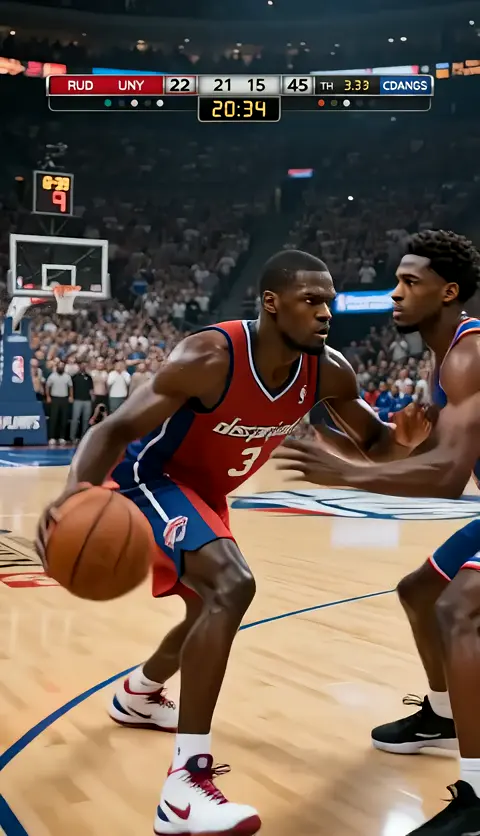
AI Photo Editor Add Object to Photos
Use ai photo editor add object to upload an image, describe the object you want added to the scene, review the result, and download the version that fits your.
AI Image Generator
0/20000 characters
0 / 16
or select from
or select from(Optional)
or select from(Optional)
or select from(Optional)
or select from(Optional)
or select from(Optional)
or select from(Optional)
or select from(Optional)
or select from(Optional)
Supports PNG, JPG, WebP
My images
Loading...

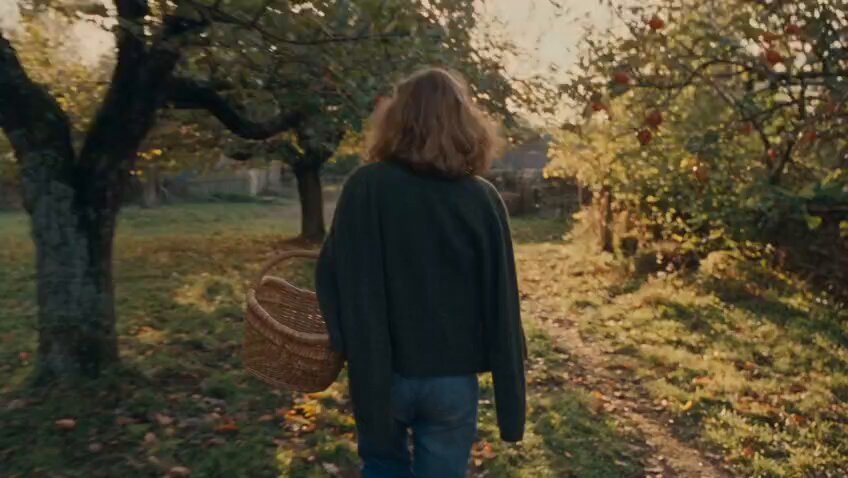
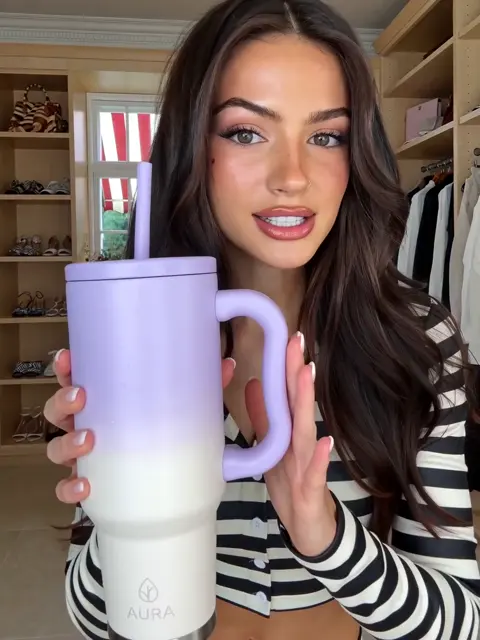
How do you add an object to a photo with AI?
Upload a source image, describe the object you want added and where it should appear, and generate a modified version. Review the result to confirm the object fits naturally into the scene before using it.
AI Photo Editor Add Object to Photos
Laptop on a Desk
Input
Upload a desk scene photo, then describe: 'Add a realistic silver laptop computer in the center of the desk, open at a 45-degree angle, with the screen facing forward.'
Expected output
The same desk scene with a realistic laptop placed in the center, matched to the photo's lighting. Review the edited result to confirm the laptop looks natural.
Vase on a Windowsill
Input
Upload a windowsill photo, then describe: 'Add a ceramic vase with dried flowers placed on the left side of the windowsill, with shadows that match the natural light.'
Expected output
The windowsill now includes a ceramic vase with dried flowers, with shadows that fit the original light. Review the edited result for placement and lighting.
Dog in a Park
Input
Upload a park bench photo, then describe: 'Add a golden retriever sitting next to the bench, facing to the right, with fur texture and lighting that match the scene.'
Expected output
The park scene now includes a golden retriever sitting next to the bench, sized and lit to match. Review the edited result to confirm the dog looks realistic.
Add an object to a source image by describing what you want placed in the scene, then review the result before using it.
Start with your own image
Use an image you have permission to edit instead of recreating the subject from a text-only description.
Direct the changes
State the framing, background, and style you want, then compare the result with the original image.
Choose before you use it
Review the edited image for likeness, context, and crop before downloading or posting it.
How It Works
1
Upload the image you want to refine
Start with an image you have the right to edit.
2
Describe the profile-picture changes you want
Keep the requested edits specific so the intended profile look is clear.
3
Generate, compare, and download
Review the output for likeness, accuracy, and the final profile crop before using it.
Making a profile-picture edit that stays clear
A clear source image and a focused edit request make it easier to judge the result.
Input Constraints
- Only upload images you have permission to edit and use.
- Keep the requested changes focused on the profile-picture outcome you need.
- Review the final image for likeness and context before sharing it.
Practical Tips
- Use a source image with a visible face and enough detail around the subject.
- Ask for one or two concrete changes, such as a neutral background or a square crop.
- Compare the result with the original image before choosing a version to use.
Privacy
- Do not upload personal or sensitive material unless you have permission to use it.
Usage Rights
- Confirm that you have the rights needed for the inputs and intended use of the result.
Prompt recipes
Copy a structure, then adjust the subject, lighting, camera, and output details for your own result.
Add Laptop to Desk Scene
Upload a desk photo, then describe: 'Add a modern silver laptop computer in the center of the desk, open and angled toward the viewer, with screen reflecting the room lighting.'
Adding a laptop creates a workspace or productivity context, useful for blog posts, social media, or illustrating remote work scenarios.
Place Coffee Cup on Table
Upload a table or desk photo, then describe: 'Add a white ceramic coffee cup with steam rising, placed on the right side of the table, with a soft shadow underneath.'
A coffee cup adds warmth and relatability to lifestyle or workspace photos, enhancing visual storytelling for social media or blogs.
Add Dog to Outdoor Scene
Upload a park or backyard photo, then describe: 'Add a golden retriever sitting on the grass near the left side, facing forward, with realistic fur texture and lighting that matches the scene.'
Adding a pet creates emotional connection and interest, making outdoor or home photos more engaging for personal or lifestyle content.
Place Vase on Shelf
Upload a bookshelf or side table photo, then describe: 'Add a clear glass vase with white flowers placed on the middle shelf, with natural light reflection and a subtle shadow.'
Adding a decorative object enhances interior photos for home design blogs, social media, or e-commerce styling examples.
Add Book to Reading Scene
Upload a cozy chair or reading nook photo, then describe: 'Add an open hardcover book resting on the chair arm, with pages slightly curled and warm lighting highlighting the cover.'
Adding a book creates a cozy, lived-in atmosphere ideal for lifestyle content, book blogs, or interior design inspiration.
Place Product in Lifestyle Setting
Upload a lifestyle scene such as a kitchen counter or desk, then describe: 'Add a skincare bottle placed near the center, with soft natural lighting and a clean presentation that fits the existing scene.'
Placing a product in a lifestyle setting makes marketing images more relatable and contextual, improving engagement for e-commerce or social media.
Best use cases
Match the workflow to the input you have and the result you need before opening the generator.
You want to add a laptop, phone, or other tech object to a workspace photo.
Input: A clear desk or workspace photo with good lighting and visible surface area.
Result: The same scene with a realistic tech object placed naturally, with matching lighting and shadows.
Tool: Image to Image
You need to add a decorative item like a vase or book to an interior photo.
Input: An interior photo with a shelf, table, or other surface where the object can be placed.
Result: The scene with a decorative object added in the specified location, matching the lighting and style.
Tool: Image to Image
You want to add a pet or animal to an outdoor or home scene.
Input: An outdoor or indoor photo with space where a pet can be placed naturally.
Result: The scene with a realistic pet added, with appropriate scale, lighting, and texture.
Tool: Image to Image
You need to place a product in a lifestyle or contextual setting for marketing.
Input: A lifestyle scene such as a kitchen, desk, or table where the product can be placed.
Result: The scene with the product placed naturally, with lighting and presentation that match the setting.
Tool: Image to Image
Limitations to know before generating
- The added object is generated and placed based on your description, not a photographed or precisely positioned element.
- Realism, scale, and lighting consistency depend on the quality of your source image and the specificity of your description.
- Complex objects with intricate details may not render perfectly and may require iteration.
- Generated results may include visual artifacts, incorrect shadows, or unexpected interpretations of your object description.
- You are responsible for confirming you have the rights to edit and use both the source image and the generated result.
Creative Suite: AI Video Generator & AI Image Generator Tools
Power up your creative workflow with our AI-driven tools. Generate stunning videos, create images, and apply custom adjustments - our AI Video Generator and AI Image Generator offer a complete solution for all your creative needs.
Strictly Prohibits Adult/NSFW Content


Pricing
Choose the credit package that works best for you.
No hidden fees • Cancel anytime • Unused credits roll over
Starter
Perfect for trying out AI creation.
Credits
200 credits / month
- Up to 20 videos per month
- Up to 100 images per month
$6.99/ month$9.9930% OFF
Billed monthly
First-time subscribers get 30% off their first month, then standard price
What's included
- Credits never expire
- Standard models
- HD, Watermark-Free Downloads
- Private Generation
- Faster Generation Speed
- Ad-free experience
Basic
Perfect for light creators.
Credits
500 credits / month
- Up to 50 videos per month
- Up to 250 images per month
$13.99/ month$19.9930% OFF
Billed monthly
First-time subscribers get 30% off their first month, then standard price
What's included
- Credits never expire
- Standard models
- HD, Watermark-Free Downloads
- Private Generation
- Faster Generation Speed
- Ad-free experience
Pro
PopularBest value for creators
Credits
1,200 credits / month
- Up to 120 videos per month
- Up to 600 images per month
$39.99/ month
Billed monthly
What's included
- Credits never expire
- All models + Early access to new models
- HD, Watermark-Free Downloads
- Private Generation
- Faster Generation Speed
- Ultra HD resolution
- Ad-free experience
Ultra
For video creators and power users.
Credits
5,000 credits / month
- Up to 500 videos per month
- Up to 2,500 images per month
$99.99/ month
Billed monthly
What's included
- Credits never expire
- All models + Early access to new models
- HD, Watermark-Free Downloads
- Private Generation
- Faster Generation Speed
- Ultra HD resolution
- Ad-free experience
Free
Standard models only — upgrade to unlock premium models.
Credits
10 free credits on signup
Questions? Contact us at support@domer.io
Turn your source image into a profile-ready version
Open Image to Image, upload an image you can edit, and review the result before you decide to use it.