Limited Time Offer: Get 50% OFF Starter & Basic Yearly Plans 🎉
AI Image Editor Generative Fill for Clean Photo Fixes
Use ai image editor generative fill to upload your photo, describe what you want to fill or replace, and review the result before downloading a polished.
What does an AI image editor with generative fill do?
An AI image editor with generative fill lets you upload a photo you own, request that empty areas be filled or unwanted elements be replaced, and review the edited version before deciding whether to use it.
AI Image Editor Generative Fill for Clean Photo Fixes
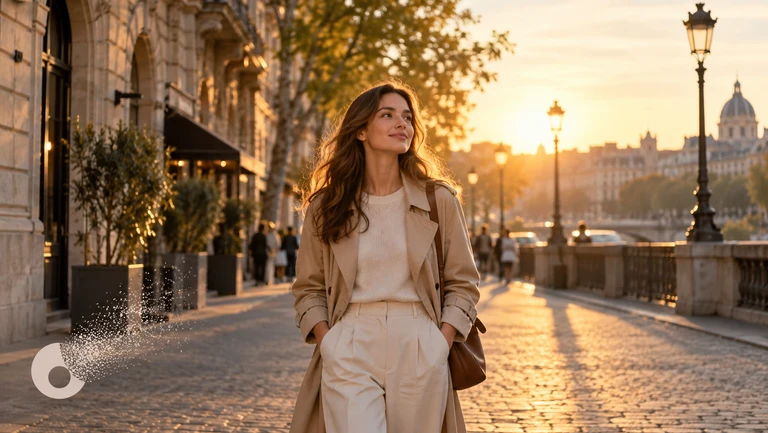
Fill a blank sky
Input
Upload a source image you have permission to edit, then describe the framing, style, background, and finish you want for the profile picture.
Expected output
A revised version of the landscape where the sky area shows soft clouds consistent with the rest of the image Review the edited result before deciding whether it represents the person or subject accurately.
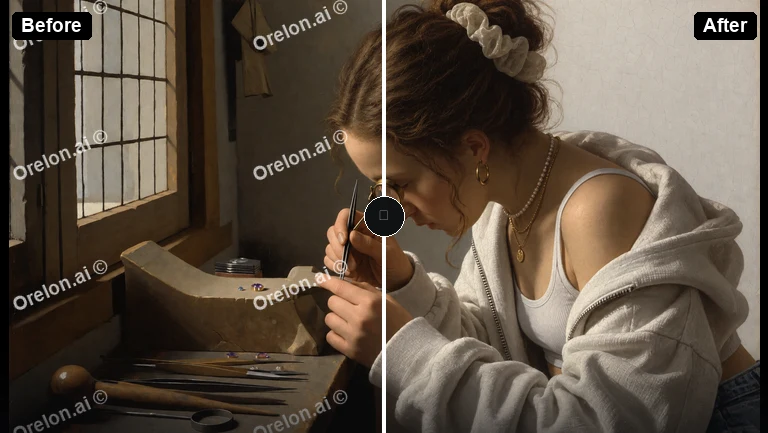
Add texture to a plain area
Input
Upload a source image you have permission to edit, then describe the framing, style, background, and finish you want for the profile picture.
Expected output
A version of the image where the wall shows a brick texture that follows the original lighting Review the edited result before deciding whether it represents the person or subject accurately.
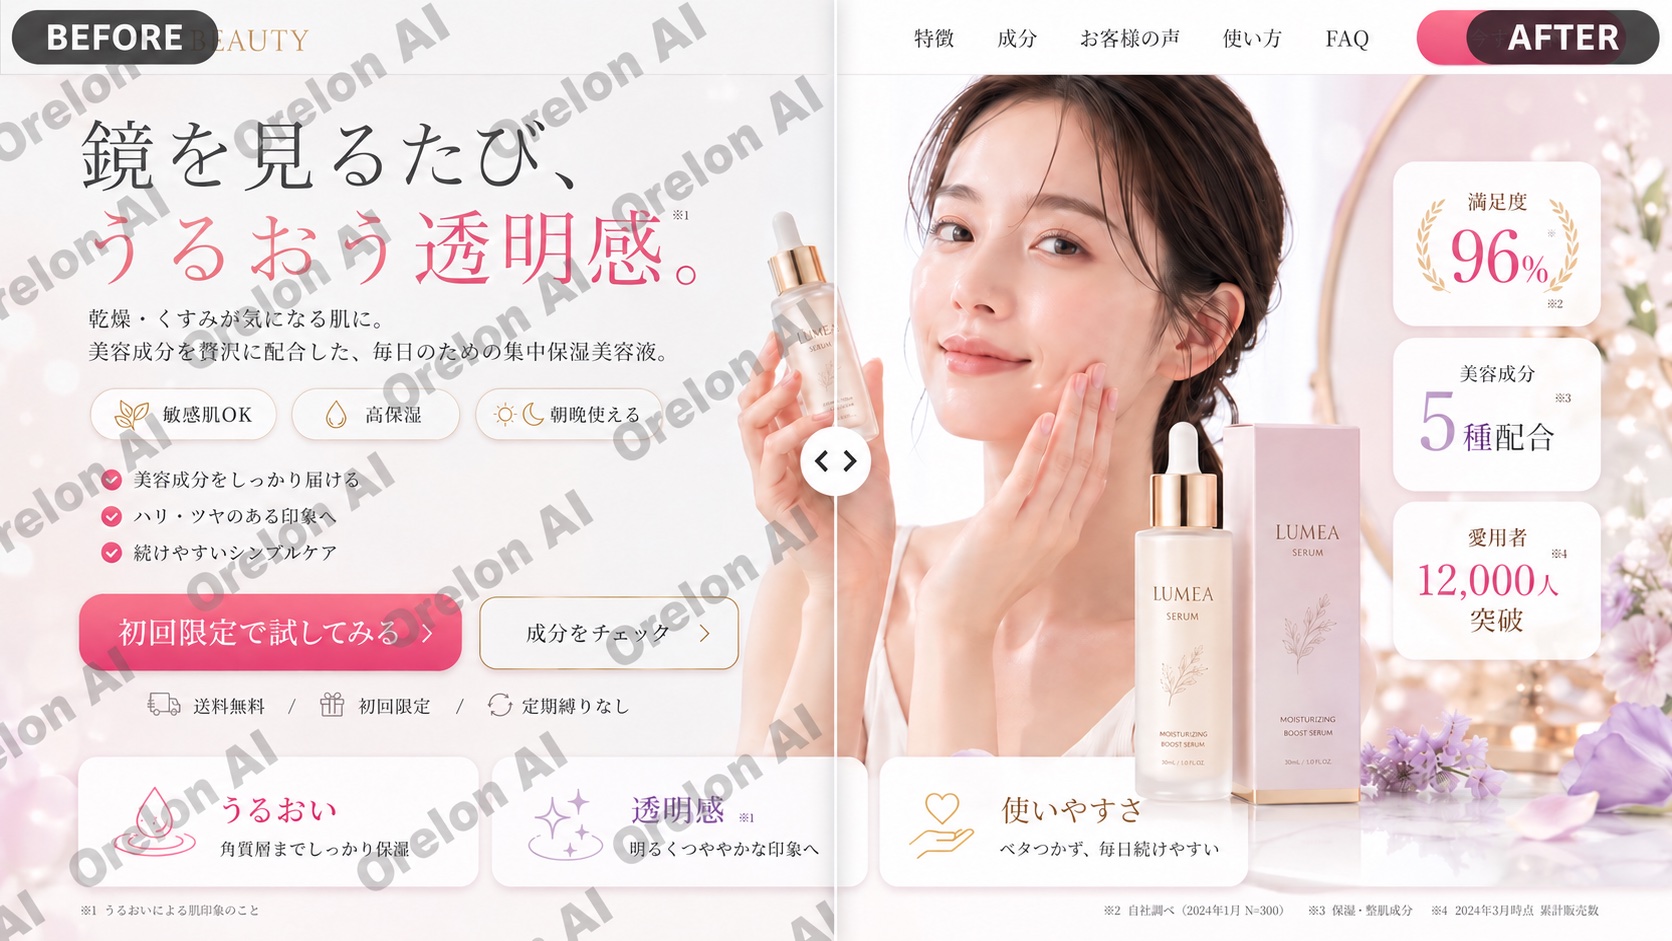
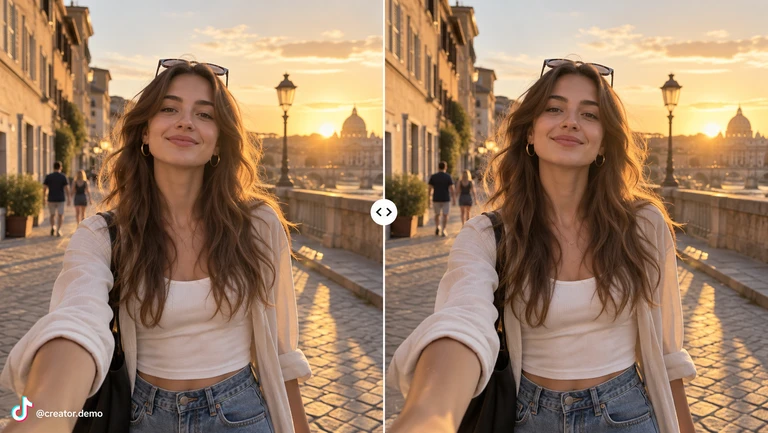
Restyle a background
Input
Upload a source image you have permission to edit, then describe the framing, style, background, and finish you want for the profile picture.
Expected output
A portrait with a soft forest backdrop while the person in the foreground stays unchanged Review the edited result before deciding whether it represents the person or subject accurately.
Fill in missing or unwanted parts of your photo and review the result before saving it.
Start with your own image
Use an image you have permission to edit instead of recreating the subject from a text-only description.
Direct the changes
State the framing, background, and style you want, then compare the result with the original image.
Choose before you use it
Review the edited image for likeness, context, and crop before downloading or posting it.
How It Works
1
Upload the image you want to refine
Start with an image you have the right to edit.
2
Describe the profile-picture changes you want
Keep the requested edits specific so the intended profile look is clear.
3
Generate, compare, and download
Review the output for likeness, accuracy, and the final profile crop before using it.
Making a profile-picture edit that stays clear
A clear source image and a focused edit request make it easier to judge the result.
Input Constraints
Only upload images you have permission to edit and use.
Keep the requested changes focused on the profile-picture outcome you need.
Review the final image for likeness and context before sharing it.
Practical Tips
Use a source image with a visible face and enough detail around the subject.
Ask for one or two concrete changes, such as a neutral background or a square crop.
Compare the result with the original image before choosing a version to use.
Privacy
Do not upload personal or sensitive material unless you have permission to use it.
Usage Rights
Confirm that you have the rights needed for the inputs and intended use of the result.
Prompt recipes
Copy a structure, then adjust the subject, lighting, camera, and output details for your own result.
Fill empty sky with soft clouds
Replace the blank white sky with soft, realistic clouds that match the lighting and time of day in the rest of the landscape
Specifying the lighting and time of day helps the fill blend naturally with the existing photo conditions.
Remove distractions from a portrait background
Remove the power lines and street signs from the background and fill those areas with more of the park scenery
Identifying specific unwanted elements and stating what should replace them gives the model clear direction.
Add brick texture to a plain wall
Transform the plain beige wall behind the subject into a red brick wall with realistic mortar lines and shadows
Describing the material, color, and details like mortar lines produces a more believable fill.
Extend a cropped background
Extend the forest background on both sides of the portrait so the frame is wider and the trees continue naturally
Stating the direction and desired continuity helps the model understand how to expand the scene seamlessly.
Replace a busy backdrop with something simple
Replace the cluttered office background with a soft gray gradient that fades from light to dark top to bottom
A simple, well-defined replacement like a gradient is easier for the model to generate consistently.
Fill in missing corners after a crop
Fill the missing bottom-left corner of the image with more of the wooden floor and baseboard to complete the room
Pointing out the exact area and what it should contain ensures the fill matches the rest of the room.
Best use cases
Match the workflow to the input you have and the result you need before opening the generator.
Use case
Best input
Expected result
Tool
Fix a cropped or incomplete photo
An image where part of the background is cut off or missing, with enough surrounding detail to guide the fill
A completed image where the missing area is filled with content that matches the original scene
Image to Image with a description of what should appear in the missing area
Remove unwanted objects from a photo
A photo with a clear unwanted element and enough surrounding context for the model to infer what belongs there
A cleaner version of the photo where the unwanted object is gone and the space is filled naturally
Image to Image with instructions to remove the object and describe the fill
Change the background behind a subject
A portrait or product photo where the subject is clearly separated from the background
A new version where the subject stays the same but the background is replaced with your described setting
Image to Image with a detailed description of the new background
Fix a cropped or incomplete photo
Input: An image where part of the background is cut off or missing, with enough surrounding detail to guide the fill
Result: A completed image where the missing area is filled with content that matches the original scene
Tool: Image to Image with a description of what should appear in the missing area
Remove unwanted objects from a photo
Input: A photo with a clear unwanted element and enough surrounding context for the model to infer what belongs there
Result: A cleaner version of the photo where the unwanted object is gone and the space is filled naturally
Tool: Image to Image with instructions to remove the object and describe the fill
Change the background behind a subject
Input: A portrait or product photo where the subject is clearly separated from the background
Result: A new version where the subject stays the same but the background is replaced with your described setting
Tool: Image to Image with a detailed description of the new background
Limitations to know before generating
The fill quality depends on how much surrounding detail exists in the original image; sparse or heavily cropped areas may produce less realistic results.
Complex textures like hair, fur, or intricate patterns are harder to fill seamlessly and may require multiple attempts.
The model interprets your description; if your request is vague, the filled area may not match your expectations.
Generative fill cannot perfectly reconstruct missing information; review the result to confirm it meets your standards before using it.
Creative Suite: AI Video Generator & AI Image Generator Tools
Power up your creative workflow with our AI-driven tools. Generate stunning videos, create images, and apply custom adjustments - our AI Video Generator and AI Image Generator offer a complete solution for all your creative needs.