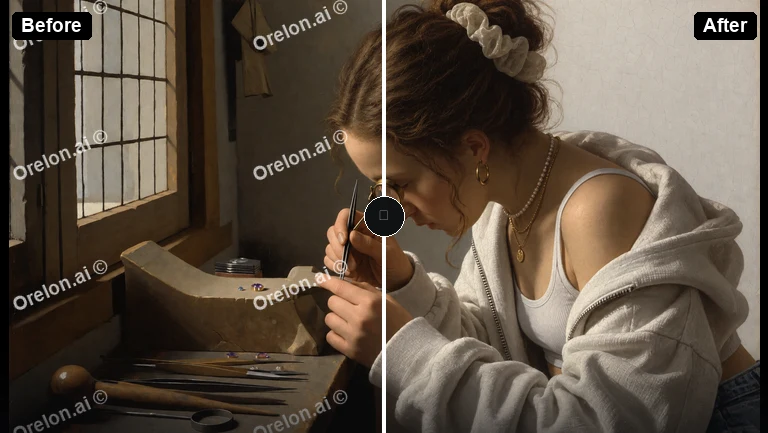
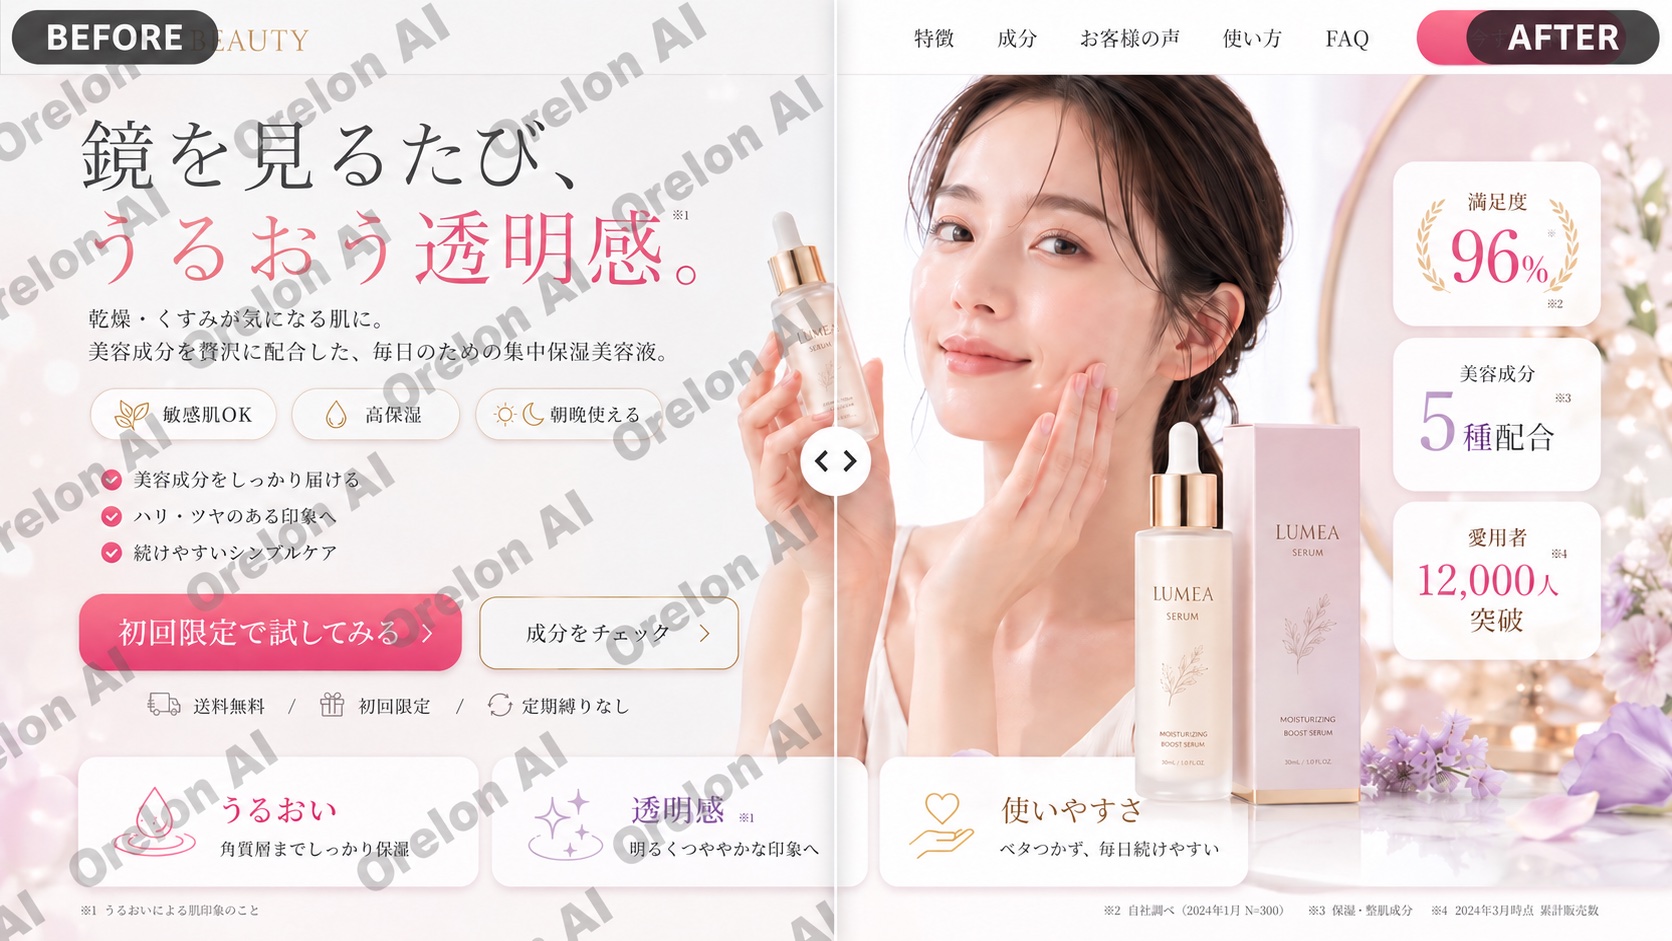
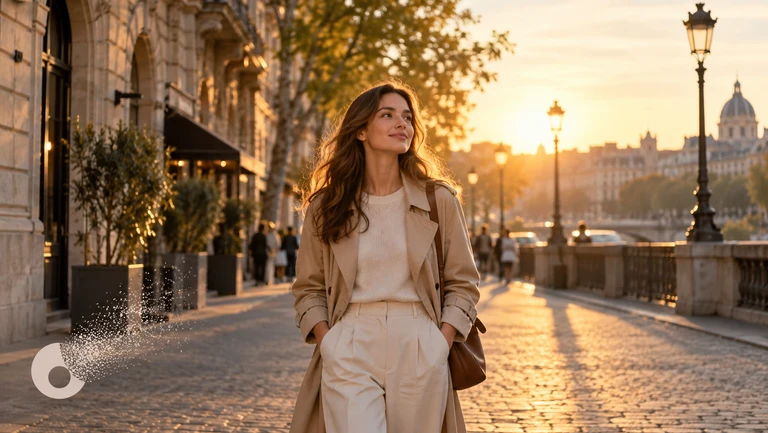
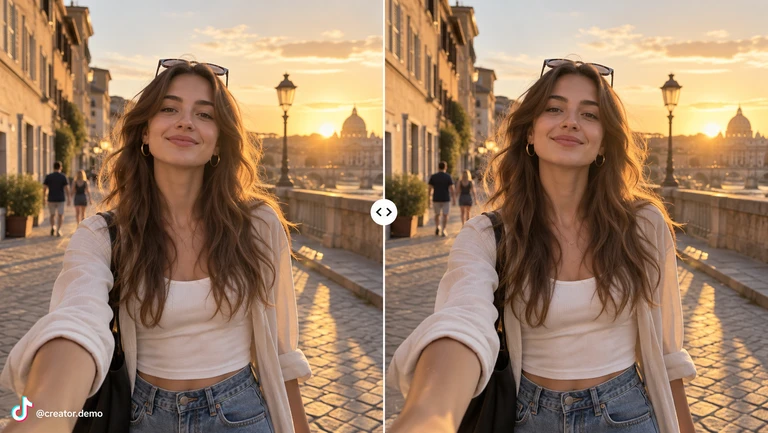
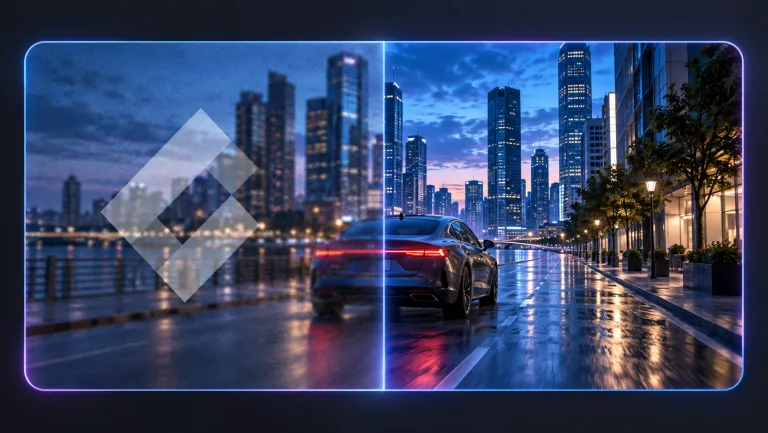
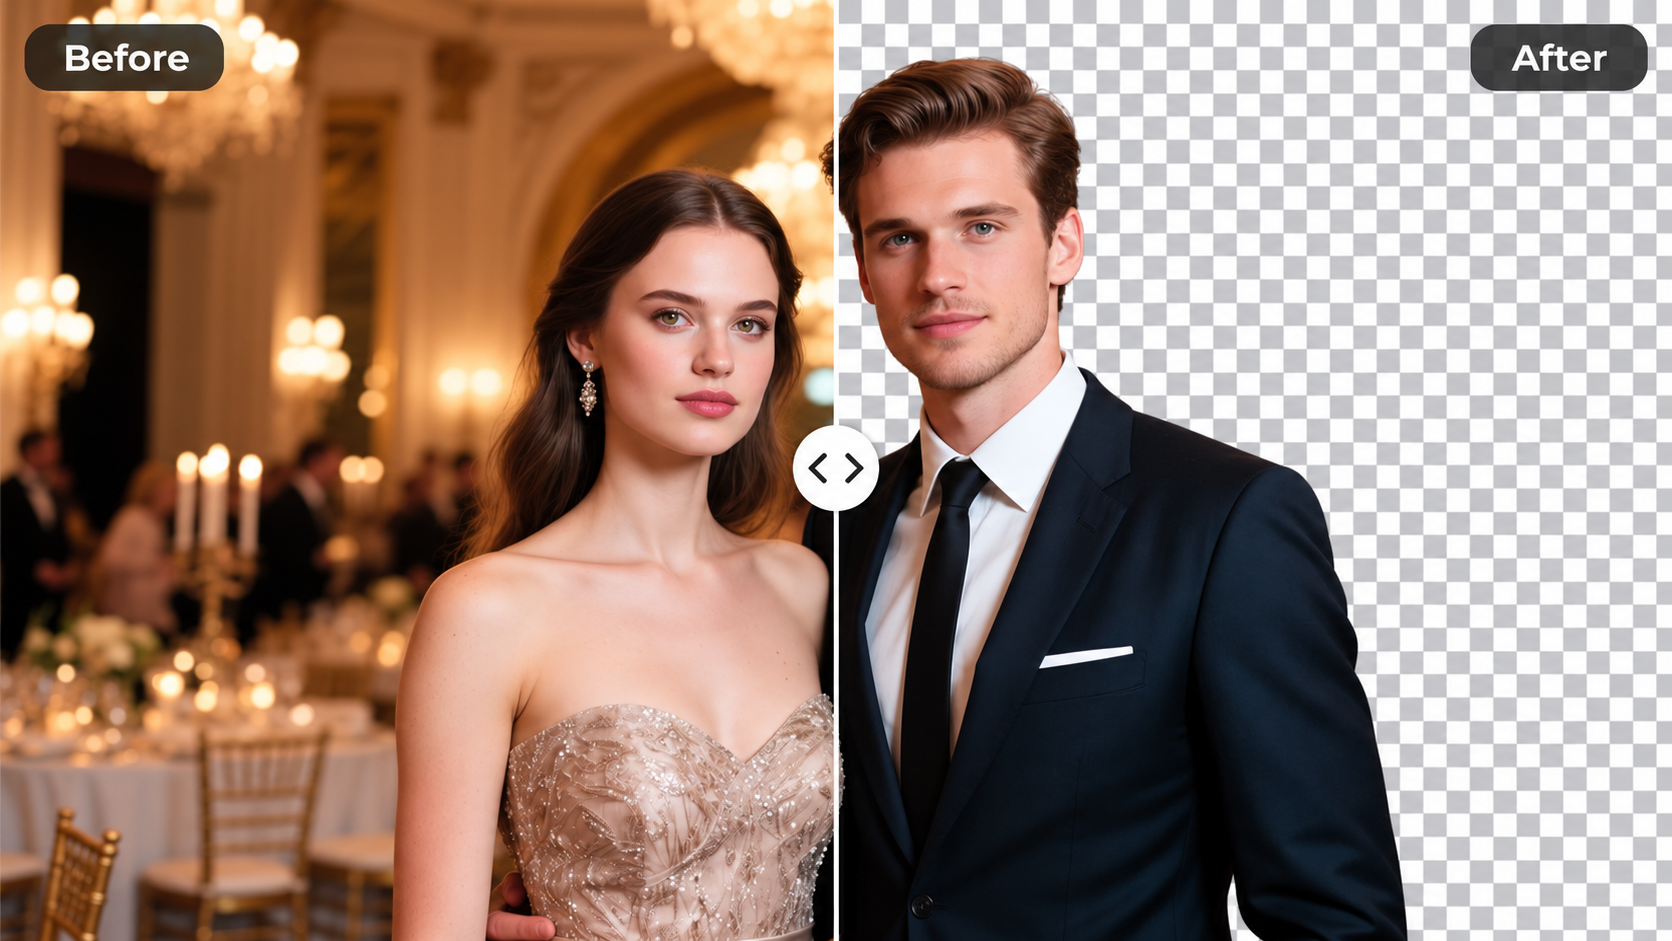
Upload a source image you have permission to edit, describe the changes you want, generate the result, then compare the edited version with the original before saving it.
AI Photo Editor Checker: Review Edits Before You Use Them
Check a portrait restyle
Input
Upload a portrait, ask for a softer look with warmer tones, then compare the edited version with the original before deciding.
Expected output
A portrait with warmer color grading and softer lighting, ready to review side by side with the source.
Verify a sky replacement
Input
Upload a beach scene, ask to replace the overcast sky with a sunset tone, then check the result against the original.
Expected output
A beach photo with a sunset-toned sky, available for comparison with the original cloudy version.
Review a product background change
Input
Upload a product photo, ask to replace the cluttered background with a neutral white, then compare before using.
Expected output
A product photo with a clean white background, ready to compare with the original for accuracy.
Generate a photo edit and compare the result with the original before deciding to use it.
Compare before committing
Review the edited version next to the original photo to judge accuracy, quality, and suitability before downloading.
Start with your own image
Use a photo you already have instead of recreating the scene from a text-only description.
Catch issues early
Spot artifacts, color mismatches, or unintended changes before you share or publish the edited image.
How It Works
1
Upload the image you want to refine
Start with an image you have the right to edit.
2
Describe the profile-picture changes you want
Keep the requested edits specific so the intended profile look is clear.
3
Generate, compare, and download
Review the output for likeness, accuracy, and the final profile crop before using it.
Making a reliable comparison before you use the result
A clear source image and specific edit request make it easier to judge the final result against the original.
Input Constraints
Only upload images you have permission to edit and use.
Keep the requested changes focused on the profile-picture outcome you need.
Review the final image for likeness and context before sharing it.
Practical Tips
Open the original and edited versions side by side to spot differences in color, detail, and composition.
Check for artifacts, mismatched textures, or unnatural edges before deciding to use the result.
If the first result does not meet your standard, refine your prompt and generate again.
Privacy
Do not upload personal or sensitive material unless you have permission to use it.
Usage Rights
Confirm that you have the rights needed for the inputs and intended use of the result.
Prompt recipes
Copy a structure, then adjust the subject, lighting, camera, and output details for your own result.
Soften lighting for a flattering portrait
Reduce harsh shadows on the face and add a soft, diffused glow to create a more flattering look.
Softening harsh light reduces unflattering shadows and creates a gentle, professional appearance that works well for profile photos.
Replace a busy background with a neutral one
Remove the cluttered background and replace it with a smooth neutral gray that keeps the focus on the subject.
A clean background eliminates distractions and makes the subject stand out, ideal for professional or product photos.
Boost color vibrancy without oversaturation
Increase the saturation slightly to make colors pop while keeping skin tones natural and avoiding an artificial look.
Balanced saturation enhances visual appeal without crossing into oversaturated or unrealistic territory.
Add a subtle vignette for focus
Darken the edges of the frame gently to draw the viewer's eye toward the center subject.
A vignette creates visual depth and directs attention to the main subject without obvious manipulation.
Correct color cast from indoor lighting
Remove the yellow-orange cast from indoor bulbs and shift the white balance to a neutral, natural tone.
Correcting color cast makes the image look more true to life and eliminates the dull, dated feel of artificial lighting.
Sharpen details without adding noise
Increase edge sharpness on the subject while keeping the background smooth and avoiding grain or artifacts.
Selective sharpening enhances clarity where it matters most without introducing unwanted noise in smooth areas.
Best use cases
Match the workflow to the input you have and the result you need before opening the generator.
Use case
Best input
Expected result
Tool
Checking portrait edits for client approval
A portrait with lighting or color adjustments that need client review before final delivery.
A side-by-side comparison showing the edited version and original for approval.
Image to Image with lighting or color-correction prompts, reviewed before download.
Verifying product background replacements
A product photo with a cluttered or off-brand background that needs a clean replacement.
A product image with a neutral background, compared with the original for accuracy.
Image to Image with background-replacement prompts, reviewed before use.
Reviewing color grading for social media posts
A photo that needs a specific mood or color treatment for brand consistency.
A color-graded version compared with the original to ensure it matches the brand aesthetic.
Image to Image with color-grading or mood-adjustment prompts.
Spotting artifacts before publishing marketing images
An edited photo that will be published in print or on high-resolution displays.
A detailed comparison to catch any artifacts, mismatched textures, or unnatural edges.
Image to Image with any edit, reviewed at full resolution before publishing.
Checking portrait edits for client approval
Input: A portrait with lighting or color adjustments that need client review before final delivery.
Result: A side-by-side comparison showing the edited version and original for approval.
Tool: Image to Image with lighting or color-correction prompts, reviewed before download.
Verifying product background replacements
Input: A product photo with a cluttered or off-brand background that needs a clean replacement.
Result: A product image with a neutral background, compared with the original for accuracy.
Tool: Image to Image with background-replacement prompts, reviewed before use.
Reviewing color grading for social media posts
Input: A photo that needs a specific mood or color treatment for brand consistency.
Result: A color-graded version compared with the original to ensure it matches the brand aesthetic.
Tool: Image to Image with color-grading or mood-adjustment prompts.
Spotting artifacts before publishing marketing images
Input: An edited photo that will be published in print or on high-resolution displays.
Result: A detailed comparison to catch any artifacts, mismatched textures, or unnatural edges.
Tool: Image to Image with any edit, reviewed at full resolution before publishing.
Limitations to know before generating
Comparing on a small screen may miss subtle artifacts or color shifts; review at full size when possible.
Complex edits may introduce multiple changes for comparison, making it harder to isolate what works and what does not.
The tool does not automatically highlight differences; you must manually compare the original and edited versions.
Some edits may look acceptable on screen but reveal issues when printed or viewed at high resolution.
The tool does not guarantee perfect accuracy or commercial suitability; always review before publishing.
Creative Suite: AI Video Generator & AI Image Generator Tools
Power up your creative workflow with our AI-driven tools. Generate stunning videos, create images, and apply custom adjustments - our AI Video Generator and AI Image Generator offer a complete solution for all your creative needs.