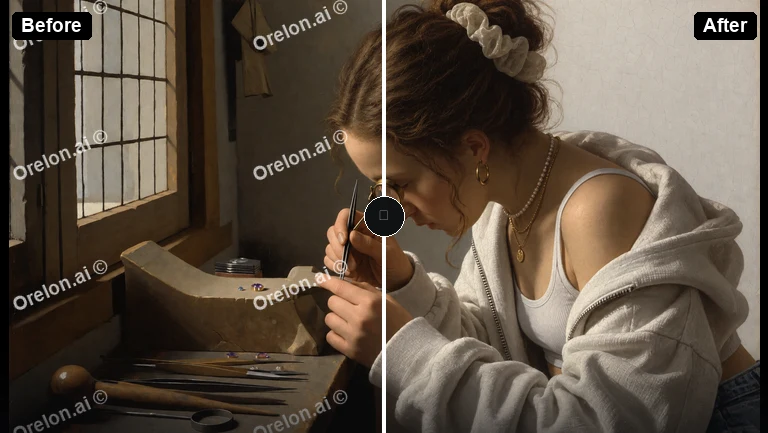
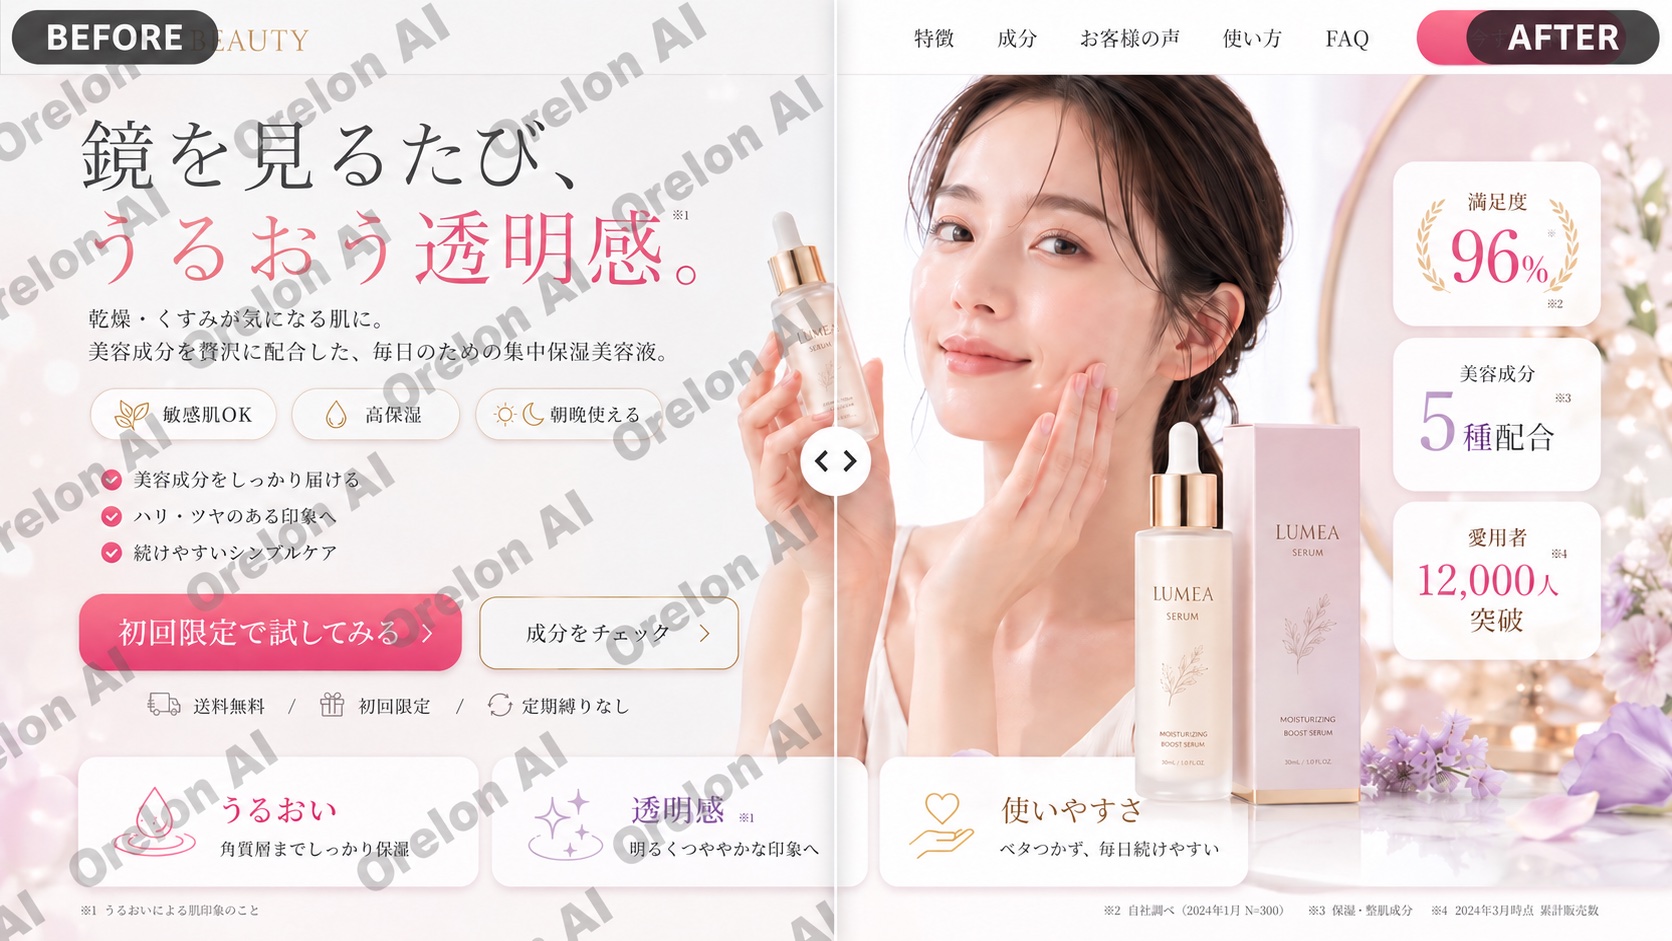
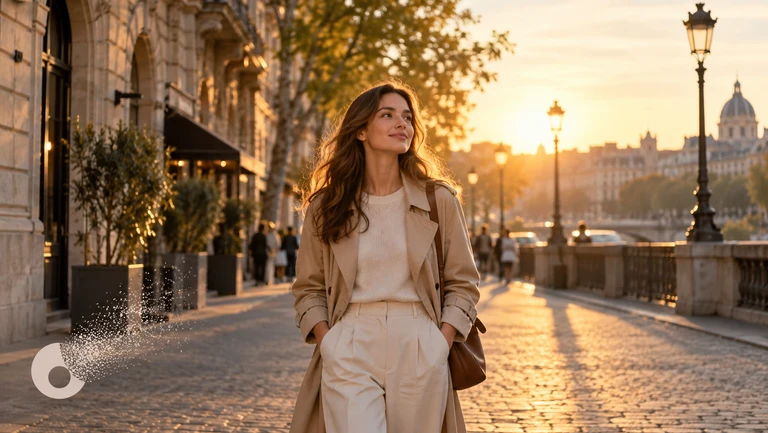
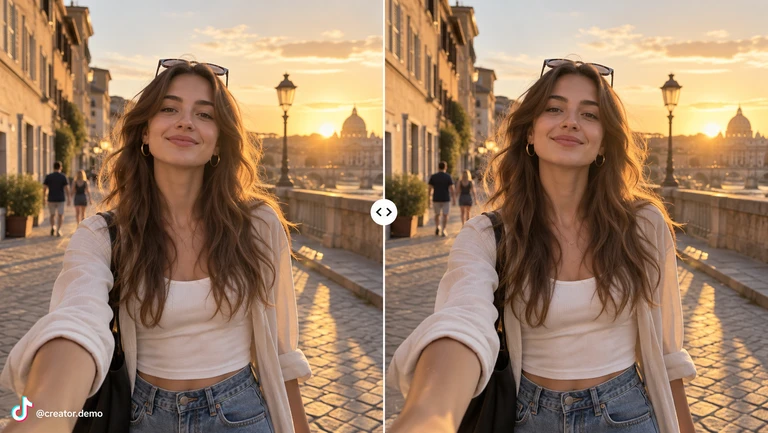
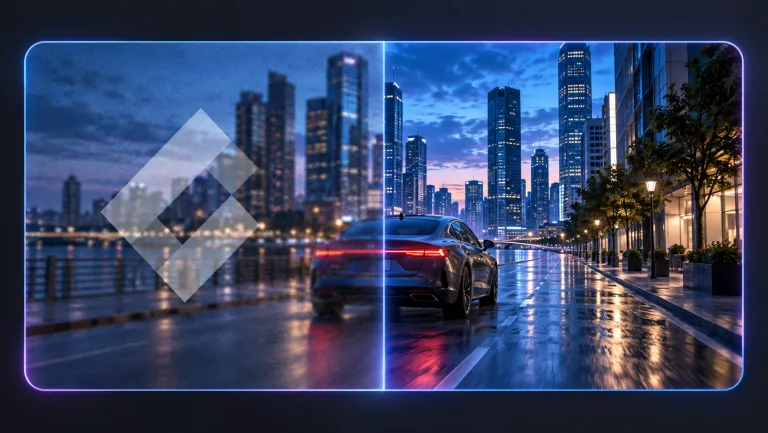
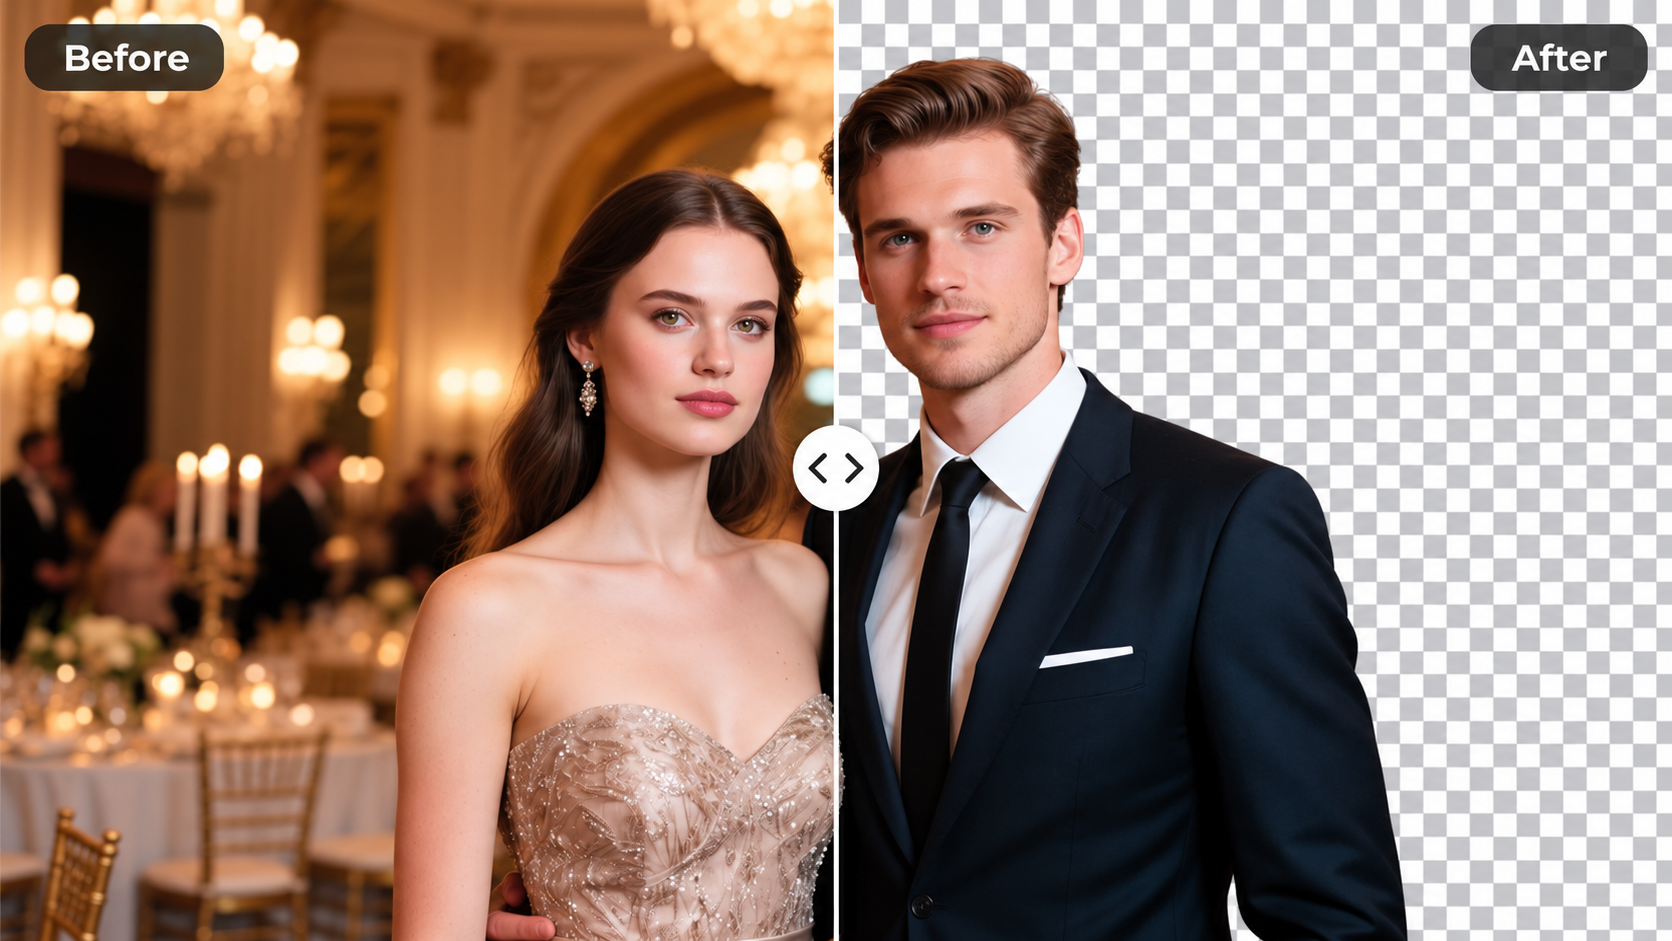
AI work photo editor lets you upload a work-related photo and describe professional edits such as background cleanup, lighting adjustments, or color correction. The tool generates a polished version, and you review it before deciding whether to use it.
AI Work Photo Editor: Polished Images
Polished headshot
Input
Upload a headshot photo you have permission to edit, then write: Replace the busy background with a soft grey and make the lighting more even.
Expected output
A headshot with a calm, neutral background and more even professional lighting. Review the edited result before deciding whether it represents the person accurately.
Conference photo correction
Input
Upload a conference photo you have permission to edit, then write: Brighten the faces and make the exposure more even across the group.
Expected output
A version of the photo with more even exposure and visible faces. Review the edited result before using it.
Product shot polish
Input
Upload a product photo you have permission to edit, then write: Soften the background and keep the product details sharp and clear.
Expected output
A product image with a softer, neutral background that keeps the product details clear. Review the edited result before using it.
Polish a work photo by describing the professional edits you need, then review the result before you use it.
Start with your own image
Use an image you have permission to edit instead of recreating the subject from a text-only description.
Direct the changes
State the framing, background, and style you want, then compare the result with the original image.
Choose before you use it
Review the edited image for likeness, context, and crop before downloading or posting it.
How It Works
1
Upload the image you want to refine
Start with an image you have the right to edit.
2
Describe the profile-picture changes you want
Keep the requested edits specific so the intended profile look is clear.
3
Generate, compare, and download
Review the output for likeness, accuracy, and the final profile crop before using it.
Making a profile-picture edit that stays clear
A clear source image and a focused edit request make it easier to judge the result.
Input Constraints
Only upload images you have permission to edit and use.
Keep the requested changes focused on the profile-picture outcome you need.
Review the final image for likeness and context before sharing it.
Practical Tips
Use a source image with a visible face and enough detail around the subject.
Ask for one or two concrete changes, such as a neutral background or a square crop.
Compare the result with the original image before choosing a version to use.
Privacy
Do not upload personal or sensitive material unless you have permission to use it.
Usage Rights
Confirm that you have the rights needed for the inputs and intended use of the result.
Prompt recipes
Copy a structure, then adjust the subject, lighting, camera, and output details for your own result.
LinkedIn headshot with soft grey background
Upload a headshot, then write: Replace the background with soft grey and adjust the lighting to look professional and even.
A soft grey background and even lighting create a polished, distraction-free look that works across professional profiles.
Team photo with balanced exposure
Upload a team photo, then write: Brighten the faces and balance the exposure so everyone is clearly visible.
Balanced exposure ensures all team members are visible and the photo looks intentional rather than rushed.
Office interior with cleaner composition
Upload an office photo, then write: Simplify the background clutter and make the lighting warmer and more inviting.
A cleaner composition and warmer lighting make the space feel more welcoming without changing the layout.
Product demo shot with white background
Upload a product demo photo, then write: Remove the background and place the product on a clean white surface with soft shadows.
A white background with soft shadows keeps the focus on the product and fits the style of most professional presentations.
Conference booth photo with enhanced branding
Upload a booth photo, then write: Brighten the booth signage and make the colors more vibrant without changing the overall scene.
Enhanced branding visibility makes the booth look more professional and helps the photo work better in marketing materials.
Best use cases
Match the workflow to the input you have and the result you need before opening the generator.
Use case
Best input
Expected result
Tool
LinkedIn or professional profile picture
A clear headshot with visible face and simple background
A polished headshot with neutral background and professional lighting
Image to Image
Team or event photo for website
A group photo with uneven lighting or busy background
A version with balanced exposure and cleaner composition
Image to Image
Product photo for presentation or pitch deck
A product photo with distracting background or uneven lighting
Product isolated on clean background with clear details
Image to Image
Office or workspace photo for branding
An interior photo with cluttered background or harsh lighting
A cleaner, warmer version that feels more welcoming
Image to Image
LinkedIn or professional profile picture
Input: A clear headshot with visible face and simple background
Result: A polished headshot with neutral background and professional lighting
Tool: Image to Image
Team or event photo for website
Input: A group photo with uneven lighting or busy background
Result: A version with balanced exposure and cleaner composition
Tool: Image to Image
Product photo for presentation or pitch deck
Input: A product photo with distracting background or uneven lighting
Result: Product isolated on clean background with clear details
Tool: Image to Image
Office or workspace photo for branding
Input: An interior photo with cluttered background or harsh lighting
Result: A cleaner, warmer version that feels more welcoming
Tool: Image to Image
Limitations to know before generating
Results depend on the clarity and lighting of the source photo. Blurry or poorly lit images may produce unclear edits.
Complex background removal or lighting fixes may not match your expectation on the first attempt. Review the output before using it.
The tool interprets your description but cannot guarantee exact results. Compare the edited version with the original.
Likeness and context may shift during editing. Confirm the edited version still represents the subject accurately before using it.
You are responsible for confirming you have permission to edit and use the source image and the edited result.
Creative Suite: AI Video Generator & AI Image Generator Tools
Power up your creative workflow with our AI-driven tools. Generate stunning videos, create images, and apply custom adjustments - our AI Video Generator and AI Image Generator offer a complete solution for all your creative needs.