

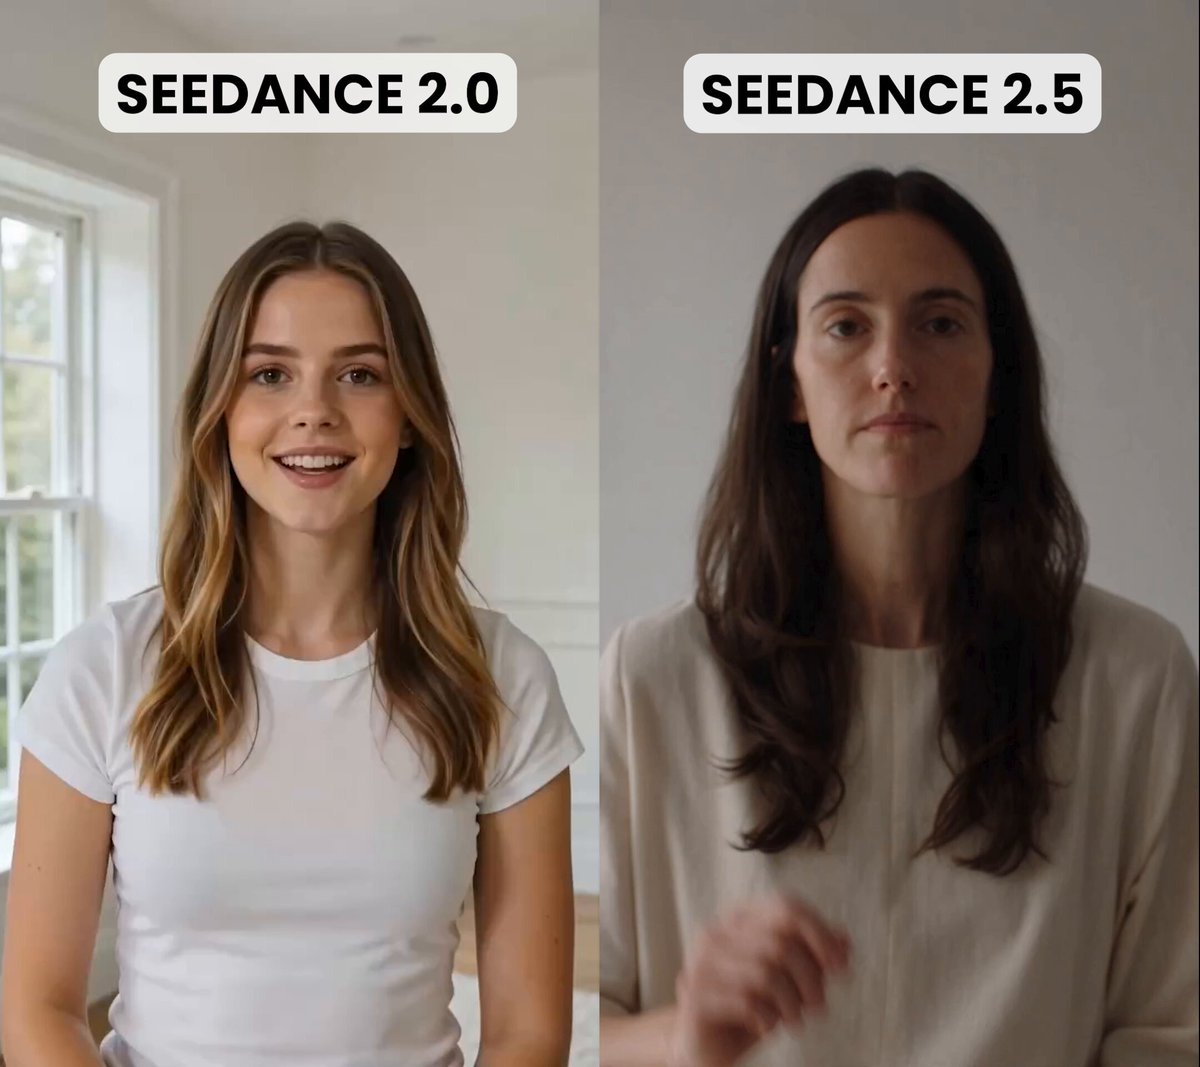

Most failed AI video projects do not fail because the model was weak. They fail because the model was the only thing anyone thought about. A prompt gets typed, a clip appears, and that clip is judged on its own merits rather than against the script, the shot before it, or the sound that will eventually sit underneath it. The result is a folder of attractive fragments that never becomes a film.
A dependable AI video workflow treats generation as one station on a production line, not the whole factory. The stages around it — brief, look development, shot design, assembly, audio, and quality control — are what turn scattered clips into something an audience will watch to the end. This guide walks through that pipeline in the order you will actually use it, with the decision points where projects most often go wrong.
Why the model is the smallest part of the workflow
Generative video tools improve every few months. Resolution climbs, motion gets cleaner, and prompt adherence sharpens. That progress is real, and it is also the reason so many creators keep restarting: they rebuild their process around whichever model is newest instead of building a process that outlives any single model.
A model decides how a single shot looks. A workflow decides whether the project finishes. Consider what actually consumes time on a realistic short film or branded clip:
- Deciding what the piece is about and how long it should be
- Establishing a visual language the audience can recognize in three seconds
- Breaking the script into shots that can each be described clearly
- Generating, reviewing, and discarding takes
- Matching motion, color, and framing across shots
- Cutting to music and pacing the reveal
- Fixing audio, captions, and delivery formats
Generation is maybe one-fifth of that list. The rest is craft, and craft is repeatable.
The practical implication is simple: invest in the parts that stay constant. A shot list, a prompt template, a naming convention, and a review checklist will still serve you when the current favorite model is replaced. Chasing a model is a strategy with a half-life; building a pipeline is a strategy with compounding returns.
There is a second reason to focus on process. Every generation has a cost — in render time, in subscription allowance, and in the far more expensive currency of your own attention. A workflow that reduces wasted generations is worth more than a model that produces slightly prettier frames on the first try.
Stage one: brief and look development
Everything starts with a one-page brief. Keep it genuinely to one page, because its purpose is to prevent scope drift, not to impress a client.
A useful brief answers six questions:
- Who is watching? Platform, context, and whether sound will be on.
- What is the single takeaway? One sentence, no commas.
- How long? Fifteen seconds, sixty seconds, three minutes. Commit early.
- What is the tone? Documentary realism, stylized animation, corporate clean, dreamlike, gritty.
- What is non-negotiable? A logo, a product, a line of dialogue, a legal disclaimer.
- What is the deadline and the ceiling on generations? Put a number on it.
Look development comes next, and it is where most of the visual consistency you will later need gets decided. Collect eight to twelve reference images. Do not collect them for mood alone — collect them for specific, describable properties: lens length, contrast ratio, color temperature, grain, how skin tones read, how highlights roll off.
Then translate those references into language. "Cinematic" is not a visual property. "Shallow depth of field, warm key light from the left, soft falloff into shadow, slight halation on highlights, 35mm grain" is. The moment your references become words, they become reusable across every prompt in the project.
A practical trick: build a small look bible of three to five sentences that you paste into the tail of every prompt. Something like:
Palette of desaturated teal and warm ochre. Overcast daylight, soft directional shadows. 40mm lens, shallow depth of field, fine grain. Handheld but stable. Faces lit from the side.
This block becomes your project's signature. It is also the cheapest consistency tool available, and it costs nothing to reuse.
Finally, decide your aspect ratios now. Vertical for short-form, 16:9 for landscape delivery, 1:1 or 4:5 for feed placements. Framing for a vertical crop after the fact fails more often than it succeeds, because generated compositions tend to place subjects for the format they were prompted in.
Stage two: shot generation and iteration control
Now the fun part, with guardrails.
Break the script into shots, and write each one as a sentence with a subject, an action, a camera behavior, and a duration target. If a shot cannot be described in one sentence, it is two shots.
The three-take rule
For every shot, allow yourself three takes before you change something structural. Takes one through three are variations of prompt wording, seed, or reference image. If all three miss, the problem is not the wording — it is the shot design. Redescribe it. A shot that needs eight takes to work is usually a shot that should have been two simpler shots or a static frame with a subtle camera move.
Generate in the order you will cut
Generate sequentially rather than jumping to your favorite shot. Each clip you approve becomes a reference for the next one, and you notice continuity problems while they are still cheap to fix. Generating the whole film out of order means discovering in the edit that the character's jacket changed color three times.
Accept imperfection strategically
Slight softness, a small hand anomaly at the edge of frame, or a background object that flickers for four frames can often be hidden by a cut, a crop, or added grain. Learn which defects survive the edit. Perfectionism at the generation stage is the most common way to burn an entire render allowance on a shot nobody will scrutinize.
Keep a shot log
A simple table — shot number, prompt version, seed if available, model used, status, notes — saves hours. Statuses like needs regen, approved, approved with crop tell you instantly what remains. When you return to a project after a week, the log is the only reliable memory you have.
Stage three: assembly, continuity, and rhythm
Editing AI-generated footage is different from editing filmed footage, because you rarely have coverage. You have exactly one angle per beat. That changes how you build rhythm.
Start with a rough assembly at the intended duration, even if the clips are imperfect. Place them on the timeline with music, and watch it back once without pausing. Note where your attention drifts. Attention drift is data; it tells you which shot is too long, which transition is too clever, and where the piece needs a cut on motion instead of on a beat.
Continuity in generated video is maintained through three levers:
- Frame matching. End a shot and start the next with a similar composition so the eye reads them as connected.
- Motion matching. Cut during movement — a turn of the head, a push-in, a hand entering frame. Static-to-static cuts feel like slideshows.
- Color matching. Apply a single grade or LUT across the entire sequence rather than correcting each clip individually. A unified grade hides small inconsistencies that per-clip correction exaggerates.
Pacing rule of thumb for short-form: no shot longer than four seconds unless it contains a deliberate reveal, and no shot shorter than one second unless it is part of a montage. For longer narrative work, let shots breathe at five to eight seconds, but cut on movement rather than on stillness.
If a transition between two shots refuses to work, insert a cutaway: a detail shot of a hand, a landscape, an object. Cutaways are cheap to generate, easy to hide flaws behind, and they give the timeline room to breathe. Keep three or four spare detail shots in the project folder purely for this purpose.
Stage four: finishing, audio, and delivery
Audio does more for perceived quality than any resolution setting. A crisp, well-mixed soundtrack makes ordinary footage feel professional; a hollow, tinny mix makes beautiful footage feel like a test render.
Work in this order:
- Music first. Choose a track and cut to it. Tempo dictates the edit more reliably than your own sense of timing.
- Ambience second. Room tone, wind, city hum, or a low drone under the whole piece. Silence between generated clips is the tell that reveals them as generated.
- Voice third. Record narration yourself if the script allows it. Synthetic voices work well for informational content, but they need pacing direction and small imperfections to feel human.
- Effects last. Whooshes, impacts, and transition sounds. Keep them sparse; a whoosh on every cut becomes exhausting within twenty seconds.
For finishing touches, apply a subtle film grain and a light vignette across the whole sequence. These do two useful things: they unify clips generated by different tools, and they mask minor temporal artifacts that the eye would otherwise catch.
Export in the format the platform expects, but keep a high-bitrate master. Captions should be burned in for social delivery and kept as a separate file for broadcast or embedded use. Check the first three seconds and the last three seconds on an actual phone before you call it done — that is where most delivery problems hide.
Matching shot types to the right generation approach
Not every shot needs the same technique. Choosing deliberately saves both time and render allowance.
Establishing shots and environments
Text-to-video handles environments well, especially wide shots where no face appears in close-up. Prompt for camera movement explicitly — a slow push-in, a lateral drift — because static wide shots in a generated sequence feel like photographs.
Character close-ups
Start from a strong reference image and use image-to-video. Faces in close-up are where text-only generation struggles most, and a fixed reference frame gives you a consistent starting point. Keep the action minimal: a slight turn, a blink, a lift of the chin. Ambitious facial performances rarely survive generation intact.
Dialogue and performance
Generate the performance without worrying about exact lip sync, then handle dialogue with a dedicated lip-sync pass or by cutting away to reaction shots and inserting the voice over the cut. Reaction-shot editing is the oldest trick in film and it works better with generated footage than fighting for perfect mouth shapes.
Product and graphic shots
Use motion graphics, stills with animated camera moves, or 3D renders. Generated video is a poor tool for showing a specific product accurately. Use it for atmosphere around the product instead, and place the real asset in the cut.
Stylized and animated sequences
When you want a specific visual style, a style reference image plus image-to-video beats a hundred adjectives in a text prompt. Show the model a frame in the style you want and let it animate that frame.
Prompt architecture that survives iteration
A prompt that produces one good clip is luck. A prompt structure that produces good clips repeatedly is engineering.
Build every shot prompt from five blocks, in this order:
- Subject and wardrobe. Who or what, with specific visual details.
- Action. One primary movement, described in the present tense.
- Camera. Lens, framing, and movement. This block has the biggest effect on perceived production value.
- Light and environment. Time of day, weather, light direction, background activity.
- Style tail. Your look bible from stage one.
Here is a compact example:
A woman in a charcoal wool coat walks along a wet harbor promenade. She stops and looks left. Medium shot, 40mm lens, slow lateral tracking. Overcast late afternoon, soft side light, reflections on wet stone. Desaturated teal and warm ochre palette, fine grain, shallow depth of field.
When a shot misses, change one block at a time. If you change the camera and the action simultaneously, you learn nothing. Version your prompts in the shot log so you can return to a wording that half-worked instead of trying to remember it.
Two more habits help. First, write negative guidance for the defects you personally keep seeing — extra limbs, warped text, sudden zoom, flickering lights. Second, keep prompts between roughly forty and ninety words. Shorter prompts leave the model guessing; much longer prompts cause instructions to be quietly dropped.
Keeping characters, sets, and costs under control
The two scarcest resources in AI video production are consistency and render budget. Both respond to the same discipline: reuse approved inputs.
For characters, generate a clean reference portrait early and treat it as canon. Use it as the starting frame for every shot the character appears in, and describe wardrobe the same way every time, word for word. If the character appears in a full-body shot, produce a full-body reference too, since models that handle faces well still struggle to carry wardrobe details from a head-and-shoulders reference.
For locations, generate a wide establishing frame and reuse it as a visual anchor. When a scene returns later in the film, start from that same anchor frame so the audience recognizes the space instantly. Recognition is continuity, and continuity reads as competence.
For budget, adopt three habits:
- Preview cheap, finish expensive. Prototype timing and composition with low-resolution or fast-mode generations, and only spend on high-quality renders for shots you have already approved in the edit.
- Batch similar shots. Generate all shots from the same location in one session, while the reference frames and prompt wording are fresh.
- Delete ruthlessly. Unused generations clutter the project and tempt you to reuse a mediocre clip because it already exists. Move rejects to an archive folder and out of sight.
Track how many generations each finished second of video required. A healthy ratio for a well-planned short piece is far lower than for a project improvised shot by shot. When the ratio climbs, the fix is usually script and shot design, not a different model.
Quality control and the mistakes that break projects
Run a fixed checklist before every export. Review on both a large screen and a phone, at normal speed and at quarter speed.
Continuity: wardrobe, hair, props, time of day, and screen direction consistent across cuts.
Motion: no sudden frame jumps, no morphing limbs at frame edges, no unexplained zooms.
Faces and hands: check every close-up at full size. Hands are where most artifacts hide.
Text and logos: any generated text should be replaced with real graphics, since generated lettering rarely survives scrutiny.
Audio: no clipping, consistent loudness between clips, ambience present under every scene.
Delivery: correct aspect ratio, captions readable on a phone, first and last frame intentional.
The mistakes that most reliably sink AI video projects are less technical:
- Starting generation before the script is locked, then rebuilding shots after every script change.
- Designing shots that are impossible to describe in one sentence.
- Chasing a single perfect clip for hours instead of accepting a good-enough clip and moving on.
- Ignoring sound until the end, then discovering the pacing does not work with music.
- Mixing clips from many tools without a unifying grade, producing a visible patchwork.
- Skipping the shot log, then losing track of which version was approved.
None of these are model problems. All of them are workflow problems, and all of them are fixable with process.
FAQ
How long does a one-minute AI video take to produce?
With a locked script and a prepared shot list, plan on roughly one to two working days for a one-minute piece with fifteen to twenty shots, including sound and captions. The first project in a new workflow takes considerably longer; the third one takes markedly less because your templates and look bible already exist.
Should I use one model for the whole project or several?
Use one model for the bulk of the work to keep motion and color consistent, and bring in a second only for specific shot types it handles noticeably better — usually close-ups or stylized animation. Always apply a single grade across the final sequence so mixed sources blend.
How do I stop characters from changing between shots?
Anchor everything to a reference image, describe wardrobe in identical wording every time, limit the amount of on-screen action per shot, and avoid profile-to-frontal turns within a single clip. Consistency is a product of repetition, not of better prompting.
Is image-to-video always better than text-to-video?
No. Image-to-video is stronger for characters, products, and specific compositions. Text-to-video is faster and more flexible for environments, abstract sequences, and establishing shots where you are still exploring the look.
How many generations should I budget per shot?
Plan on three, and treat a fourth as a signal that the shot design needs rethinking. Across a project, an average of two to three generations per finished shot is a reasonable target; anything beyond that usually points to an unclear brief or an overcomplicated shot list.
What is the fastest way to improve output quality?
Improve the camera and light blocks in your prompts. Audiences read production value through framing, depth of field, and lighting direction far more than through resolution. A well-framed shot from a modest model beats a flat shot from the most advanced one.
Do I need video editing experience?
You need pacing instincts more than software skill. Basic cutting, audio leveling, and captioning can be learned quickly in any common editor. The transferable skill is understanding where attention drops — and that comes from watching your own rough cut honestly.
The through-line in all of this is unglamorous: write it down, generate in order, reuse what works, and review against a checklist. Models will keep changing. A workflow built on those four habits will not need to.
