Start Free Now
Limited Time Offer: Get 50% OFF Starter & Basic Yearly Plans 🎉

AI Image Editor: Describe the Change You Want

Skip the layer masks: this AI image editor takes the photo you provide plus a plain instruction and returns a transformed version to review.

AI Image Generator

0/20000 characters
Cost:10
Strictly Prohibits Adult/NSFW Content
My images

Loading...

How is AI image editing different from normal editing?

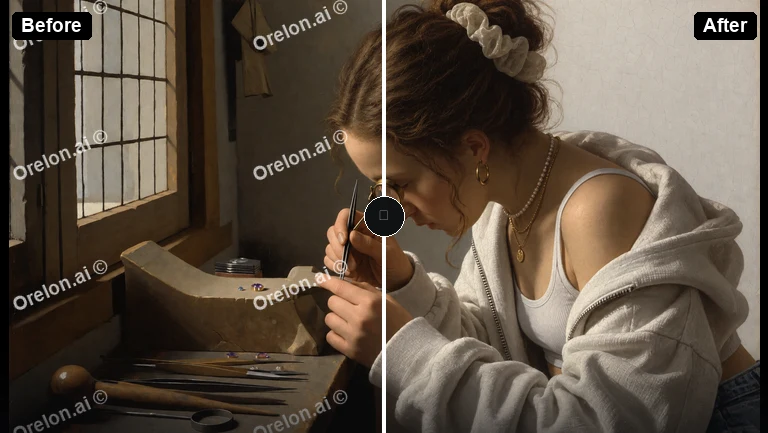
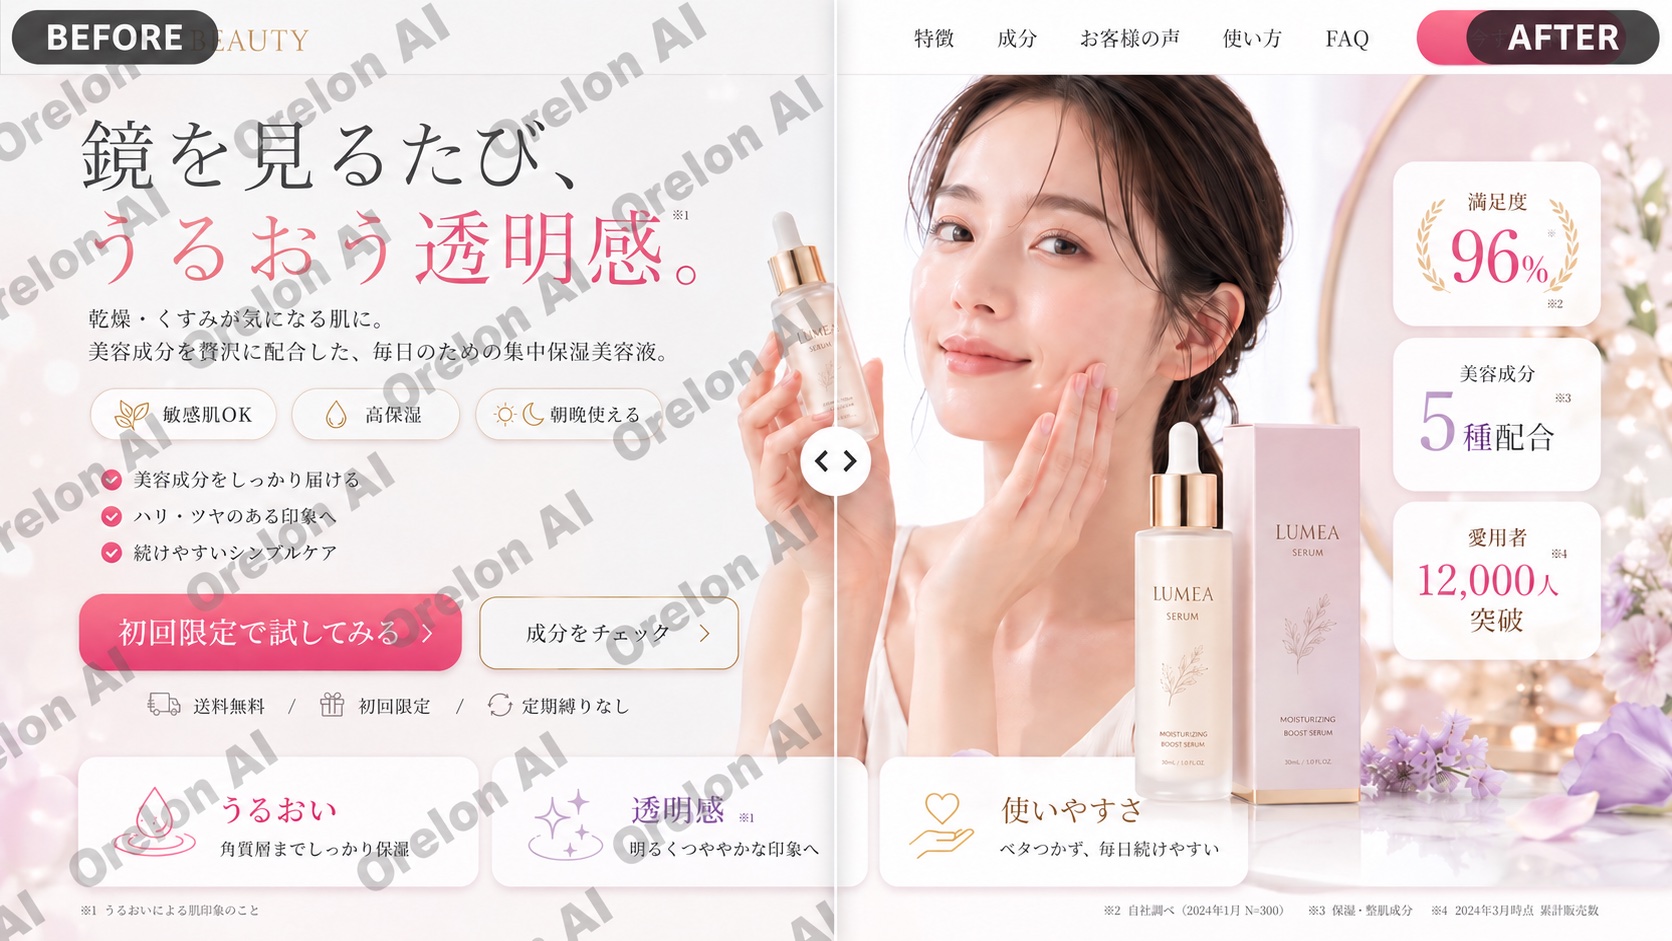
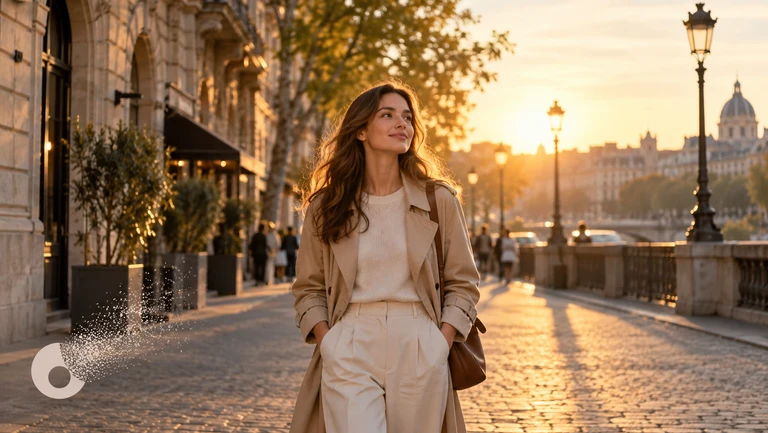
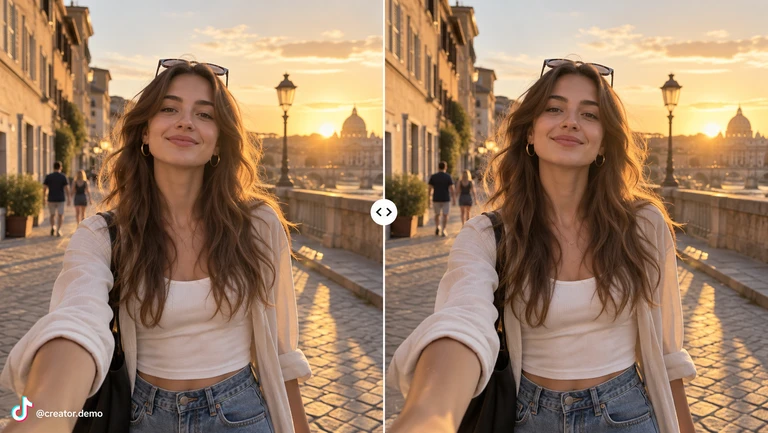
In a normal editor you push pixels with tools; here you describe the change. You provide an image you are allowed to use plus a text instruction — make it a snowy evening, switch to watercolor style, set the product on a marble table — and the route returns a transformed image to review. It suits direction-level edits where you want a different look, mood, or setting, while pixel-precise corrections still belong in a traditional editor. Compare each result against the original before downloading, and expect some detail drift in busy areas.

AI Image Editor: Describe the Change You Want

Season shift

Input

A summer street corner photo with the instruction 'same corner in late autumn, wet pavement, overcast light, signage unchanged'.

Expected output

The recognizable scene recast in autumn light, to review for consistency on signs and edges.

Sketch to finish

Input

A pencil sketch of a bicycle with the instruction 'render this sketch as a flat-color illustration, keep the composition and line placement'.

Expected output

A colored illustration that follows the sketch's layout, subject to review of line drift.

Product backdrop change

Input

A product photo of a candle with the instruction 'place the same candle on a marble café table, soft morning light, shallow depth of field'.

Expected output

The candle rendered in a new setting with its shape intact, subject to review of label text.

Transform an image by providing it together with a plain-language change instruction, then compare the result with the original and download it.

Direction-level edits in one sentence

Describing the target look communicates intent in a single sentence instead of a stack of manual adjustments.

Your original stays untouched

Every result is a new image, so the source file remains intact while you compare as many versions as you need.

Cheap what-if testing

Alternate looks — winter, watercolor, studio — each cost one prompt, so you can weigh directions before committing effort.

How It Works

1

Provide and describe

Start with an image you have the right to edit.

2

Choose settings

Keep the requested edits specific so the intended profile look is clear.

3

Generate and review

Review the output for likeness, accuracy, and the final profile crop before using it.

Writing edit instructions that hold up

Good instructions name what changes and, just as importantly, what must stay the same.

Input Constraints

  • Only edit images you are allowed to use; respect other people's artwork and photos.
  • Describe one transformation per instruction; stacked changes compete with each other.
  • Name the constants — 'keep the composition', 'signage unchanged' — to anchor the result.
  • Review fine details like text, hands, and patterns after every transformation.

Practical Tips

  • Frame instructions as 'same [subject], new [element]'.
  • Reference lighting and mood, not just objects: 'golden-hour warmth' changes more than 'orange tint'.
  • Keep the original open beside each result for an honest comparison.
  • If one region drifts, narrow the instruction to that region and run it again.

Privacy

  • Do not upload personal or sensitive material unless you have permission to use it.

Usage Rights

  • Confirm that you have the rights needed for the inputs and intended use of the result.

Prompt recipes

Copy a structure, then adjust the subject, lighting, camera, and output details for your own result.

Season and time shift

Transform this [scene photo]: same composition and structures, change to [season and time of day], adjust light and color to match, keep signage and edges crisp. Use for: mood variants of a shoot, compared side by side.

Naming what changes and what stays gives the transformation a clear split, which reduces random drift.

Sketch to finished style

Take this sketch of [subject] and render it in [flat-color illustration or soft painterly style], preserving line placement and proportions. Use for: turning drafts into presentation images after checking proportion drift.

Anchoring on line placement keeps the finished version recognizable against the original draft.

Product backdrop options

Same [product] unchanged in shape and label, placed on [new surface and setting] with [light quality], shallow depth of field. Use for: alternative backdrop shots, verifying label legibility in each.

Separating 'product unchanged' from 'setting new' protects the asset that matters most in the shot.

Art-style pass

Redraw this [photo or illustration] in [named art style], keep the subject's pose and framing, apply the style's palette and line quality throughout. Use for: a consistent style series, reviewed as a set.

A named style plus a fixed pose produces a series that hangs together instead of five different looks.

One-variable variants

Recreate this [image] three times, changing one variable per run: [A: lighting], [B: color palette], [C: background detail]; subject and framing constant. Use for: choosing a direction with like-for-like comparisons.

Varying one variable at a time turns editing into an experiment you can actually judge.

Best use cases

Match the workflow to the input you have and the result you need before opening the generator.

Alternate looks for a photo shoot

Input: A finished photo plus two or three target moods

Result: Mood variants to compare against the original before delivery

Tool: Domer Image to Image

Finishing concept sketches

Input: Sketches or line art with a described target style

Result: Rendered concept versions that preserve the original composition

Tool: Domer Image to Image

Product backdrop options

Input: Clean product photos plus setting descriptions

Result: The same product in several backdrops, each checked for label fidelity

Tool: Domer Image to Image

Limitations to know before generating

  • Complex regions — text, hands, fine patterns — can drift or blur during transformation; inspect them closely.
  • It handles direction-level changes rather than pixel-precise corrections, which still belong in a traditional editor.
  • Every edit is a regeneration, so exact colors and micro-details may shift even outside the described change.
  • You must hold rights to the source image, and transforming it does not change the original licensing situation.

Creative Suite: AI Video Generator & AI Image Generator Tools

Power up your creative workflow with our AI-driven tools. Generate stunning videos, create images, and apply custom adjustments - our AI Video Generator and AI Image Generator offer a complete solution for all your creative needs.

Strictly Prohibits Adult/NSFW Content

Pricing

Choose the credit package that works best for you.

No hidden fees • Cancel anytime • Unused credits roll over

Starter

Perfect for trying out AI creation.

Credits

2,400 credits per year

  • Up to 20 videos per month
  • Up to 100 images per month
$5.00/ month$9.9950% OFF

$59.99/year billed yearly

You save $60 · the equivalent of 6 months free

Basic

Perfect for light creators.

Credits

6,000 credits per year

  • Up to 50 videos per month
  • Up to 250 images per month
$10.00/ month$19.9950% OFF

$119.99/year billed yearly

You save $120 · the equivalent of 6 months free

Pro

Popular

Best value for creators.

Credits

14,400 credits per year

  • Up to 120 videos per month
  • Up to 600 images per month
$33.33/ month$39.992 Months Free

$399.99/year billed yearly.

Save $80 compared to monthly

Ultra

For video creators and power users.

Credits

60,000 credits per year

  • Up to 500 videos per month
  • Up to 2,500 images per month
$83.33/ month$99.992 Months Free

$999.99/year billed yearly.

Save $200 compared to monthly

Questions? Contact us at support@domer.io


Describe the edit, compare the result

Open the image editor with one photo and one clear instruction, then judge the transformed version against your original.