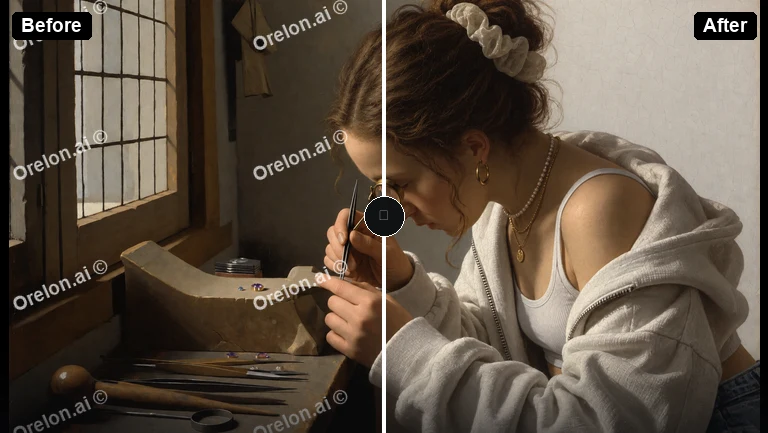
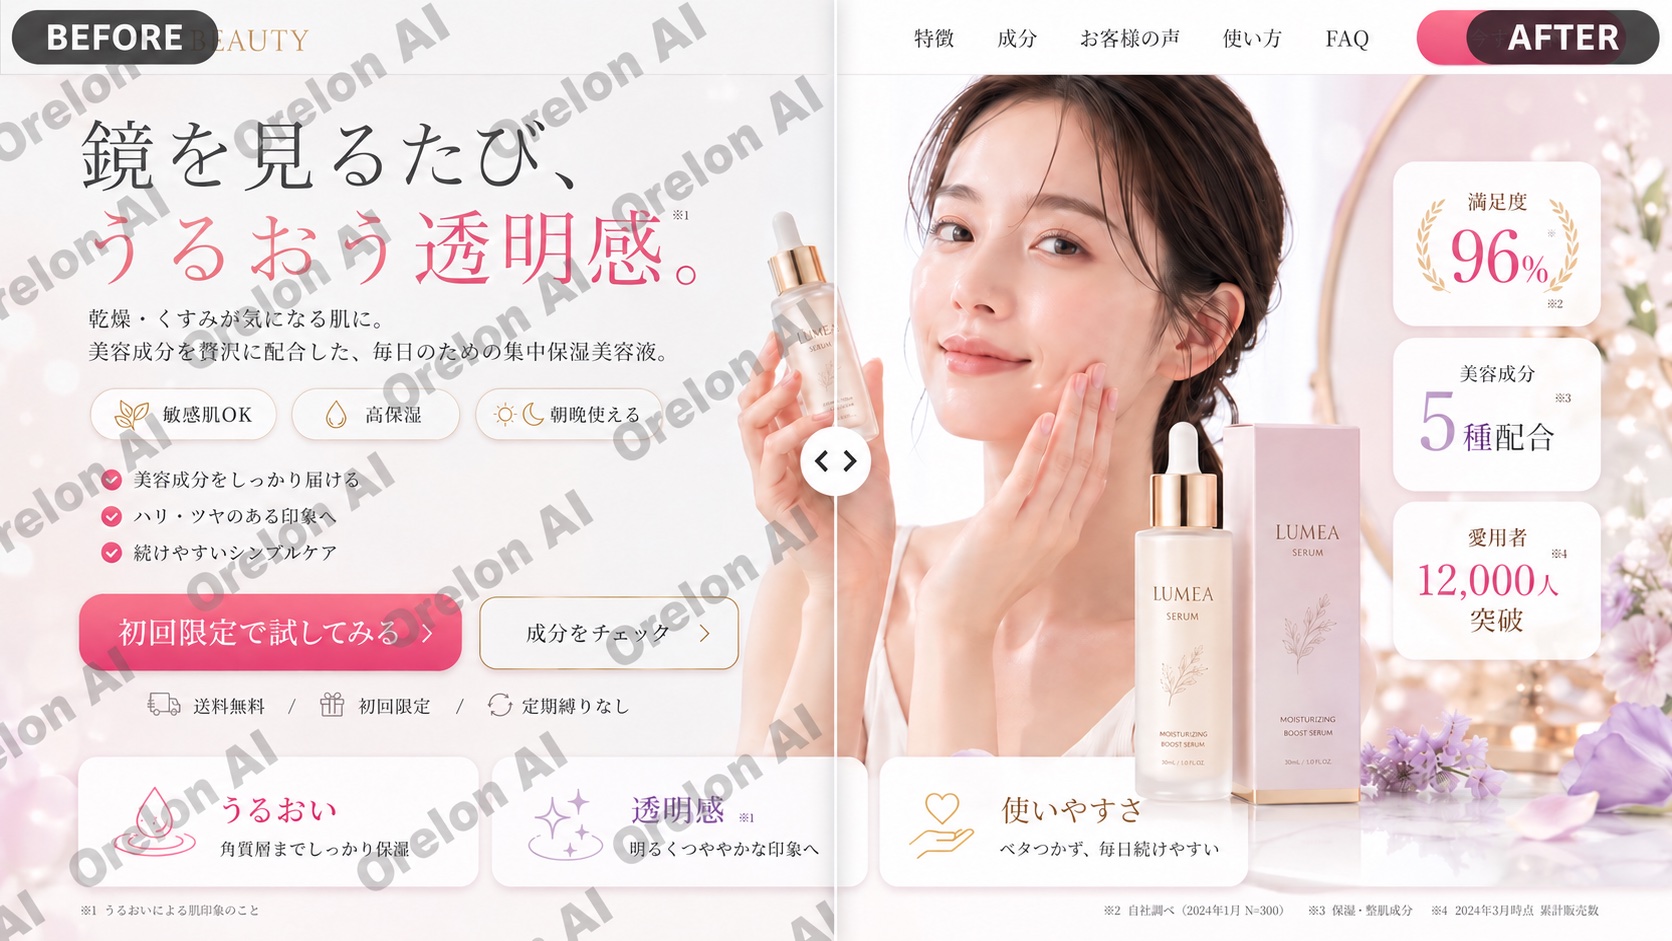
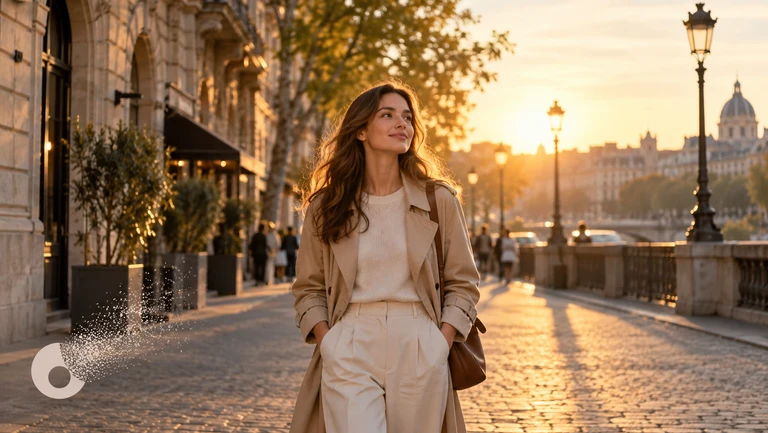
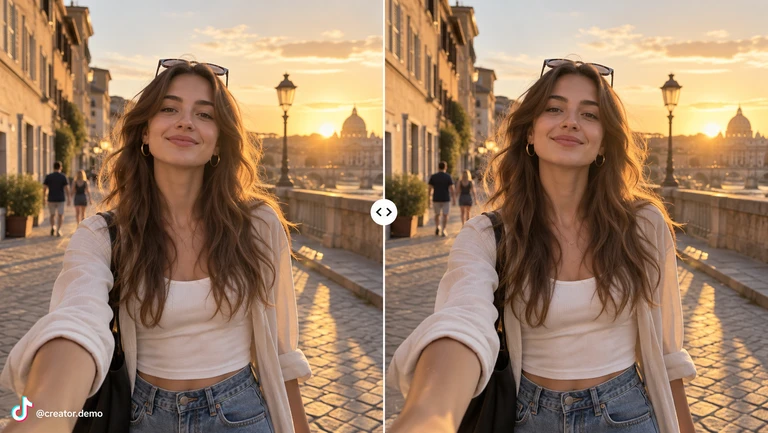
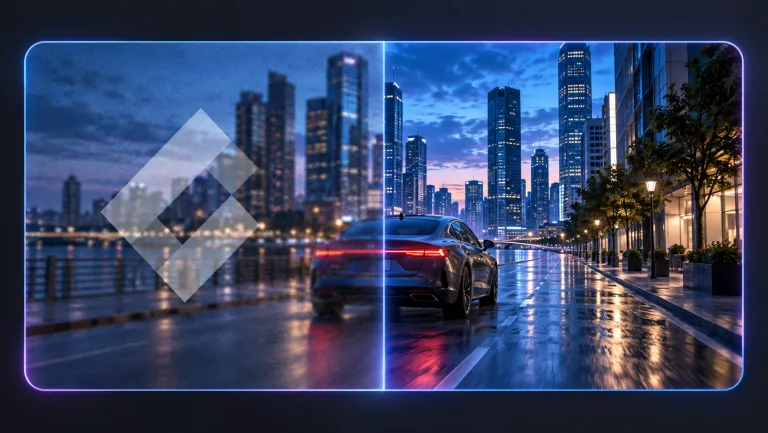
Upload a source image you have permission to edit, describe the clarity or sharpness improvements you want, then generate and review the result before saving it.
AI Photo Editor Clarity: Sharpen Your Images
Sharpen a slightly blurry product shot
Input
Upload a product photo with soft focus, then ask to sharpen the edges and enhance detail on the label and surfaces.
Expected output
A product image with crisper edges, clearer label text, and more defined surface detail.
Clean up an old scanned photo
Input
Upload a scanned photo with soft edges and dust, then ask to sharpen the image and reduce dust artifacts.
Expected output
A cleaner scan with firmer edges, reduced dust spots, and improved overall clarity.
Add definition to a low-light shot
Input
Upload a low-light photo, then ask to enhance midtone detail and add clarity without introducing noise.
Expected output
A clearer image with more defined midtone detail and improved sharpness.
Improve the sharpness and detail of a photo and review the result before downloading the version you need.
Recover detail from soft or blurry photos
Improve sharpness and clarity on photos that are slightly out of focus or captured with soft lighting.
Enhance product and detail shots
Make product labels, textures, and fine details clearer for e-commerce or marketing images.
Review before committing
Check the clarity-enhanced result for over-sharpening or artifacts before downloading or sharing it.
How It Works
1
Upload the image you want to refine
Start with an image you have the right to edit.
2
Describe the profile-picture changes you want
Keep the requested edits specific so the intended profile look is clear.
3
Generate, compare, and download
Review the output for likeness, accuracy, and the final profile crop before using it.
Getting a clean clarity result
A source image with decent resolution and specific clarity requests make it easier to judge the sharpened result.
Input Constraints
Only upload images you have permission to edit and use.
Keep the requested changes focused on the profile-picture outcome you need.
Review the final image for likeness and context before sharing it.
Practical Tips
Use clarity enhancements on slightly soft photos; extremely blurry images may not recover well.
Ask for selective sharpening on the main subject while keeping the background smooth to avoid noise.
Compare the sharpened result with the original to check for halos, artifacts, or unnatural edges.
Privacy
Do not upload personal or sensitive material unless you have permission to use it.
Usage Rights
Confirm that you have the rights needed for the inputs and intended use of the result.
Prompt recipes
Copy a structure, then adjust the subject, lighting, camera, and output details for your own result.
Sharpen product edges without adding noise
Increase edge sharpness on the product while keeping the background smooth and avoiding grain or artifacts.
Selective sharpening enhances clarity where it matters most without introducing unwanted noise in smooth areas.
Enhance texture on fabric or material photos
Boost midtone clarity and texture detail on fabric or surfaces to make the material feel more tactile and defined.
Enhancing texture makes product photos feel more real and helps buyers understand the material quality.
Recover detail from a soft portrait
Sharpen the eyes and facial features gently while keeping skin tones smooth and natural.
Selective sharpening on the eyes draws attention and adds life to a portrait without over-processing the skin.
Clean up a scanned document or photo
Increase overall sharpness and reduce dust or scan artifacts to create a cleaner, more readable result.
Sharpening and artifact reduction make scanned images look clearer and more suitable for digital use or reprinting.
Add punch to a flat low-light shot
Enhance midtone detail and add clarity to bring out definition in shadows and darker areas without increasing noise.
Clarity adjustments in low-light photos reveal hidden detail and make the image feel more dimensional and intentional.
Sharpen landscape details without over-processing
Increase sharpness on trees, buildings, and foreground elements while keeping the sky smooth and natural.
Selective sharpening adds definition to key elements without making the entire image feel harsh or artificial.
Best use cases
Match the workflow to the input you have and the result you need before opening the generator.
Use case
Best input
Expected result
Tool
Sharpening product photos for e-commerce
A product photo with decent lighting but soft focus or slightly blurry edges.
A crisper product image with clearer labels, textures, and edges.
Image to Image with selective sharpening or clarity-enhancement prompts.
Recovering detail from old scanned photos
A scanned photo with soft edges, dust, or low contrast.
A cleaner, sharper scan with reduced artifacts and improved readability.
Image to Image with sharpening and dust-reduction prompts.
Enhancing texture in fashion or material photography
A fabric or material photo that needs more tactile detail to show quality.
An image with enhanced texture and midtone clarity that makes the material feel more real.
Image to Image with texture-enhancement or clarity-boost prompts.
Bringing focus to portrait eyes and features
A portrait with soft focus or slightly blurry facial features.
A portrait with sharper eyes and facial definition while keeping skin tones smooth.
Image to Image with selective portrait-sharpening prompts.
Sharpening product photos for e-commerce
Input: A product photo with decent lighting but soft focus or slightly blurry edges.
Result: A crisper product image with clearer labels, textures, and edges.
Tool: Image to Image with selective sharpening or clarity-enhancement prompts.
Recovering detail from old scanned photos
Input: A scanned photo with soft edges, dust, or low contrast.
Result: A cleaner, sharper scan with reduced artifacts and improved readability.
Tool: Image to Image with sharpening and dust-reduction prompts.
Enhancing texture in fashion or material photography
Input: A fabric or material photo that needs more tactile detail to show quality.
Result: An image with enhanced texture and midtone clarity that makes the material feel more real.
Tool: Image to Image with texture-enhancement or clarity-boost prompts.
Bringing focus to portrait eyes and features
Input: A portrait with soft focus or slightly blurry facial features.
Result: A portrait with sharper eyes and facial definition while keeping skin tones smooth.
Tool: Image to Image with selective portrait-sharpening prompts.
Limitations to know before generating
Clarity improvements work best on slightly soft photos; extremely blurry or out-of-focus images may not recover well.
Over-sharpening can introduce halos, artifacts, or unnatural edges; subtle adjustments usually produce better results.
Sharpening cannot add detail that was never captured in the original image; it enhances existing edges and textures.
Low-resolution images may show noise or pixelation when sharpened; higher-resolution sources produce cleaner results.
The tool does not guarantee perfect accuracy or commercial suitability; always review the result before publishing.
Creative Suite: AI Video Generator & AI Image Generator Tools
Power up your creative workflow with our AI-driven tools. Generate stunning videos, create images, and apply custom adjustments - our AI Video Generator and AI Image Generator offer a complete solution for all your creative needs.