How can wedding photographers use AI photo editors?
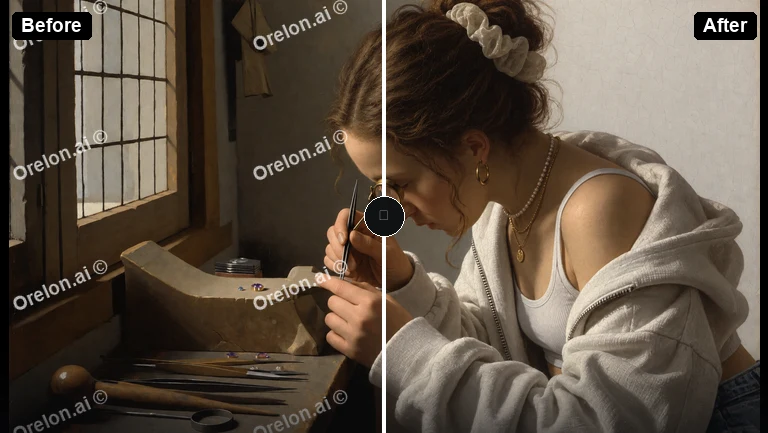
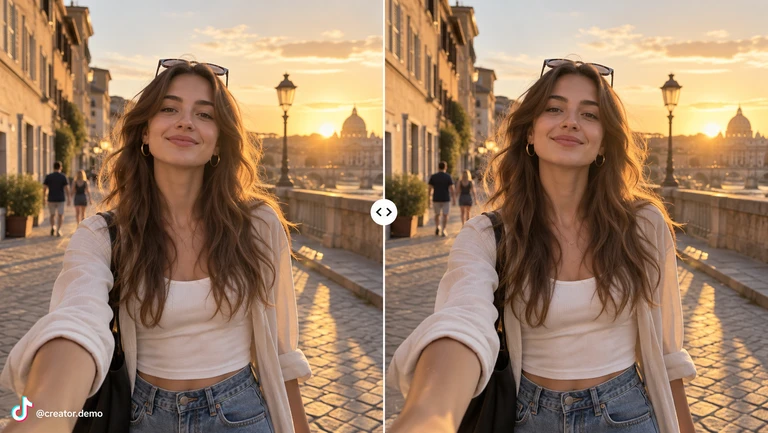
Upload a client photo, describe the lighting balance, color grade, or background cleanup you want, and review the edited version before delivery. This workflow helps you test edits quickly and refine your creative direction without manual layer work.
AI Photo Editor for Wedding Photographers
Balance light in a ceremony shot
Input
Upload a ceremony photo where the couple is backlit. Request even lighting across faces, softer shadows, and warmer tones.
Expected output
A ceremony photo with balanced light on the couple and reduced harsh shadows. Check faces and skin tones before client delivery.
Change the backdrop of a portrait
Input
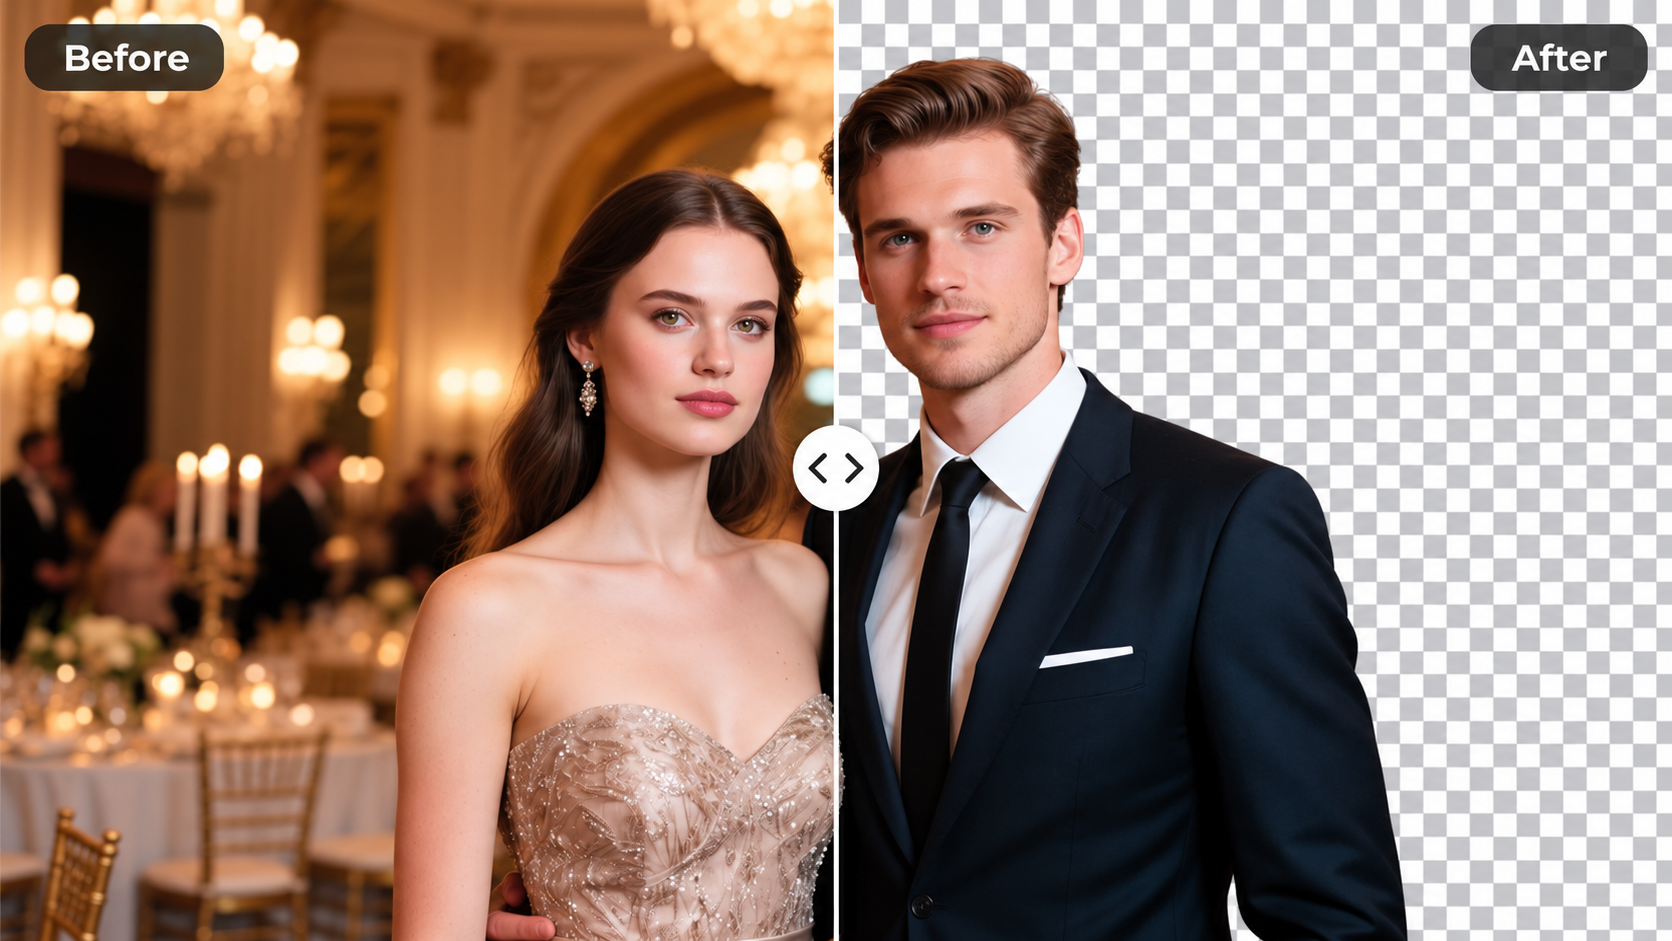
Upload a couple portrait and ask for a soft garden background with evening light while keeping the couple unchanged.
Expected output
The same couple shown against a garden backdrop with warm evening tones. Review the edge blend and lighting match.
Tidy a reception table scene
Input
Upload a reception photo and request a cleaner background, focused centerpiece, and even tabletop lighting.
Expected output
A tidier reception photo with the centerpiece clear and distractions reduced. Compare composition with the original.
Refine wedding client photos by uploading source images and describing the lighting, style, or background adjustments you need
Start with the client photo
Work from the actual shot you captured instead of rebuilding the scene with text prompts.
Test edits quickly
Try different lighting, color, or background directions and compare results before committing to manual retouching.
Keep control over delivery
Review every output for likeness, lighting accuracy, and composition before sending it to the client.
How It Works
1
Upload the image you want to refine
Start with an image you have the right to edit.
2
Describe the profile-picture changes you want
Keep the requested edits specific so the intended profile look is clear.
3
Generate, compare, and download
Review the output for likeness, accuracy, and the final profile crop before using it.
Reliable edits for client delivery
Clear source photos and specific edit requests help you evaluate whether the output meets client expectations.
Input Constraints
Only upload images you have permission to edit and use.
Keep the requested changes focused on the profile-picture outcome you need.
Review the final image for likeness and context before sharing it.
Practical Tips
Use high-resolution source files where faces and key details are visible.
Describe lighting direction, color temperature, and background treatment separately for clearer results.
Compare edited outputs side-by-side with originals to catch any unintended changes.
Privacy
Do not upload personal or sensitive material unless you have permission to use it.
Usage Rights
Confirm that you have the rights needed for the inputs and intended use of the result.
Prompt recipes
Copy a structure, then adjust the subject, lighting, camera, and output details for your own result.
Ceremony backlighting rescue
Upload the backlit ceremony shot. Lift shadows on faces, add fill light from the front, reduce highlight intensity from the window, and warm the overall tone.
Targeting shadows and highlights separately preserves the ambient mood while making faces visible.
Outdoor portrait golden hour shift
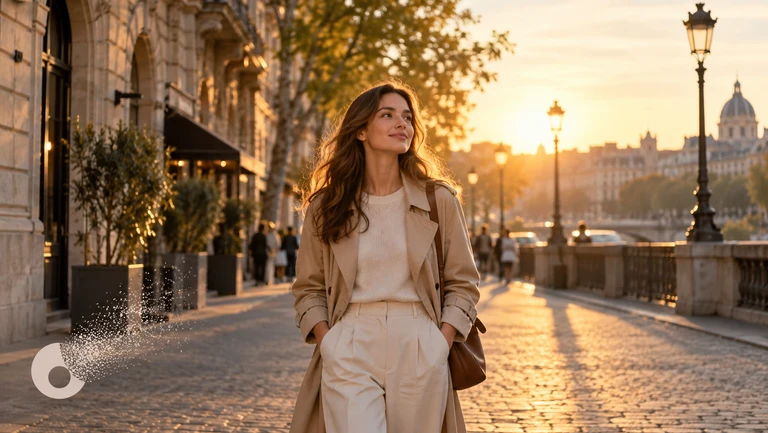
Upload the midday couple portrait. Change the lighting to golden hour warmth, add long soft shadows, deepen sky saturation, and keep skin tones natural.
Specific time-of-day lighting cues help the tool replicate a cohesive outdoor atmosphere.
Reception table refinement for ai photo editor for wedding photographers
Upload the reception table photo. Even out the lighting across the table, soften the background, increase contrast on the centerpiece, and reduce visible clutter.
Separating foreground and background treatment keeps the focal point clear while cleaning up distractions.
Dance floor motion highlight
Upload the dance floor shot. Increase contrast on the main couple, add subtle motion blur to background guests, deepen colors on clothing, and keep the couple's faces sharp.
Selective sharpness and motion cues draw attention to the subject while preserving the energy of the scene.
Getting-ready natural light boost
Upload the getting-ready photo. Brighten window light, soften shadows on the subject, increase warmth slightly, and keep the room details visible.
Window light enhancement maintains the natural feel while improving visibility without artificial flash artifacts.
Group photo exposure balance
Upload the group shot. Balance exposure across all faces, reduce harsh shadows under eyes, increase overall brightness, and keep background context visible.
Face-level exposure targeting ensures everyone is visible without blowing out the background.
Best use cases
Match the workflow to the input you have and the result you need before opening the generator.
Use case
Best input
Expected result
Tool
Ceremony photo with harsh backlighting
Ceremony shot where the couple is dark against a bright window or sky
Balanced exposure on faces with controlled highlights
Image to Image with shadow lift and highlight reduction
Outdoor portrait shot at wrong time of day
Midday couple portrait that needs golden hour warmth
Warm lighting and long shadows matching golden hour mood
Image to Image with time-of-day lighting instructions
Reception table needs focus
Reception photo where the centerpiece is lost in clutter
Clean background with centerpiece clearly emphasized
Image to Image with background simplification and foreground contrast
Dance floor energy feels flat
Dance photo with good composition but low visual impact
Higher contrast and selective motion blur to convey movement
Image to Image with contrast and motion instructions
Getting-ready photo too dark
Natural light getting-ready shot that lacks brightness
Brighter window light and lifted shadows without flash look
Image to Image with natural light enhancement
Ceremony photo with harsh backlighting
Input: Ceremony shot where the couple is dark against a bright window or sky
Result: Balanced exposure on faces with controlled highlights
Tool: Image to Image with shadow lift and highlight reduction
Outdoor portrait shot at wrong time of day
Input: Midday couple portrait that needs golden hour warmth
Result: Warm lighting and long shadows matching golden hour mood
Tool: Image to Image with time-of-day lighting instructions
Reception table needs focus
Input: Reception photo where the centerpiece is lost in clutter
Result: Clean background with centerpiece clearly emphasized
Tool: Image to Image with background simplification and foreground contrast
Dance floor energy feels flat
Input: Dance photo with good composition but low visual impact
Result: Higher contrast and selective motion blur to convey movement
Tool: Image to Image with contrast and motion instructions
Getting-ready photo too dark
Input: Natural light getting-ready shot that lacks brightness
Result: Brighter window light and lifted shadows without flash look
Tool: Image to Image with natural light enhancement
Limitations to know before generating
Source photo resolution and sharpness directly affect output quality; soft or low-res files may not improve.
Complex lighting edits like mixed color temperatures or multiple light sources are harder to control with text alone.
Facial likeness can drift with heavy color or style changes; always compare outputs with originals.
Background replacements work best on simple, well-separated subjects; complex scenes may show edge artifacts.
The tool interprets your text instructions; results may need iteration to match your creative vision.
Group photos with many faces are harder to edit uniformly; individual face adjustments may be inconsistent.
Creative Suite: AI Video Generator & AI Image Generator Tools
Power up your creative workflow with our AI-driven tools. Generate stunning videos, create images, and apply custom adjustments - our AI Video Generator and AI Image Generator offer a complete solution for all your creative needs.