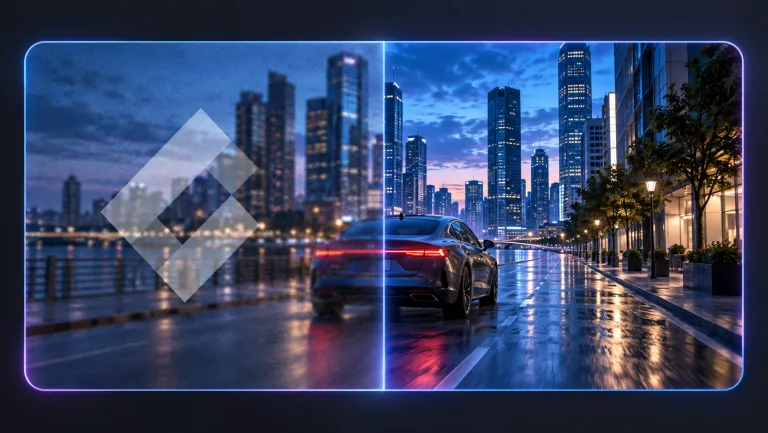
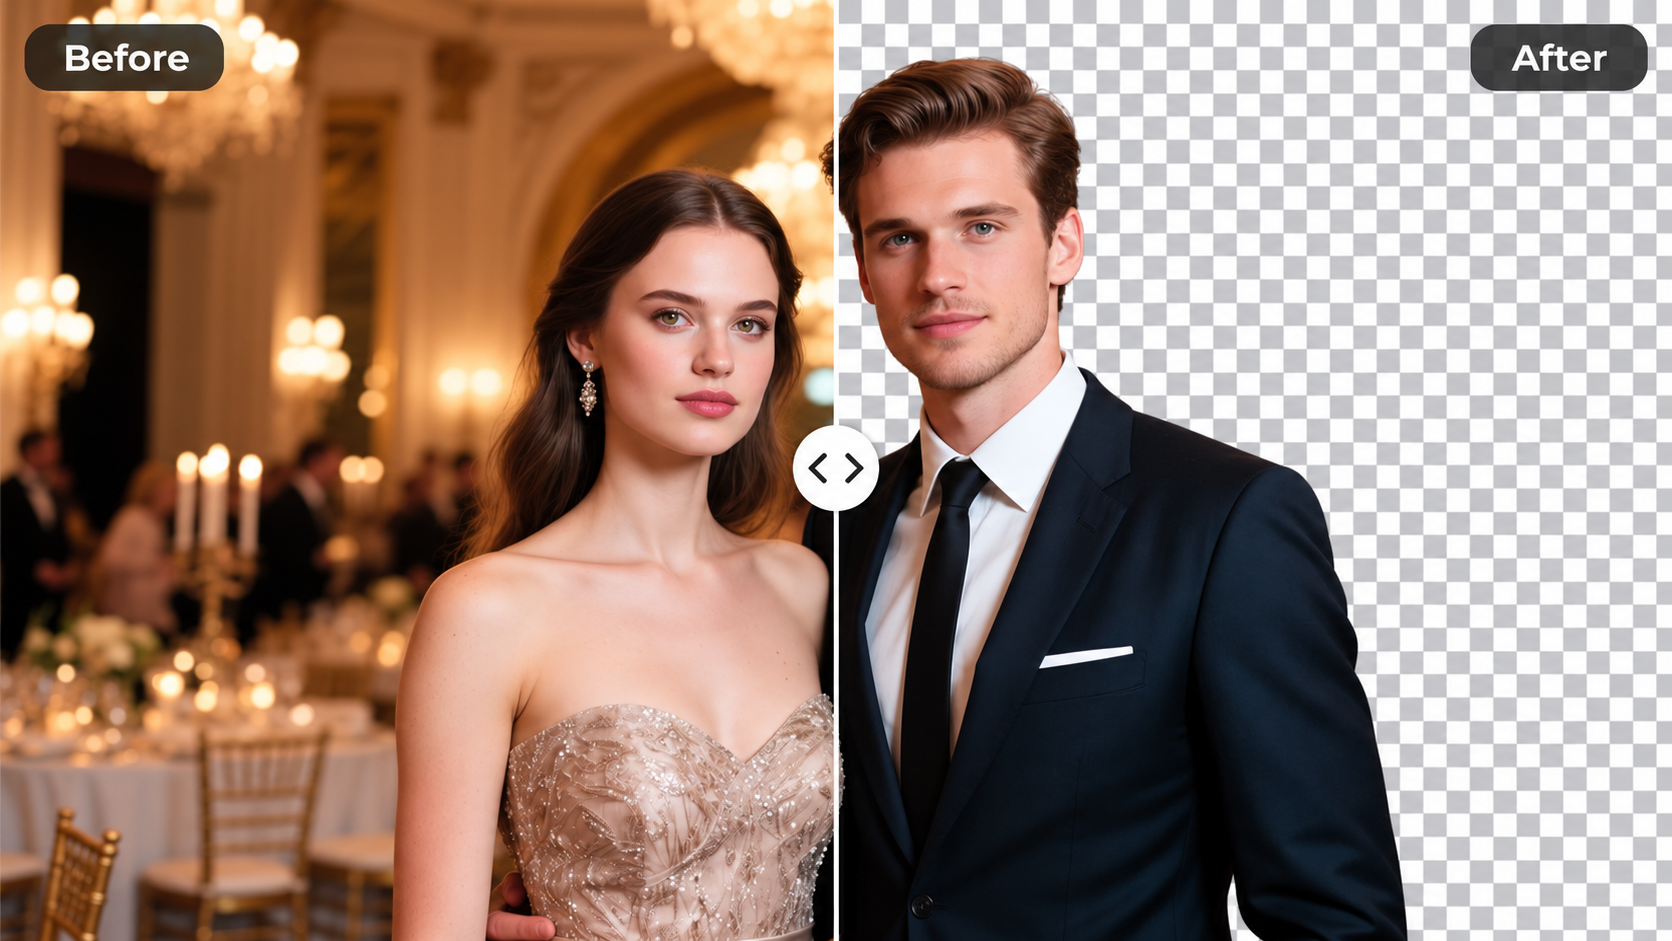
Upload a clear enough photo you have permission to edit, describe the sharpness and clarity improvements you want in the prompt, then generate and review the enhanced version. The tool attempts to improve sharpness based on your description, but results depend on the source photo quality and the type of blur. You should check the result for realism and whether the improvement meets your needs before deciding to use it.
AI Photo Editor Unblur a Soft Photo
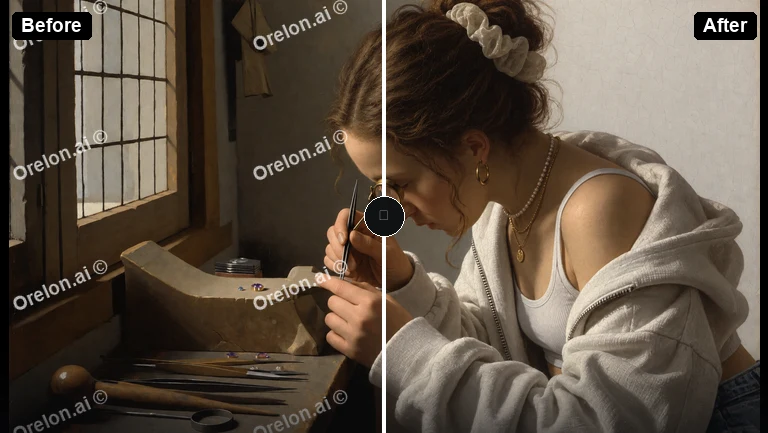
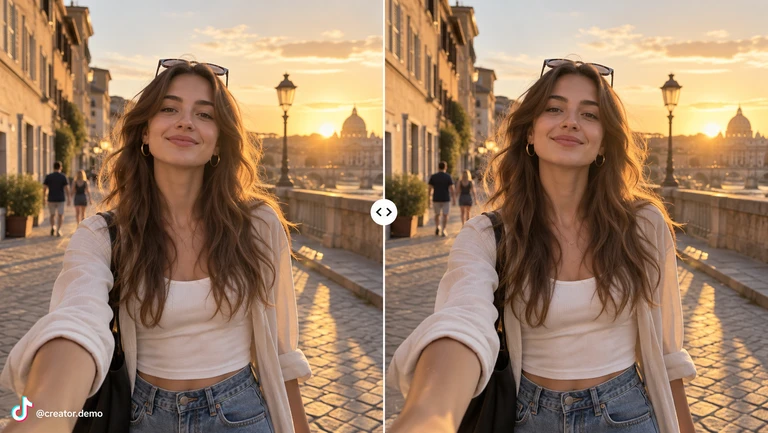
Sharpen a soft portrait
Input
Upload a portrait with soft focus, then write: 'Keep the face and composition exactly the same. Increase sharpness and clarity on the face and eyes, reduce softness, maintain natural skin texture, avoid over-sharpening.'
Expected output
The same portrait with improved facial sharpness. The person should remain recognizable while facial features and eyes become clearer.
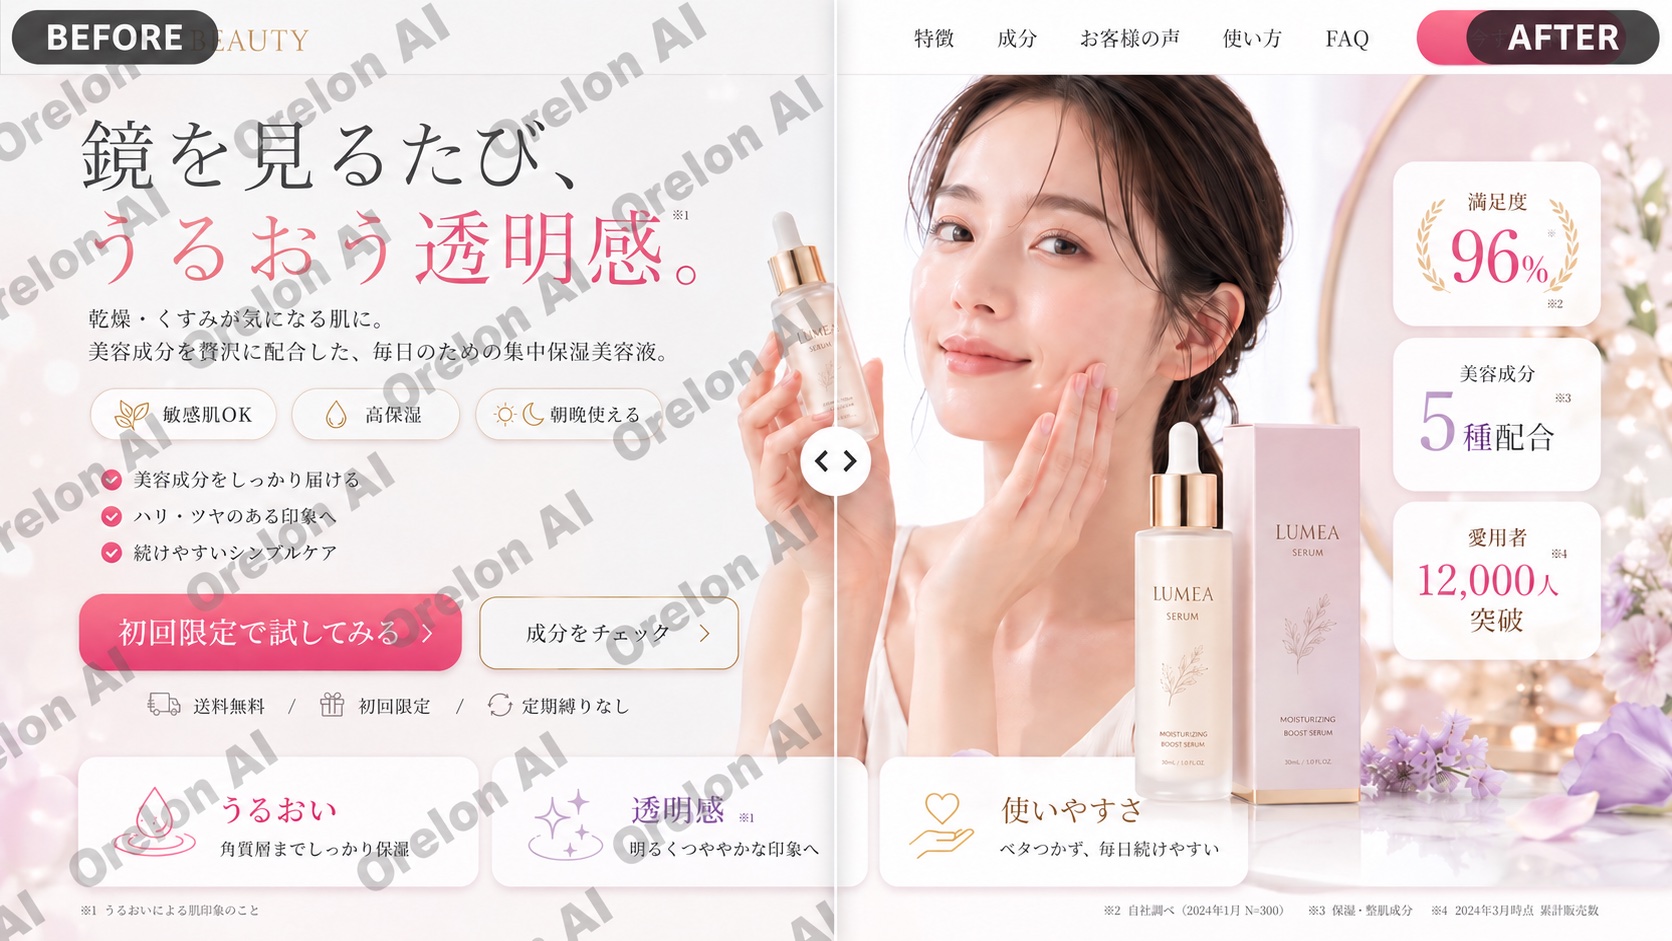
Improve readability of text in photo
Input
Upload a photo with blurry text, then write: 'Keep the overall scene unchanged. Enhance clarity and sharpness of the text on the menu board, make letters more readable, preserve natural lighting.'
Expected output
The same scene with clearer text. The text should become more legible while the rest of the photo remains natural.
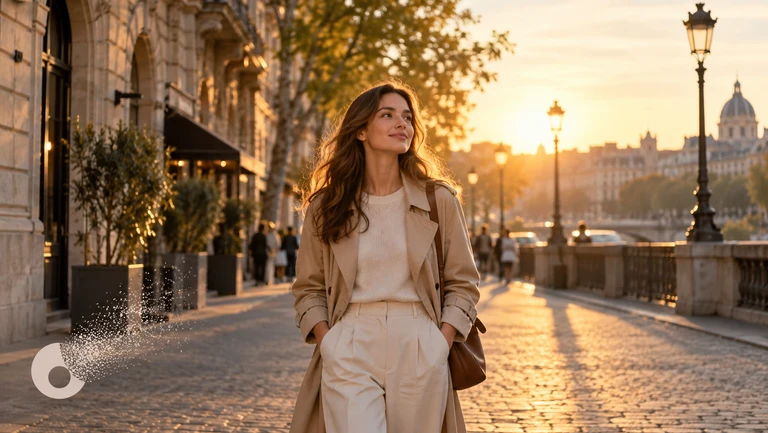
Reduce motion blur in action shot
Input
Upload a photo with motion blur, then write: 'Keep the scene composition the same. Reduce motion blur on the moving subject, increase sharpness and detail, maintain natural colors and lighting.'
Expected output
The same scene with reduced blur on the moving subject. The action should become clearer while the background and overall feel remain natural.
Improve sharpness and clarity in soft or blurry photos while keeping the subject recognizable and letting you review the result.
Start from an existing blurry photo
Attempt to improve photos you already have instead of retaking them or accepting poor quality.
Direct the sharpening in words
Describe which parts need clarity improvement and how much sharpening you want while avoiding over-processing.
Review before you commit
Check the sharpened version for realism, whether the improvement is sufficient, and whether the subject remains recognizable before downloading.
How It Works
1
Upload the image you want to refine
Start with an image you have the right to edit.
2
Describe the profile-picture changes you want
Keep the requested edits specific so the intended profile look is clear.
3
Generate, compare, and download
Review the output for likeness, accuracy, and the final profile crop before using it.
Getting realistic sharpness improvements
Starting photo quality and a realistic expectation of what can be recovered make it easier to judge whether the sharpened version works for your purpose.
Input Constraints
Only upload photos you have permission to edit and enhance.
Keep the sharpening description focused on clarity improvements—not on adding detail that was never there.
Review the sharpened result for realism and whether the improvement is sufficient before sharing it.
Practical Tips
Photos with mild blur improve better than severely blurry or out-of-focus images.
Describe which parts need sharpening: faces, eyes, text, main subject.
Ask for natural sharpening to avoid over-processed, artificial-looking results.
Privacy
Do not upload personal or sensitive material unless you have permission to use it.
Usage Rights
Confirm that you have the rights needed for the inputs and intended use of the result.
Prompt recipes
Copy a structure, then adjust the subject, lighting, camera, and output details for your own result.
Natural face and eye sharpening
Keep everything the same. Increase sharpness and clarity on the face and eyes, enhance fine details naturally, avoid over-sharpening, maintain realistic skin texture.
Targets the most important parts of a portrait—face and eyes—while specifying natural treatment to avoid artificial results.
Overall photo clarity boost
Keep the composition unchanged. Improve overall sharpness and clarity throughout the image, enhance edge definition, reduce softness, maintain natural colors and lighting.
Provides broad clarity improvement without targeting specific areas, useful for generally soft photos.
Text and detail recovery
Keep the scene the same. Enhance sharpness of text and small details, make writing more readable, increase clarity on fine elements, preserve natural look.
Focuses on recovering legibility and fine detail, useful for photos where text or small elements are important.
Selective subject sharpening
Keep background and composition unchanged. Sharpen the main subject only, enhance detail and clarity on the person/object, leave background with natural softness for depth.
Creates depth by sharpening the main subject while keeping the background naturally soft, avoiding over-processing.
Motion blur reduction
Keep the overall scene the same. Reduce motion blur on the moving subject, recover detail and sharpness, maintain natural colors, avoid artificial sharpening halos.
Targets motion blur specifically, setting expectations for partial recovery while avoiding common sharpening artifacts.
Best use cases
Match the workflow to the input you have and the result you need before opening the generator.
Use case
Best input
Expected result
Tool
Improve soft portraits for social media
Portrait with mild to moderate softness or focus issues
Sharper version with clearer facial features suitable for profile pictures
Image to Image with natural face and eye sharpening prompt
Recover legibility in text photos
Photo of document, sign, menu, or screenshot with soft text
Same photo with more readable text, maintaining natural appearance
Image to Image with text and detail recovery prompt
Rescue important but blurry photos
Meaningful photo with mild blur that cannot be retaken
Improved version with better clarity, even if not perfectly sharp
Image to Image with overall clarity boost prompt
Improve action or sports photos
Photo with motion blur on moving subject
Clearer action shot with reduced blur, though some motion may remain
Image to Image with motion blur reduction prompt
Improve soft portraits for social media
Input: Portrait with mild to moderate softness or focus issues
Result: Sharper version with clearer facial features suitable for profile pictures
Tool: Image to Image with natural face and eye sharpening prompt
Recover legibility in text photos
Input: Photo of document, sign, menu, or screenshot with soft text
Result: Same photo with more readable text, maintaining natural appearance
Tool: Image to Image with text and detail recovery prompt
Rescue important but blurry photos
Input: Meaningful photo with mild blur that cannot be retaken
Result: Improved version with better clarity, even if not perfectly sharp
Tool: Image to Image with overall clarity boost prompt
Improve action or sports photos
Input: Photo with motion blur on moving subject
Result: Clearer action shot with reduced blur, though some motion may remain
Tool: Image to Image with motion blur reduction prompt
Limitations to know before generating
Severe blur cannot be fully reversed. The tool works best on mild to moderate softness; extremely blurry photos may show little improvement.
Lost detail cannot be recreated. If detail was never captured due to blur or focus, sharpening cannot add it back realistically.
Over-sharpening may occur. Aggressive sharpening requests can produce artificial halos, grain, or unnatural edges.
The subject may be altered unintentionally. Sharpening can sometimes change facial features or introduce artifacts.
Human review is required. Check that the sharpened version looks realistic, whether the improvement is sufficient, and whether the subject remains recognizable.
You are responsible for confirming you have permission to edit the source photo and use the result.
Creative Suite: AI Video Generator & AI Image Generator Tools
Power up your creative workflow with our AI-driven tools. Generate stunning videos, create images, and apply custom adjustments - our AI Video Generator and AI Image Generator offer a complete solution for all your creative needs.