Limited Time Offer: Get 50% OFF Starter & Basic Yearly Plans 🎉
AI Type Photo Editor for Instruction-Based Edits
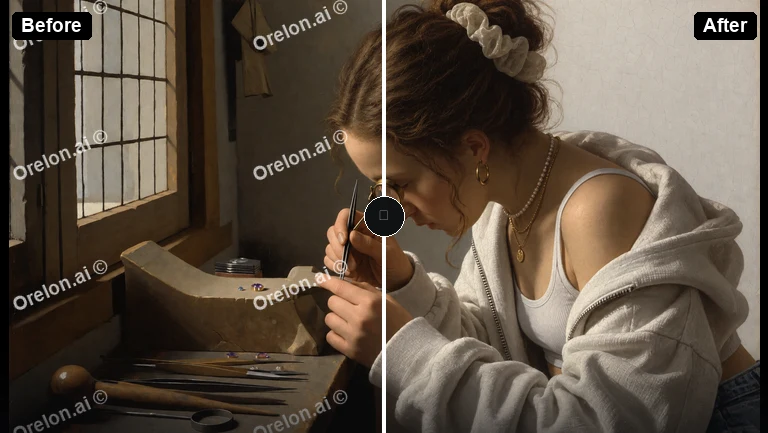
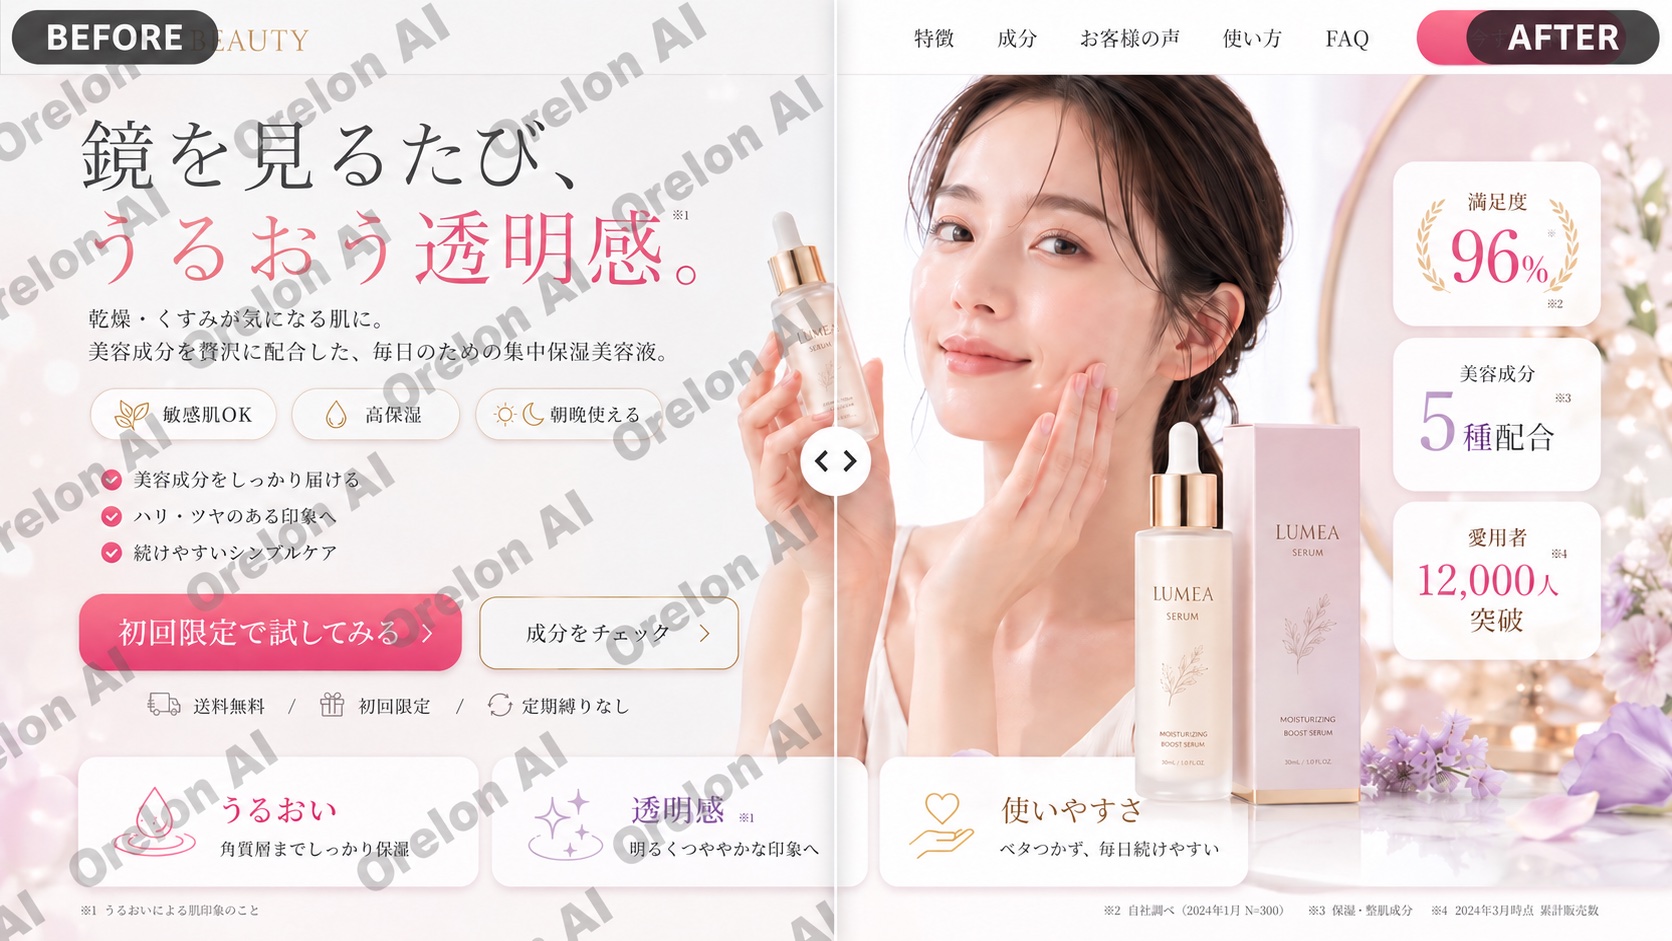
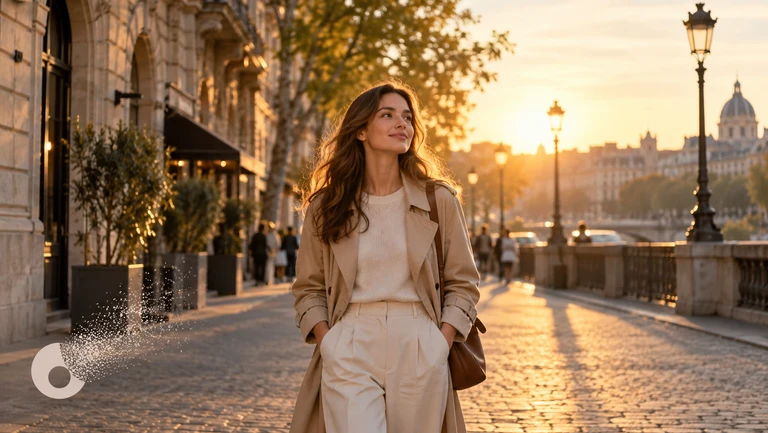
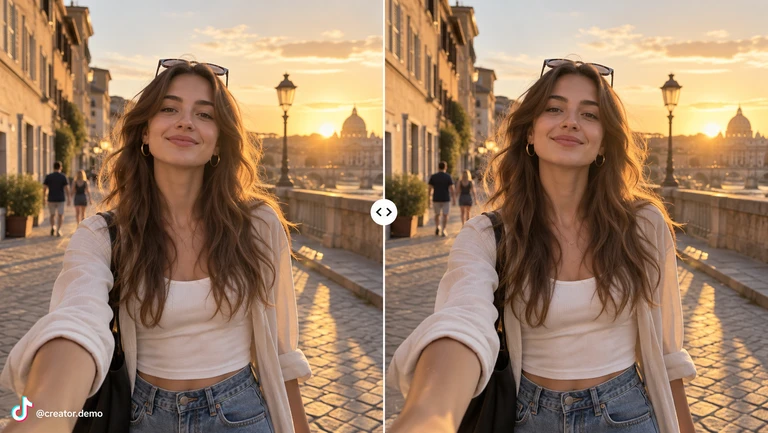
Use ai type photo editor to upload a source image, type the edits you want, review the transformed result, and download the version that matches your need.
An ai type photo editor lets you describe changes in plain text — adjust colors, change backgrounds, refine details, or apply styles — and generates an edited version based on your typed instructions.
AI Type Photo Editor for Instruction-Based Edits
Change sky color in landscape
Input
Upload a landscape photo and type: change the sky to a deeper blue with scattered white clouds, keeping the rest of the scene unchanged.
Expected output
The same landscape with a richer blue sky and natural cloud detail, while foreground elements remain intact.
Adjust lighting and warmth
Input
Upload an indoor photo and type: increase overall brightness by 20 percent and add a warm golden tone to simulate late afternoon light.
Expected output
The room now appears brighter and warmer, as if lit by afternoon sun streaming through windows.
Remove background distractions
Input
Upload a portrait and type: blur the background completely so the person stands out, leaving facial details sharp.
Expected output
A portrait with the subject in clear focus and the background softened into an unobtrusive blur.
Give typed instructions to edit an existing image and review the result before deciding to use it.
Start with your own image
Use an image you have permission to edit instead of recreating the subject from a text-only description.
Direct the changes
State the framing, background, and style you want, then compare the result with the original image.
Choose before you use it
Review the edited image for likeness, context, and crop before downloading or posting it.
How It Works
1
Upload the image you want to refine
Start with an image you have the right to edit.
2
Describe the profile-picture changes you want
Keep the requested edits specific so the intended profile look is clear.
3
Generate, compare, and download
Review the output for likeness, accuracy, and the final profile crop before using it.
Making a profile-picture edit that stays clear
A clear source image and a focused edit request make it easier to judge the result.
Input Constraints
Only upload images you have permission to edit and use.
Keep the requested changes focused on the profile-picture outcome you need.
Review the final image for likeness and context before sharing it.
Practical Tips
Use a source image with a visible face and enough detail around the subject.
Ask for one or two concrete changes, such as a neutral background or a square crop.
Compare the result with the original image before choosing a version to use.
Privacy
Do not upload personal or sensitive material unless you have permission to use it.
Usage Rights
Confirm that you have the rights needed for the inputs and intended use of the result.
Prompt recipes
Copy a structure, then adjust the subject, lighting, camera, and output details for your own result.
Brighten underexposed photo with natural tone
Increase the brightness and contrast across this underexposed image, keeping skin tones natural and avoiding overexposure in highlights.
Specifies the lighting correction goal and sets bounds to prevent artificial or washed-out results.
Change background to solid color
Replace the existing background with a solid light gray, keeping the subject edges clean and preserving current lighting on the person.
Defines the exact background replacement and edge quality needed for professional or catalog use.
Apply vintage film look
Add a vintage film aesthetic with slightly faded colors, subtle grain, and softer contrast that mimics 1980s print photography.
Combines multiple style cues — color fade, grain, contrast — to create an authentic retro appearance.
Sharpen product details for e-commerce
Increase sharpness on the product edges and surface details while keeping the background neutral and slightly soft.
Targets the product specifically and controls background treatment to maintain focus and readability.
Convert to black and white with high contrast
Convert this color photo to black and white, increasing contrast to emphasize textures and shadows while preserving midtone detail.
Specifies the monochrome conversion and contrast adjustment with a quality bound to avoid losing detail.
Add soft glow for dreamy portrait
Apply a soft glow effect around the subject to create a dreamy, romantic atmosphere while keeping facial features clearly visible.
Defines the atmospheric effect and sets a clarity boundary so the portrait remains recognizable.
Best use cases
Match the workflow to the input you have and the result you need before opening the generator.
Use case
Best input
Expected result
Tool
Fixing poorly lit photos for social sharing
Underexposed or overexposed image where the subject is still visible
Balanced lighting with natural tones and visible detail in both shadows and highlights
Image to Image with typed brightness, contrast, and tone correction instructions
Preparing product images for online store
Clear product photo with sufficient detail and simple background
Sharpened product with clean edges and neutral or solid-color backdrop
Image to Image with sharpness, background replacement, and color correction instructions
Creating styled versions for creative projects
Well-composed photo with clear subject and interesting composition
Stylized image with vintage, black-and-white, or artistic treatment
Image to Image with style filter, color grading, and texture instructions
Adjusting photos for consistent brand look
Set of related images with varying lighting and color balance
Unified visual style across all images with consistent tone and brightness
Image to Image with typed color correction and lighting standardization instructions
Fixing poorly lit photos for social sharing
Input: Underexposed or overexposed image where the subject is still visible
Result: Balanced lighting with natural tones and visible detail in both shadows and highlights
Tool: Image to Image with typed brightness, contrast, and tone correction instructions
Preparing product images for online store
Input: Clear product photo with sufficient detail and simple background
Result: Sharpened product with clean edges and neutral or solid-color backdrop
Tool: Image to Image with sharpness, background replacement, and color correction instructions
Creating styled versions for creative projects
Input: Well-composed photo with clear subject and interesting composition
Result: Stylized image with vintage, black-and-white, or artistic treatment
Tool: Image to Image with style filter, color grading, and texture instructions
Adjusting photos for consistent brand look
Input: Set of related images with varying lighting and color balance
Result: Unified visual style across all images with consistent tone and brightness
Tool: Image to Image with typed color correction and lighting standardization instructions
Limitations to know before generating
Complex or ambiguous typed instructions may produce unexpected results — be specific about what should change and what should stay the same.
Edits that require precise spatial understanding may not execute cleanly, especially on images with cluttered backgrounds.
Typed instructions cannot guarantee exact color matching or technical precision — review the result and refine if needed.
No automatic commercial rights — confirm you have permission for both the source image and the intended use.
Always review the edited output for accuracy, visual quality, and suitability before publishing or sharing.
Creative Suite: AI Video Generator & AI Image Generator Tools
Power up your creative workflow with our AI-driven tools. Generate stunning videos, create images, and apply custom adjustments - our AI Video Generator and AI Image Generator offer a complete solution for all your creative needs.