
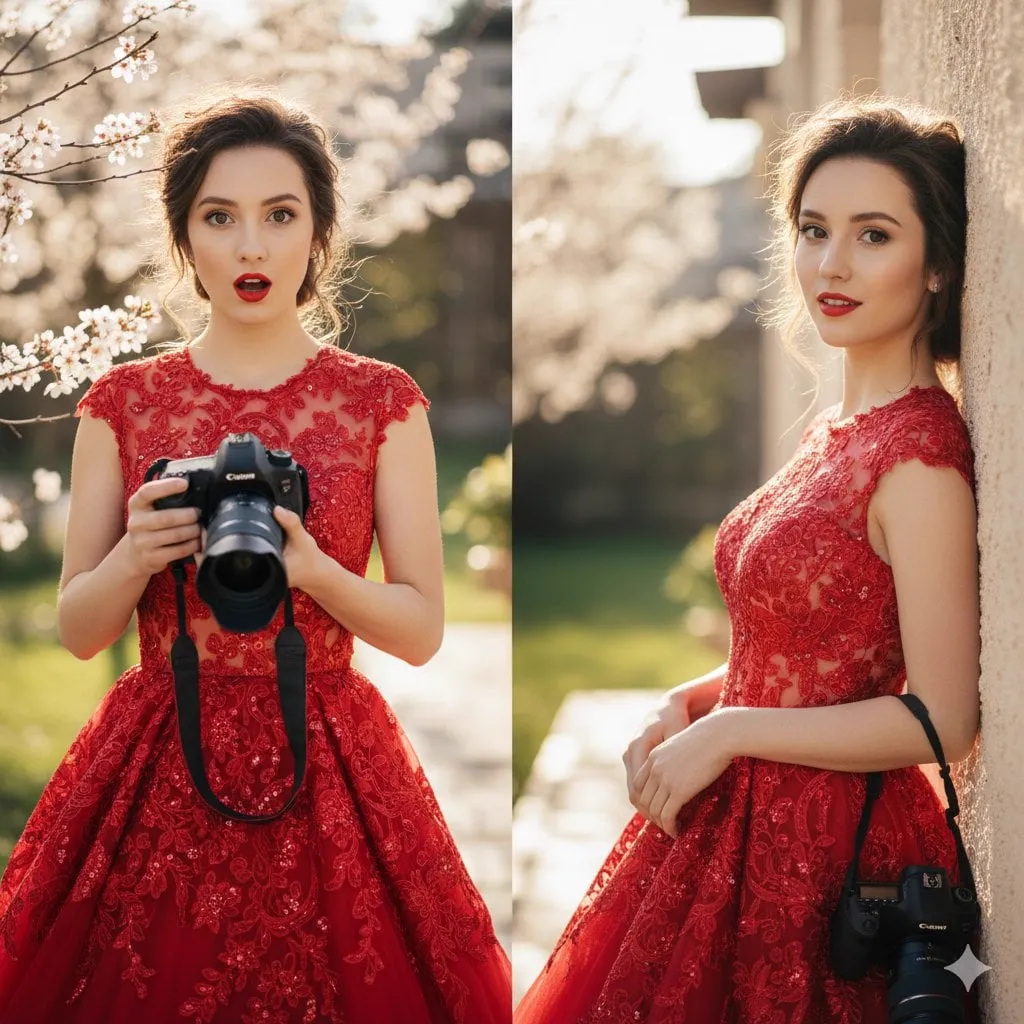

Photorealism has quietly become the dividing line between AI art that looks like a glimpse of another world and AI art that still looks like AI. A decade ago, generating an image that could pass for a photograph was a distant dream; today, advanced models routinely produce frames that challenge the human eye. This article is a practical guide to crossing that line deliberately. We will look at the technical foundations of realistic generation, the craft of writing prompts that actually deliver realism, how to manage cost and resources, and how to fold this into a professional video and image workflow. Whether you are a designer, filmmaker, or curious experimenter, the goal is a repeatable method rather than a lucky frame.
What Makes an AI Image Look "Real"
Before you can achieve photorealism, it helps to understand what your eyes are actually responding to. Realism is not a single quality but a bundle of signals that together convince the brain.
Light that behaves like physics
The first and most powerful signal is light. Real photographs have predictable light: highlights that follow a source, shadows that fall in a direction, and reflections that stay consistent across a scene. Many AI images fail because light is "dishonest" — bright in places that would dark, or shadows that wander between frames. When a model handles lighting well, realism improves dramatically.
Texture with believable detail
Skin is not smooth plastic. Fabric has weave, stone has grit, and metal has micro-scratches. Highly realistic output is rich in natural, non-uniform texture. The moment surfaces look too clean and uniform, the image tips back toward the artificial.
Physics in the details
Our brains are constantly running informal physics checks: does the water ripple right, does hair move plausibly, do reflections stay attached to their objects? Advanced models increasingly understand these interactions, which is what separates "plastic" motion from convincing behavior.
Imperfection and noise
Photographs are full of small imperfections — slight grain, motion blur, out-of-focus areas, lens flare. Images that are "too perfect" read as synthetic. Introducing realistic imperfection, either in the prompt or through post-processing, often does more for realism than cranking up sharpness.
The Technical Foundation: Which Models Excel at Realism
Not all models are equal when it comes to photorealism. Understanding the landscape helps you pick the right tool for the job.
Diffusion models as the core engine
Most state-of-the-art image and video generation today rests on diffusion architectures. These models learn to refine noisy data into coherent images and, when tuned for photorealism, they prioritize pixel accuracy, physical behavior, and lighting consistency. The families most associated with high realism include the Flux series and the OpenAI Sora series, both of which are capable of handling complex physical interactions and detailed composition.
Specialized models for different looks
While flagship models aim for broad realism, specialized models can excel at niche outputs — a particular animation style, a specific product render, or a certain kind of cinematic lighting. Choosing a specialized model for a specialized need often yields better results than forcing a generalist into a corner.
Benchmarking for your use case
Instead of trusting marketing claims, run your own benchmark. Generate a controlled set of test prompts across a few candidate models — a portrait, a landscape, a close-up of a hand — and compare them on lighting, texture, and physical plausibility. A quick personal benchmark gives you a reference you will use again and again.
The Craft of the Realism Prompt
The prompt is your primary creative instrument. Constructing one that produces realism is a repeatable skill, and it can be broken into clear dimensions.
The five dimensions of a realism prompt
A strong realism prompt covers five areas: subject, environment, camera, light, and post-process. State exactly who or what is in the frame, where it happens, how it is shot, what the light does, and any optical qualities like depth of field or grain. Covering each dimension reduces the model's freedom to drift into the generic.
Use concrete, physical language
Avoid vague adjectives like "beautiful" or "nice." Prefer physical descriptors: "late afternoon sunlight," "helium-filled balloon," "hair wet from rain." Concrete, sensory language pushes the model toward verifiable, photographable details instead of abstract flourish.
Direct the camera and lens
Specify focal length, aperture, camera angle, and movement when you want to influence the "photographic" feel. A description of a 50mm lens with shallow depth of field cues the model to produce the optical signature of a real camera, complete with bokeh and natural focus falloff.
Negative directions when available
Many tools let you steer away from unwanted outcomes. Use these judiciously to discourage the plastic look — for example, asking for "natural skin texture" and "no airbrushing" rather than just hoping the model avoids them.
Iterate, don't retype from scratch
Treat the prompt as a living document. Keep the winning elements, swap out one dimension at a time, and observe what changes. Small, deliberate edits are more informative than wholesale rewrites.
Managing Resources and Cost for Sustainable Realism
Photorealism tends to be more expensive and slower than casual generation. Good planning keeps the pursuit sustainable, because the difference between "expensive experiment" and "genuinely sustainable pipeline" is almost always management discipline.
Tier your work
Not every frame needs the highest fidelity. Separate exploration from final production. Use faster, cheaper models for mood boards, layout tests, and composition sketches, then reserve top-tier models for the frames that will actually ship. This dramatically reduces cost without sacrificing final quality.
Batch and reuse
Reuse successful prompts, stable character profiles, and established style references across projects. Much of the "cost" of realism is in the process of converging on something good; once converged, reuse it instead of re-solving from scratch.
Set expectations for iteration
Photorealistic work almost never lands on the first attempt. Budget for multiple passes per asset. Understanding that iteration is part of the process — not a failure — keeps you calm and your pipeline moving.
Bringing Realism into a Professional Workflow
Photorealism is more than a single image trick; it slots into a broader creative pipeline.
Consistent characters and scenes
For video and multi-frame projects, maintaining a consistent look is as important as achieving it in the first place. Use a set of high-quality reference images to anchor a character or scene style across shots, so realism doesn't collapse when the perspective changes. Consistency is what turns a collection of realistic frames into a believable story.
A shot-driven production approach
Plan a project as a sequence of shots, each with its own requirement. Define the realism target per shot, assign an appropriate model, write the prompt with the five dimensions in mind, and evaluate against your benchmark. This structured approach produces coherent, professional output rather than a scatter of lucky frames.
Post-production as the finishing pass
No matter how good the raw generation is, a small amount of post-production — color grading, a touch of grain, subtle sharpening — ties it together and pushes it across the realism line. Do not underestimate this final discipline; it is often what separates "AI demo" from "usable asset."
Common Failure Points and How to Fix Them
Here are the obstacles creators most often hit, and how to get past them.
Faces that don't convince
Hands and faces are where realism breaks down fastest. If a face looks off, check the lighting and angle coverage of your reference, reduce extreme poses, and regenerate with clearer direction. Sometimes a simpler camera angle yields a far more convincing result than an ambitious one.
A scene that looks "plastic"
Plastic-look usually means textures are too uniform and lighting too flat. Add physical detail to the prompt, specify the light source and direction, and introduce believable imperfection. A touch of realistic grain or noise in post often completes the fix.
Motion that breaks the illusion
In video, static realism can fail as soon as things move. If motion looks wrong, verify that your model handles physical behavior, simplify the movement, or break the action into smaller, easier-to-generate segments.
Realism for Different Content Types
Photorealism is not a single target; it means different things for different kinds of work. Clarifying your goal makes the process far more directed.
Portraits and people
People are the hardest subject to make believable, because audiences are expert at reading faces. Achieve realism here with strong reference material, careful lighting direction, and honest skin texture. Avoid extreme or unusual angles unless you truly need them, and always check the details — hands, hair, eyes — that tend to betray synthetic output.
Product and commercial renders
For products, realism is about material fidelity and context. A bottle that reflects light correctly, sits on a plausible surface, and has believable glass and label detail reads as a real photograph. Consistency with the brand's existing visual language matters just as much as technical realism.
Environments and landscapes
Landscapes give you breathing room, since there is no single "face" to get right. Focus on light, atmospheric depth, and natural texture in foliage, water, and rock. Believable natural scenes reward attention to scale and the interaction of multiple depth planes.
Historical and fantasy scenes
These combine the demands of realism with world-building. The realism comes from convincing materials, lighting, and physics; the fantasy comes from your art direction. The strongest results ground the extraordinary world in the ordinary realism of physical light and texture.
Getting Realism from a Workflow, Not Just a Prompt
You can raise your hit rate by treating realism as a workflow with explicit checkpoints rather than a single generation attempt.
The three-pass review
After generating, review the result in three focused passes. First, check lighting and shadows for physical consistency. Second, check texture and detail at a close zoom. Third, check overall composition and whether it reads as a photograph at first glance. Each pass catches a different class of problem.
Maintain a curated shelf of wins
Keep a folder of your best realistic results, alongside the prompts that produced them. When a project needs a similar look, start from a proven formula instead of re-solving the whole problem. This compounding library is one of the highest-leverage habits you can build.
Learn to read why something works
When you get a result that finally looks real, reverse-engineer it. Which words pushed it across the line? Which model settings mattered? Writing down the "why" turns isolated successes into a transferable skill rather than luck.
The Responsible Use of Photorealistic Tools
As realistic generation becomes more capable, judgment matters as much as skill. Always be explicit about when content is AI-generated, avoid creating deceptive or misleading imagery, and respect the rights of real people and copyrighted materials. Using these tools responsibly protects both your reputation and the trust of your audience. Photorealism is a craft, and like any powerful craft, its value lies in how you choose to use it.
Frequently Asked Questions
Is there a single model that guarantees photorealism?
No single model guarantees it across every subject and scene. Every model has strengths and weaknesses, and realism is achieved through a combination of model choice, prompt craft, and post-production. It is better to learn a repeatable method than to chase one "magic" tool.
Why do hands and eyes still look wrong so often?
These are the areas with the least tolerance for error, because viewers are highly trained to read them. Mitigate the problem with strong reference material, realistic poses, and careful lighting. When they fail, regenerate or simplify the composition rather than patching a broken frame.
How important is post-processing?
More important than many creators think. A subtle grade, a touch of grain, and honest color correction regularly push a good generation into a believable photograph. Do not skip it, and do not expect the raw frame to always be the answer.
Can I reuse the same prompt across different models?
Sometimes, but not always. Models interpret language differently, so a prompt tuned for one model may need adjustment for another. Test and adapt rather than assuming perfect transfer. Keeping a prompt library annotated per model is useful.
Conclusion
Achieving photorealism with AI is not a secret code or a single premium model. It is a discipline built on understanding how light, texture, and physics fool the eye, writing prompts that speak in concrete sensory language, choosing the right model for each shot, and managing resources so the process is sustainable. Add the discipline of post-production and consistent character work, and you can produce imagery that earns a second glance — and often, the first one too. Start with a single test frame, apply the five dimensions of a realism prompt, benchmark honestly, and refine from there. Before long, "convincing" will be the standard you measure everything against, not a lucky accident.
