
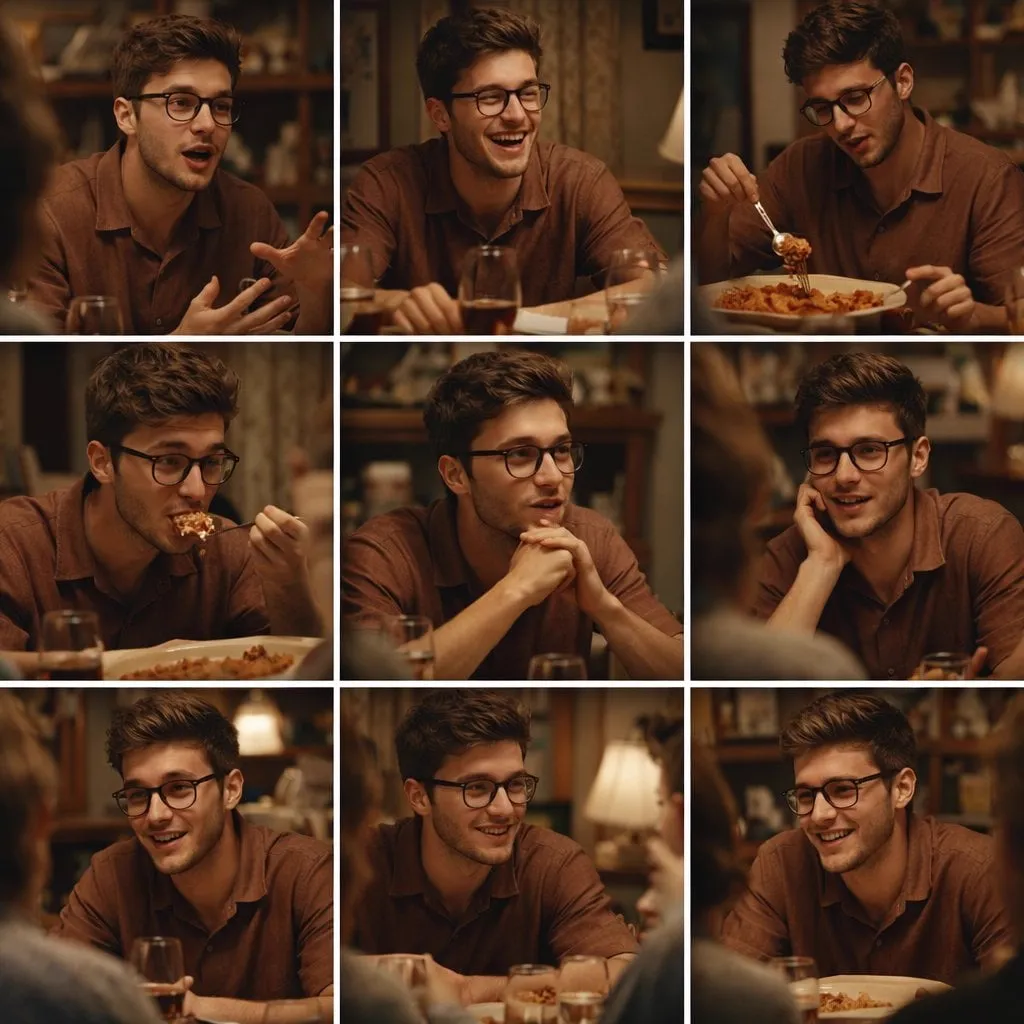
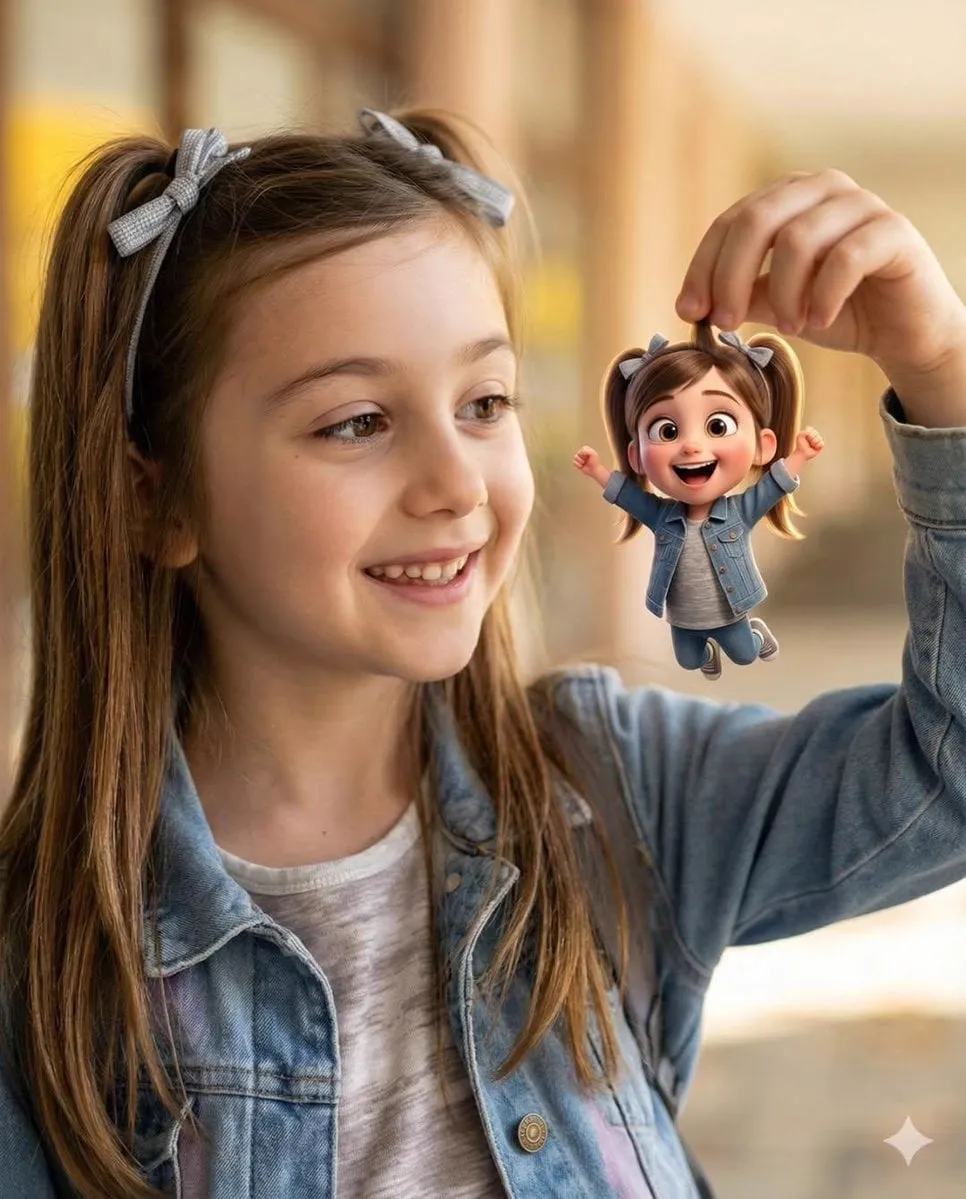

A single photograph captures a moment, but a moving image captures attention. That difference is why image-to-video technology has become one of the most useful tools in modern content creation. You take a portrait, a product shot, or a piece of concept art, and in minutes you can have a subtle animated clip where a subject blinks, hair moves in the wind, or a product slowly rotates under studio light.
For a long time, animating a still image meant complex software, high technical skill, and hours or days of work. It was reserved for specialists. AI has collapsed that barrier: the turnaround is now measured in minutes, and the skill required is closer to writing a clear description than to operating a full animation suite. This guide walks through how the technology works, the creative uses that make it genuinely valuable, and a practical workflow that keeps results consistent and professional.
Why Image-to-Video Matters More Than Ever
Static media still has power, but attention economics have shifted. Feeds, ads, and storytelling formats now reward motion because movement holds the eye and carries a scene forward in a way a still never can. For anyone producing content, the ability to turn an existing still into motion expands how far a single asset can travel.
The shift is also economic. Marketing, entertainment, and education all rely on visual engagement, and professional animation previously priced itself out of everyday use. Now the same teams can produce animated assets for the cost of a prompt and a few minutes of waiting. A family photo becomes a short memory clip for a social post; a product render becomes a rotating lifestyle visual for a storefront; a piece of concept art becomes a teaser for a longer creative project.
Just as important, image-to-video builds on content you already have. Unlike starting from text, you begin with a concrete visual you control. That makes it ideal for working with real people, real products, real locations, or an art style you have already locked down. You are animating your asset, not gambling on whatever a blank prompt returns.
How AI Turns a Still Into Motion
At a high level, image-to-video generation feeds a starting frame into a neural network that predicts the frames that could follow it, preserving the subject and scene while introducing plausible movement. The model has learned, from vast amounts of footage, how objects, faces, light, and physics tend to behave, and it applies that knowledge to continue your image in time.
Two technical properties matter for results: temporal coherence and dynamic realism. Temporal coherence means the movement stays consistent across frames, so a face keeps the same identity as it turns, rather than morphing into someone else. Dynamic realism is about whether the motion looks physically believable, such as clothing following a body or water rippling convincingly. Better models maintain both more reliably, which is why the quality differences between tools are visible even to a casual viewer.
The practical consequences are straightforward. Choose a starting image with a clear subject and good light, describe the motion you want in precise terms, and you give the model the best chance to produce something useful. The same prompt-writing principles that apply to other generative tools apply here: name the subject, the action, the camera movement, the light, and the mood.
Creative Uses Across Industries
The real proof of the technology's value is in how many different jobs it serves. Let us look at the most practical categories.
Social content and brand accounts get the biggest immediate win. Photographers and creators reuse one excellent photo as several animated variations to keep a feed active without shooting constantly. A subtle motion element, a drifting background, a floating piece of hair, makes a post feel alive and stops the scroll.
E-commerce and product teams use it to animate product renders. A still of a bottle, a shoe, or a gadget can be turned into a slow rotation or a lifestyle scene that shows the product in motion, which often communicates more about texture and use than a static image does. This is particularly useful for landing pages and short ad formats.
Storytelling and indie film benefit from image-based animation for concept art and storyboards. A concept sketch can be animated into a short teaser that communicates tone and motion in a pitch, bridging the gap between a static mood board and a finished sequence. For filmmakers, this turns a single reference image into a persuasive demonstration of intent at almost no cost.
Education and explanation benefit as well: a textbook diagram or a historical photo can be set in gentle motion to draw a learner's eye to the important part. The technology turns passive stills into more engaging instructional materials.
Keeping Characters and Style Consistent
Because image-to-video starts from an image you control, consistency is easier than with text-only generation, but it still requires care. If you create several clips from the same source or want a series where a character appears multiple times, small drifts can creep in.
The first rule is to choose your source images deliberately. Pick a clear, high-quality frame with good lighting and a single dominant subject. The more legible your starting image is, the less the model has to guess, and the fewer artifacts it will introduce.
For multi-clip consistency, use reference-based techniques. Feeding the same set of reference images into each new generation keeps a character's face, palette, and props aligned across episodes. Treat your character and your brand visuals like a fixed casting decision, not something renegotiated every time.
Style coherence also extends to how you use motion. If your account or project has a signature, such as gentle, dreamy movement or energetic, punchy motion, keep that across all your generated clips. A consistent treatment makes a collection read as one cohesive body of work rather than a set of experimental outputs.
Adding Sound, Voice, and Text On Screen
A moving visual still benefits from the rest of the experience. Audio and on-screen text usually decide whether an animated still converts into actual engagement.
Subtitles and captions are essential in feeds where much viewing happens on mute. If your clip carries a message, put the key phrase on screen, styled to match your brand. Text also helps pacing, especially if you are turning the animated still into a short vertical or square-format post.
For the audible side, choose sound that matches the mood of the motion. A gentle loop or an ambient score can make even a single animated photo feel like a small film. If you animate a talking character or want a voiceover, keep the voice consistent with your channel's established tone, just as you would with visual consistency.
Music and effects also communicate information. In a product clip, sound design that matches the product, like a crisp click or a soft swish, reinforces the tactile quality of what the viewer sees. Treat audio as an equal partner to the visual, not an afterthought.
A Practical Start-to-Finish Workflow
Building image-to-video into your routine is easier than it sounds if you separate preparation from generation. Here is a repeatable process.
Step one, prepare the source. Choose or create a clear still with good lighting and a single subject. Crop it to the ratio you need and clean up anything distracting. This step decides more about the final quality than anything the model does.
Step two, write the motion prompt. Describe what moves and how: "the dress sways gently in a breeze," "the product rotates slowly on a turntable under soft studio light," "she turns her head and smiles." Include camera movement when useful and set the mood in the prompt.
Step three, generate and evaluate. Create a first version and check whether the motion matches the intent and the subject stays consistent. Adjust the prompt at the single element that failed rather than starting over. Save the prompts that work as a reusable library.
Step four, finish the piece. Add captions, music, and sound design, then prepare the output for the platform you are targeting, whether that is a portrait feed post, a landscape product visual, or a square ad. Log what you posted and how it performed so the next round learns from data.
This loop keeps the process fast and prevents you from treating every clip as a one-off gamble. Over time, you build up a personal playbook of prompts and treatments that reliably produce the motion you want.
Real-World Examples and Sample Prompts
Seeing the workflow in action makes it far easier to replicate, so let us walk through worked examples with the kind of prompts that actually produce strong results.
Example one: animating a family portrait into a social memory clip. The source is a bright outdoor photo of a person smiling. A strong motion prompt might be: "gently swaying hair, subtle head turn, soft breeze moving the shoulder fabric, warm afternoon light, shallow depth of field." The aim is a gentle, believable moment rather than an exaggerated transformation, because the value here is warmth and realism, not spectacle.
Example two: turning a product render into a rotating lifestyle visual for a store. The source is a clean studio shot of a coffee machine. The prompt could be: "slow 360-degree rotation on a turntable, cold steel reflections, steam rising softly, moody background, product stays perfectly in frame and unchanged in color." The critical instruction is stability, keeping the product identical while everything around it gives the scene life.
Example three: animating a piece of concept art into a short teaser. The source is a moody illustration of a character standing in a rain-lit alley. The prompt might be: "cineastic slow push-in, rain falling and catching neon light, character's coat stirring in the wind, eyes blinking, camera stays low and steady." Here the goal is atmosphere, so light and camera movement matter more than in the product shot.
For every example, the pattern is the same: name the subject, describe exactly what moves and how, add light and mood, and specify any camera movement. Then check the output against that list. If the dress does not move, add motion to the prompt; if the product color shifts, add an explicit "unchanged" instruction. Each iteration targets one missing element, which keeps the process fast.
Building a Personal Prompt Library
The fastest way to get consistently good results is to stop rewriting the same instructions from scratch. Your past winning prompts are templates for future work, and organizing them turns experience into speed.
Set up a simple collection organized by use case: social animation, product motion, storytelling teasers, and so on. For each, note the source-image requirements, the motion prompt that worked, the model or tool that produced the best result, and any failure you corrected. This turns a vague memory into a searchable asset.
When you start a new project, first check the library for a template that fits, then adapt it to the new subject. The adaptation is small and targeted, so you keep the qualities that made the original work while only changing what the new scene requires. This is far more efficient than inventing a prompt each time.
The library also improves with every project. When you discover that a particular phrase reliably produces believable hair motion, or that a certain lighting keyword keeps product colors stable, note it. Over months of use, your library becomes a genuine competitive advantage, encoding a taste that is hard for others to copy because it is built from your own successes and corrections.
Frequently Asked Questions
What makes a good source image for image-to-video? Clarity, good lighting, and a single dominant subject. The more the model can read, the fewer artifacts it introduces.
How long does it take to animate one still? Usually a few minutes from a decent source image. The turnaround is short enough to iterate quickly and test several motion ideas.
Can I reuse one photo for several different animations? Yes. Different prompts and camera movements produce different clips from the same still, which is a great way to keep a feed active on limited source material.
How do I avoid strange artifacts or morphing? Start with a clean, sharp image, describe motion precisely, and regenerate or adjust the prompt if a frame looks wrong. Higher-quality models handle temporal coherence better.
Is the result usable for professional use? Increasingly yes, especially for social content, product visuals, and concept work. For broadcast-grade footage, review carefully and combine with additional editing where needed.
Do I need expert prompting skills? No, but learning to describe subject, action, light, and mood clearly dramatically improves consistency and quality.
Final Thoughts
Image-to-video AI has turned a specialist craft into a creative tool anyone can pick up. The motion it produces is not a replacement for careful filmmaking, but it is an enormous extension of what you can do with the stills you already have. A portrait, a product shot, or a piece of art can now hold attention for the extra seconds that matter.
The way to build real skill is the same as with any generative tool: start with good input, write clear instructions, evaluate honestly, and refine in short cycles. Keep a library of prompts that work, keep your source assets and character references organized, and treat audio and captions as part of the final piece. Do that, and you will move beyond making the occasional impressive animated photo into reliably producing motion content that serves a purpose.
