
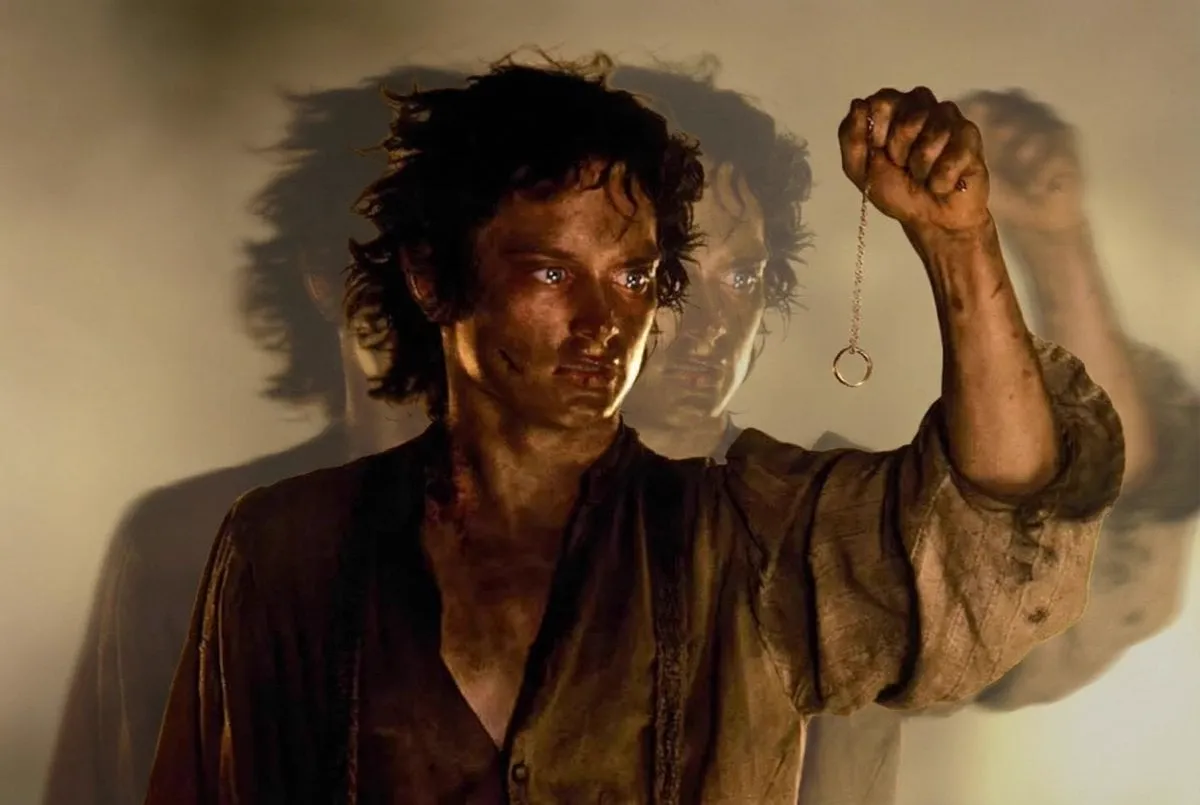


There is a satisfying moment in AI filmmaking when a generated clip no longer looks like a demo and starts to feel like an actual movie. What separates that moment from a folder full of pretty but empty shots is usually not the model you chose. It is the craft applied around it: careful scene planning, disciplined prompt writing, deliberate editing, and a stubborn insistence on consistency. This guide is a complete, practical walkthrough of how to create short films with genuine cinematic quality using AI video tools.
We will move from the big picture — why cinematic quality in AI film is achievable — through the technical choices that matter, all the way to the editing and finishing habits that make a reel of clips read as a film. No experience required beyond curiosity, and everything here is actionable.
What “Cinematic Quality” Actually Means for AI Video
Cinematic quality is not a single setting you can dial up. It is a combination of choices that make footage feel like it was deliberately directed and shot rather than generated by accident. In AI video, five elements do most of the work.
Composition and framing. How subjects sit in the frame, where the eye leads, and how space suggests mood.
Lighting design. Where light falls, what color it is, and how it shapes the scene. Lighting is half of any “cinematic” look.
Motion and camera language. Whether the frame moves, and how — slow pushes, tracking, handheld, locked-off. Motion signals emotion.
Color and grade. The palette and its consistency across shots, which gives the film identity.
Depth and focus. Shallow or deep focus, foreground separation, and how the environment joins the subject.
When you control all five across every shot, the result reads as a film. When any of them is left to chance, the shot reads as accidental. The whole craft of AI filmmaking is bringing these elements under your control.
Choosing the Right Tool for the Job
Your tool sets the ceiling and the floor of your visual quality, so choosing well matters. But “best” is contextual. Ask these questions of whatever you are evaluating.
What is the native aesthetic? Different models lean toward photorealism, animation, or stylized looks. Choose the one closest to your target so you are pushing with the model rather than against it.
How long can a single clip run? Cinematic storytelling usually wants shots from a few seconds to tens of seconds. Know your model's limit and build your edit around it.
How well does it hold motion? Does video stay stable, or does the subject wobble or morph after a few seconds? Test on motion-heavy subjects.
Can you control the camera? Models that accept camera instructions let you build coherent shot language instead of accepting whatever the model chooses.
How consistent is a character across shots? For multi-scene stories, character stability is decisive. Check whether the model supports reference images.
What is the real iteration cost? Count how many tries it typically takes to land a usable shot. That is the number that determines your actual cost and patience.
Planning the Story Before You Generate a Single Frame
Every film starts off-screen. Before you open any generator, do the director's homework: decide what the film is about and how the shots will build it.
Write a one-line premise. “A letter carrier discovers the town is empty every time it rains.” If you can say it in one line, you understand it.
Break the premise into shots. List every moment you need, one clip per line, with the action, setting, and camera for each. This is your scene list, and it is the backbone of the whole project.
Define a visual language. Decide the lighting mood, palette, and camera vocabulary you will reuse across shots so the film feels unified.
Plan for continuity. Establish the protagonist's look once and decide how it will be held constant throughout.
The scene list is where most amateur AI films are lost. Without it, you generate random clips and then try to make a film from leftovers. With it, you are directing — generating individual shots to serve a plan.
The Prompting Technique for Cinematic Shots
Prompts are how you translate a scene on your list into a specific generated shot. A cinematic prompt builds information in layers. A reliable structure:
Subject and character. Who is in the frame, with any identity detail that matters.
Action and intent. What they are doing, and what they want in that moment. Intent gives the shot reason.
Setting and time. Where and when, with atmospheric details — light, weather, scale.
Camera and lens. The framing and movement: “slow push-in on a close-up, 50mm, shallow depth of field.”
Lighting and mood. The quality and color of light, and the emotional tone you want.
Negative guidance. Where useful, tell it what to avoid so it fixes the strongest annoying defaults.
Keep descriptions concrete rather than cinematic-sounding fluff. “Sunset backlight, silhouette, dust motes in the air” directs the render; “epic and moody” tells the model almost nothing. Iterate one layer at a time to learn what each element does to the result.
Scene-by-Scene Production Workflow
Production in AI film is a loop, not a single prompt. A workflow that holds together looks like this.
- Lock the scene list. Finalize the shots, their order, and the required facts (character, location, light) before generating.
- Build character and world references. Create stable reference images for any recurring character or place before the first scene.
- Produce scouts. Generate quick, cheap versions of every scene to validate composition and motion before investing in quality.
- Refine shot by shot. Push each clip toward its best version, one variable at a time. Save the winning prompt and settings per scene.
- Grade and assemble. Once shots are locked, move to editing: cut to pacing, match color, add sound.
Keep the scene list as a living document. Mark each shot's status — scout, refining, locked — so the project's progress is visible and nothing falls through the cracks.
Editing: Where AI Clips Become a Film
Editing is where coherence happens. Generated shots are raw material; editing builds them into a story with rhythm and meaning.
Cut on motion and intent. Connect shots where the motion or the narrative intent continues, so cuts feel motivated rather than arbitrary.
Control pacing. Vary shot length to build tension or let moments breathe. Shortening shots raises energy; holding shots adds weight.
Match the color grade. Apply a consistent grade across all shots so different generations share the same palette and look like one film.
Design transitions. Simple cuts, matched-action cuts, or light dissolves serve most stories better than elaborate effects that draw attention to the seam.
Add a score and sound. Music sets the emotional floor. Build the soundtrack to follow the pacing and the story's beats.
Editing is the cheap, high-leverage part of the pipeline. Two identical sets of generated shots go different distances depending on the editor behind them.
Consistency and the “AI Look” Problem
No discussion of cinematic AI film is honest without addressing the two things that sabotage most projects: inconsistent characters and the recognizable, glossy “AI look.”
For characters, hold a stable reference image and identical descriptive details across scenes. Minimize light and wardrobe changes to avoid drift. Consistency is what lets the audience follow a protagonist from opening to final frame.
For the AI look, the fix is usually subtractive. Many generators default to a clean, over-saturated, plastic sheen. Push back by specifying grain, natural light, realistic detail, and muted color in your prompts and grade. Adding film grain, desaturating slightly, and embracing natural shadows strip away the giveaway gloss and make footage read as intentional.
The goal is not to hide that a film was made with AI; it is to make the craft visible in the choices rather than the accidents.
Working With a Voice and Score
Once the image holds together, sound does the emotional work. A generated clip can look cinematic and still feel empty until it has a score and a voice to carry the tone. Two things move a short film the most.
Music sets the emotional floor. Match the tempo and energy of the track to the pacing of your edit, and let the music's build follow the story's climax. A sparse, slow score over the quiet moments and a fuller swell at the peak make the film feel inevitable. Keep the mix balanced so any narration or dialogue stays clear.
Voice anchors character. If your story has narration, a consistent voice ties the scenes together the way a consistent face does. Choose one voice and keep the tone of the writing stable. Good narration is a little understated: it supports the image, never fights it.
When sound and image agree, the film reads as intentional even at short length.
Common Mistakes and How to Fix Them
Skipping the scene list. Generating without a plan yields clips, not a film. Spend the extra time on paper first.
Fighting the model's style. If every output is glossy and you want gritty, change tools rather than burning hundreds of prompts.
Iterating too many variables. Change one thing between attempts or you never learn what worked.
Ignoring character consistency. Your story breaks the moment the lead changes face. Use references and freeze them.
Editing without grading. Unmatched color between clips screams “AI demo.” Grade the whole film consistently.
Over-relying on effects. Elaborate transitions and filters draw attention to the seam instead of the story. Restraint is cinematic.
Missing the license check. Before you monetize, confirm the tool's terms allow commercial use of the output.
Frequently Asked Questions
How long should an AI short film be? Start with thirty to ninety seconds, built from ten to twenty shots. Short but complete is more convincing than long and unfinished.
Do I need a powerful GPU or pro software to edit? No. Simple editing apps handle cuts, color, and audio well. The craft is in the cut, not the equipment.
How do I make a character look identical in every shot? Start from a stable character reference image and keep the descriptive prompt identical across scenes. Lock it and don't touch it.
Can I use my AI film commercially? It depends on the tool's license. Verify the terms before distribution and retention keep records.
What if my shots keep looking “AI-ish”? Dial back the defaults: add grain, mute color, specify natural light, and avoid over-specified glossy descriptions. Grade consistently to unify the look.
How many retries per shot is normal? It varies, but expect several attempts per quality shot. Treat retries as part of the cost, not as failure.
What resolution and format should I target? Match the deliverable of your platform. If you plan to post vertically on a phone feed, generate and edit in a vertical ratio from the start; if the film is for a wider screen, frame it wide. Editing a mismatched aspect ratio later wastes resolution. Decide the ratio once, early, and lock the whole production to it so every shot shares framing and composition.
Your First Cinematic Short: A Simple Start
If you are ready to begin, here is a minimal, achievable first project. Picture the premise “a lighthouse keeper on the last night before the light goes out.” Write six to eight scenes covering a rising mood, the work of the night, and a final quiet decision. Choose a model whose style leans moody and atmospheric. Generate scouts, refine them one variable at a time, then grade them to a single muted palette. Add a slow, sparse score and keep the edits patient.
Finish it, even if it is imperfect. Shipping your first complete short teaches you more — about references, pacing, grading, and consistency — than any tutorial. On the next one, apply the discipline to a longer story, and the filmmaking instinct will compound.
In AI film, the machine handles the rendering. The cinema lives in the choices: the plan, the prompts, the references, the cut, and the grade. Those choices are entirely human, and they are what turn generated clips into stories worth watching.
