
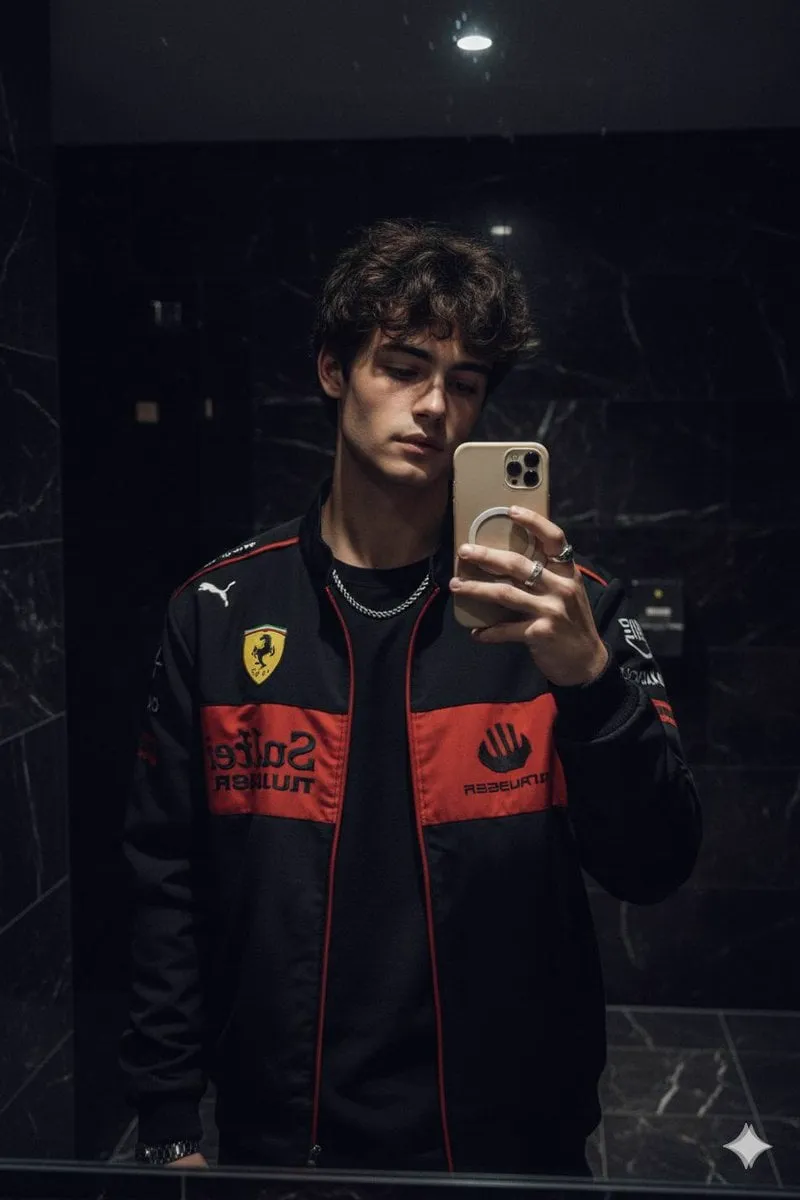
Good shot design is the quiet engine of visual storytelling. A scene can have a powerful script and a strong performance, but if the framing, the camera movement, or the lens choice is off, the emotion never lands. For decades, mastering this cinematic grammar took years of study and field experience. Today, AI-assisted tools are bringing that grammar within reach of every creator — not by replacing the director's instincts, but by automating the technical craft so you can concentrate on meaning.
This guide is a practical shot design playbook for anyone who wants more cinematic work, whether you are new to filmmaking or already experienced with AI generation. We will cover the visual language of shots, how to structure scenes for narrative flow, the principles of framing and composition, how to direct camera movement, how to keep characters visually consistent across cuts, and how to plan a sequence start to finish.
The visual language of a shot
A shot is not just a picture — it's a sentence in a visual language. In traditional filmmaking, composition, angle, and lens choice are the primary vocabulary directors use to communicate intent. A low angle makes a subject feel powerful. A close-up isolates emotion. A wide establishing shot locates the audience in space and time. Each choice sends a precise signal.
AI-assisted workflows translate this grammar into a prompt layer. Instead of physically positioning a camera, you describe the intent — the angle, the framing, the mood — and the generation engine renders a scene that honors it. The challenge is that you must know what to ask for. Learning the language of shots is what turns generic outputs into deliberate, cinematic ones.
Mastering the basics pays off enormously. Understanding depth of field lets you isolate a subject. Knowing the rules of thirds helps you place the eye where it belongs. Recognizing how wide versus close framing changes emotional weight is the difference between footage and film.
The principles of framing and composition
Every memorable image respects a few timeless principles of composition, and these translate directly into better prompts and better results.
Balance and the rule of thirds
Place key elements along the intersection points of a mental grid dividing the frame into thirds. This creates tension and interest, making the composition feel intentional rather than static. Centered framing is powerful, too — but use it deliberately, for moments of symmetry or confrontation, rather than as a default.
Describe the placement in your prompt: "main subject at the left third, looking toward the open space on the right" gives the model a concrete direction that usually reads more cinematic than a generic "a man standing."
Leading lines and depth
Composition guides the eye. Roads, railings, architecture, or natural lines push the viewer's gaze toward the subject, adding depth and purpose to a two-dimensional frame. Describing leading lines in a prompt — "a long corridor receding into darkness toward a figure" — creates a far stronger sense of place than a flat description.
Negative space and framing devices
Leaving empty space around a subject can convey isolation, anticipation, or grandeur. Framing devices like doorways, windows, or foreground silhouettes add depth and narrative texture. These are the small directorial choices that make a shot feel designed rather than generated.
Directing camera movement and choosing a lens
Camera movement is a language of its own, and lens choice shapes the entire mood of a scene. A slow push-in builds tension and intimacy; a tracking shot keeps the energy of motion; an orbit creates drama and unease. In AI generation, you can direct movement by describing it clearly. Start with the emotional intention, describe the beginning, the path, and the end of the move, and keep it motivated so it always serves the story.
For lens, a wide lens with a close subject conveys energy and proximity, while a long lens compresses space and isolates subjects — ideal for intimate portraits. Describe the lens and its effect in your prompt so the generator renders the right mood. Use atmospheric effects like light, fog, rain, or lens flare sparingly; a scene drenched in effects reads as a demo reel, not a story. Choose one or two elements that sharpen the feeling rather than burying the subject.
For controlled results, describe the beginning, the path, and the end of the movement. If you want unease, describe a slow, nearly imperceptible push into the subject's face; if you want energy, describe a lateral tracking shot following a walking character. An example like "start on a wide establishing shot of a city at dusk, slowly push in until we frame a single window" gives the engine a clear arc to render. Keep every move legible and motivated — a camera move should serve the story, never draw attention to itself.
Structuring a scene sequence for narrative flow
Individual shots matter only in context. The real craft is how they flow into a sequence that tells a story. Approaching a scene like a director means planning the shot order, the pacing, and the rhythm.
Begin with an establishing shot that grounds the audience in space and tone. Move progressively closer and tighter as the scene's emotion deepens, then end on a shot that resolves the moment — often a lingering close-up or a meaningful wide that re-contextualizes. Vary shot size and camera movement so the sequence never feels monotonous.
For AI-assisted production, you can design the whole shot list up front and generate each shot with a consistent style vocabulary and shared references. This keeps the scene cohesive and makes assembly straightforward.
Keeping characters consistent across cuts
No sequence survives a character who changes appearance from one shot to the next. Consistency is the foundation of believability, and it is the hardest problem in generated storytelling.
The solution is reference-driven generation. Gather a clear set of reference images that pin down the character's face, hairstyle, costume, and any distinguishing traits, and feed those into every relevant shot. Combined with a stable textual description, this anchoring keeps the same likeness recognizable from wide to close and across multiple scenes.
Manage multiple characters by giving each its own reference set and clearly describing their arrangement and relationships. When characters interact, describe proximity and eye contact to help the generator place them convincingly — and to keep behavioral consistency across the scene.
A practical shot design workflow
Here is a repeatable process you can apply to your next project.
- Write a one-sentence intent for the scene: what the audience should feel and understand.
- Decide the shot vocabulary: wide, medium, close, angle, and the camera moves you will use.
- Choose the lens and atmospheric effects that reinforce the mood.
- Build a shot list that establishes, tightens, and resolves the moment.
- Gather character and location references and fix a style vocabulary.
- Generate each shot, keeping references and descriptions consistent.
- Review the sequence as a whole, not shot by shot, to confirm the flow.
- Assemble, add music and effects, and assess pacing and rhythm.
Common mistakes and how to avoid them
If your sequences feel off, check for these frequent pitfalls.
Static, flat results. Add purposeful camera movement and describe depth. A scene described without movement often renders as a lifeless still.
Characters that drift. Your references are inconsistent or too few. Strengthen and diversify them, and reuse the same set every shot.
Monotonous shot sizes. A sequence of all medium shots lacks rhythm. Vary between wide, close, and detail shots with clear intent.
Overwhelming effects. Too many atmospheric elements bury the subject. Restrict yourself to one or two that serve the emotion.
Incoherent style between shots. Your prompts diverged. Fix a single style vocabulary and reuse the same descriptive phrases across the sequence.
Designing a short visual story end to end
Let us tie everything together with a complete example. Imagine you want a short visual story about a character rediscovering a favorite place. Set your intent: you want a warm, melancholy-tinged moment of return. Choose the shot vocabulary — an establishing wide of the neighborhood, a tracking shot following the character, a close-up as they recognize the spot, and a final lingering medium that holds on the emotion.
Select a lens that supports intimacy, perhaps a slight telephoto for the close-ups, and decide on atmospheric effects — soft golden light and a gentle breeze on leaves. Build a shot list that establishes, tightens, and resolves. Gather references for the character and the location, fix a style vocabulary, and generate each shot with those anchors. Finally, review the whole sequence, add music, and adjust pacing until the return feels exactly as warm and bittersweet as you intended.
This same scaffold scales up: multiply the shots, add more locations and characters, and extend the intent into a full narrative. The discipline is identical at every size.
Practical ways to keep growing as a filmmaker
Dedicated practice is how you turn these principles into instinct. Set yourself a routine of shot studies: take a simple subject and render it as five variations that each communicate a different emotion through framing, angle, and movement. Compare the results and note which choices produced which feeling.
Become a student of films you admire. Pause scenes and reverse-engineer the shot list, the framing, the lens behavior, and the pacing. Then try to reproduce the emotional effect in a short film-inspired piece of your own. Imitating to learn, then building your own take, is a proven way to grow fast.
Keep a personal library of references, favorite prompts, and before-after examples. Over time this becomes your own cinematography playbook — a practical reference that makes each new project faster and surer. The goal is not perfection but fluency: reaching a point where your visual instincts surface automatically and the tools serve them cleanly.
A checklist before you render a sequence
Before you commit to rendering a sequence, run a quick self-review. Read your scene intent aloud and make sure every shot in the list serves it. Confirm you have strong, consistent references for every character and location. Verify your shot vocabulary actually varies — wide, medium, close, with purposeful movement rather than a run of similar frames. Check that your lens and atmosphere choices match the intended mood, and that you have planned for establishing, tightening, and resolving beats. Finally, preview the sequence as a whole on a small screen, the way your audience will see it. This short check catches the majority of common problems before they cost you generation time, and it keeps your craft disciplined at every scale.
Frequently asked questions
Do I need formal filmmaking training to use these ideas?
No, but the fundamentals help enormously. The guide covers the essentials, and the more you practice using them, the more intuitive they become.
Can AI really grasp concepts like lens length and camera movement?
Modern models respond well to clear cinematic descriptions. The more precisely you describe the effect you want, the more faithfully it renders.
Is shot design as important as the story?
Neither works without the other. A great story told with weak visuals loses its impact; strong visuals without a story are hollow. Both are necessary.
How do I keep a multi-scene project visually cohesive?
Lock your style vocabulary, maintain stable references, and approve the scene in sequence rather than editing in isolation.
Can I trust the generated shots without checking?
Always review. Generation is a starting point that rewards iteration, not a final trusted output. Verify continuity and intention before you assemble.
From footage to film
Shot design is the discipline that turns isolated images into a story your audience can feel. By mastering framing, movement, lens, and sequence, and by using modern tools to automate the craft, you remove the technical barriers that once made cinematic work the preserve of experts. What remains is what always mattered: intention, emotion, and story.
Start with a single scene. Set your intent, design the shot list, anchor your characters, and generate with a consistent voice. Review the whole sequence, refine, and repeat. With each project you will build the instincts — and the portfolio — of a director who does not just capture footage, but deliberately shapes a world. That is the real art behind the moving image, and it is now within your reach.
