
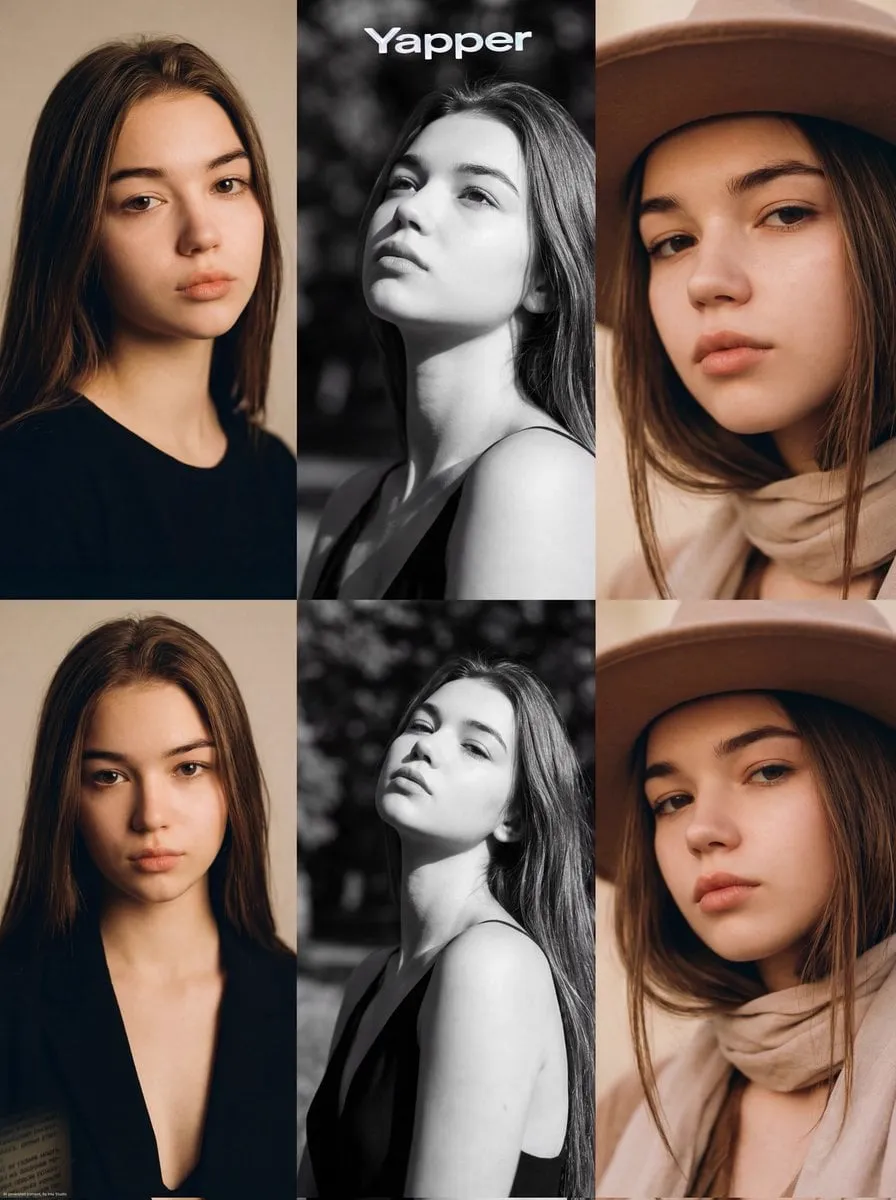
Video is the dominant format of the modern internet, but producing it well has always been slow and expensive. That is changing quickly. In the last couple of years, AI video models have improved so much that you can now type a sentence about a scene and get back a moving clip in minutes. For businesses and creators alike, this is a meaningful shift: it lowers the cost of testing ideas, removes the need for a full production team, and opens up video creation to people who have never held a camera. This guide explains how text-to-video AI really works, how to choose among the available tools, and how to use them well enough to produce content you can actually publish.
How text-to-video generation works
Understanding the basics helps you get better results. When you submit a prompt, the model first interprets your words to figure out what belongs in the frame: the subject, the setting, the lighting, and the motion. It then generates a set of frames that match that description and stitches them into a smooth sequence. This is an extension of image-generation technology, with the added challenge of keeping visual consistency across time.
The practical consequence is that the model is not "recording" anything real. It is predicting what a scene matching your description would look like. That is why small wording changes can produce dramatically different clips, and why prompt quality matters more here than in nearly any other tool. The good news is that the same attention you would give to a brief for a human creative team works well with these models: clear subject, specific setting, and a defined mood.
Matching the model to the job
No single model is best at everything. Some are tuned for photorealism and work well for product showcases, lifestyle spots, and corporate footage. Others shine at animation, illustration, or specific art styles. A third group is optimized for speed and affordability, making them ideal for brainstorming and rough drafts. When you treat text-to-video as a toolbox rather than one app, you can swap models the way an editor swaps lenses.
Start by separating your projects by goal. If you need a high-fidelity hero shot for a launch, spend more and use a premium model. If you are exploring ten concept ideas, use a fast model for nine of them and invest in the winner. This saves both money and time, and it usually produces a better result than forcing every task through one model. Always keep the final output platform in mind too, since vertical and horizontal framing change which model and settings make sense.
Writing prompts that actually work
Good prompts are specific but not cluttered. A strong template describes the subject, the environment, the lighting or mood, and the camera movement. For example, instead of "a person walking," write "a young woman walking through a rainy neon street at night, cinematic lighting, slow dolly camera." The extra context gives the model a clear target and dramatically improves the chance of a usable output.
It also helps to avoid stacking too many contradictory ideas in one line. If you ask for both a realistic texture and a flat cartoon style, the model has to choose and the result often feels muddled. Keep one dominant style per clip. And use the language that suits the look you want: words like "close-up," "wide shot," and "slow motion" are understood well and give you predictable control. Finally, review each clip as a variable, not a verdict. Adjust one word at a time and compare versions to learn what each part of your prompt controls.
Keeping characters consistent
For stories with identifiable people or characters, consistency is the hard part. If a character's face changes between shots, the narrative falls apart. This is where reference-driven techniques help. Many tools let you provide one or more images of a subject and use them as anchors, so generated clips keep the subject's face and appearance across scenes. This is especially valuable for episodic content where the same host or mascot returns.
For precise motion, begin-and-end frame control is useful. You specify the first and last frame of a shot and let the model fill the middle. This is great for a specific action, like a character waving or a door opening, because it guards the exact pose you need. Between character references and frame control, the tools now offer real answers to what was once the biggest weakness of AI video. Use them whenever a project depends on a stable identity.
A practical production workflow
Most finished videos come from a repeatable pipeline. Begin with a short script or outline broken into scenes. For each scene, write one concise prompt and generate two or three draft clips. Pick the strongest, and refine with a premium model for the shots that will appear in the final cut. When you are happy with the visual sequence, bring it into an editor to set the order, add transitions, and lay in audio.
This structure keeps you from burning budget on early experiments. Draft cheap, polish selectively. It also lets you keep a folder of reusable clips, so elements like establishing shots or background loops can carry over into future projects. When audio is involved, match the voice and music to the mood of each scene, and always do a final listen-through before publishing to catch broken pacing or buried dialogue.
Common mistakes and how to avoid them
New users tend to repeat a few patterns. The first is writing vague prompts and expecting the model to improvise. Think of the prompt as a tight brief. The second is judging a model after a single try; variation is normal, so run several versions before deciding. The third is ignoring resolution and aspect ratio until the end, which forces rework later. Set these up front based on where you will publish.
Licensing is another area worth checking. If you plan to use generated content for commercial purposes, read the tool's terms around ownership and allowed use before you rely on it. Finally, do not let several effects pile onto one clip. Clean, simple shots read better on small screens and are easier to reuse. When in doubt, cut back.
Frequently asked questions
How long can a generated clip be? Most models produce short clips, often a few seconds. Longer videos are built by joining clips with editing software.
Do I need video editing experience? Not to start. Basic workflows are available to beginners, and as you grow you can take on more advanced pacing and sound work in an editor.
Can I control the exact action that happens? Within limits, yes. Detail the action in your prompt, and use frame control for critical moments. Complex choreography is still a challenge, so plan for simplicity.
Is AI video safe for commercial projects? Generally yes, but always verify the specific tool's terms on commercial usage and content ownership before publishing.
Moving forward
Text-to-video AI has turned rapid video concepting into something anyone can learn. By understanding how the models work, picking the right tool for each job, writing precise prompts, and protecting character consistency, creators without film sets can now produce compelling, usable videos. Start with a single small project, learn from the outputs, and let the workflow stretch to bigger work as your confidence grows.
Planning a video before you generate anything
Good generation starts before you type a single prompt. Writers and filmmakers work from an outline, and text-to-video benefits from the same discipline. Break your message into a short sequence of scenes, each with one clear action or idea. Writing one line per scene forces a decision about what actually needs to be on screen, which is exactly the direction a prompt needs. Vague video ideas produce vague clips, and a solid outline is the cheapest fix.
Once you have a scene list, note the aspect ratio and duration for each clip up front based on where you will publish. This avoids the expensive work of re-framing later. It also gives context to the model, because a clip meant for vertical social video reads differently from one for a cinematic landscape cut. Treat the outline as a contract with yourself and keep every prompt traceable to a specific scene.
Comparing draft quality and choosing the best take
No single generation will be perfect, and treating output as a lottery is a mistake. Instead, compare several drafts of the same scene systematically. Ask specific questions: Is the subject in frame the whole time? Does the motion read clearly? Is the lighting consistent with the mood you asked for? Does the clip loop cleanly if you plan to use it as a background? By scoring drafts against concrete criteria, choosing the best take stops being guesswork.
Keep the runner-up clips rather than deleting them. A shot that was wrong for one scene is often perfect for another, or can be reused as b-roll, a transition, or a texture layer. Building a small library this way means future projects start with assets you already own. Over time, your generation history becomes a reusable creative library instead of a trail of discarded files.
Handling more difficult subjects and motion
Some scenes are reliably harder for AI video than others. Fast motion, complex interactions between people, text on screen, and very long continuous action tend to break more often. Rather than fighting these limits, design around them. Slow down the motion in your prompt, keep interactions simple, and render text as an overlay in the editor instead of asking the model to draw it correctly.
For a complicated sequence that cannot be simplified, split it into a series of short shots and cut between them. Editing both hides small inconsistencies and gives you control over pacing. This is exactly how a lot of traditional video is made: cut to avoid the difficult continuous take. Planning for tougher shots by segmenting them is a practical habit that leads to reliable results even on ambitious projects.
Adding sound, captions, and finishing touches
A moving image is a draft; sound turns it into a finished video. After you settle the visual sequence, add narration or music that fits the mood. One strong voice or a clean music bed does more for perceived quality than an aggressive array of effects. Captions matter too, especially for platforms where viewers often watch muted. Keep caption text short, place it where it does not cover the subject, and time it to the visual beats.
Give the final video a quick polish pass. Trim the head and tail so the clip starts and ends exactly where it should. Confirm the loudness is reasonable and that the audio never buries the voice. Check the exported file at the size you will actually upload. A few minutes of finishing work separates a test render from something you are proud to publish.
Measuring success and iterating on your skills
Improvement comes from feedback. After publishing, look at how the video performed: watch time, completion, and whether viewers commented. Look for the scenes they mentioned or skipped and use that signal on the next project. Keep a simple log of prompts that worked and those that fell flat, so you are not relearning the same lessons.
Set a regular cadence, such as one short video per week, to build skill through volume. Each iteration tightens your prompt instinct and your editing judgment. Text-to-video is moving quickly, and staying current means trying new models as they appear while keeping your proven baseline. Over a few months of consistent practice, the gap between your intent and your output narrows markedly.
A checklist for your first publishable video
When you are ready to turn practice into a finished piece, run through a short checklist. Confirm the story has a clear beginning, middle, and end, and that each clip is traceable to its scene in your outline. Verify the aspect ratio and resolution match your target platform, and that your strongest character or subject stays consistent across every shot. Clear the rough cuts so the pacing moves forward, then check that captions are readable and never cover the action.
Add audio that supports the mood and make sure it never buries a voiceover. Confirm the file size and format are practical to upload. Finally, watch the video once from start to finish as a viewer, not as an editor, and trim anything that slows it down. This final review is the difference between content that is merely generated and content that is genuinely ready to publish.
