

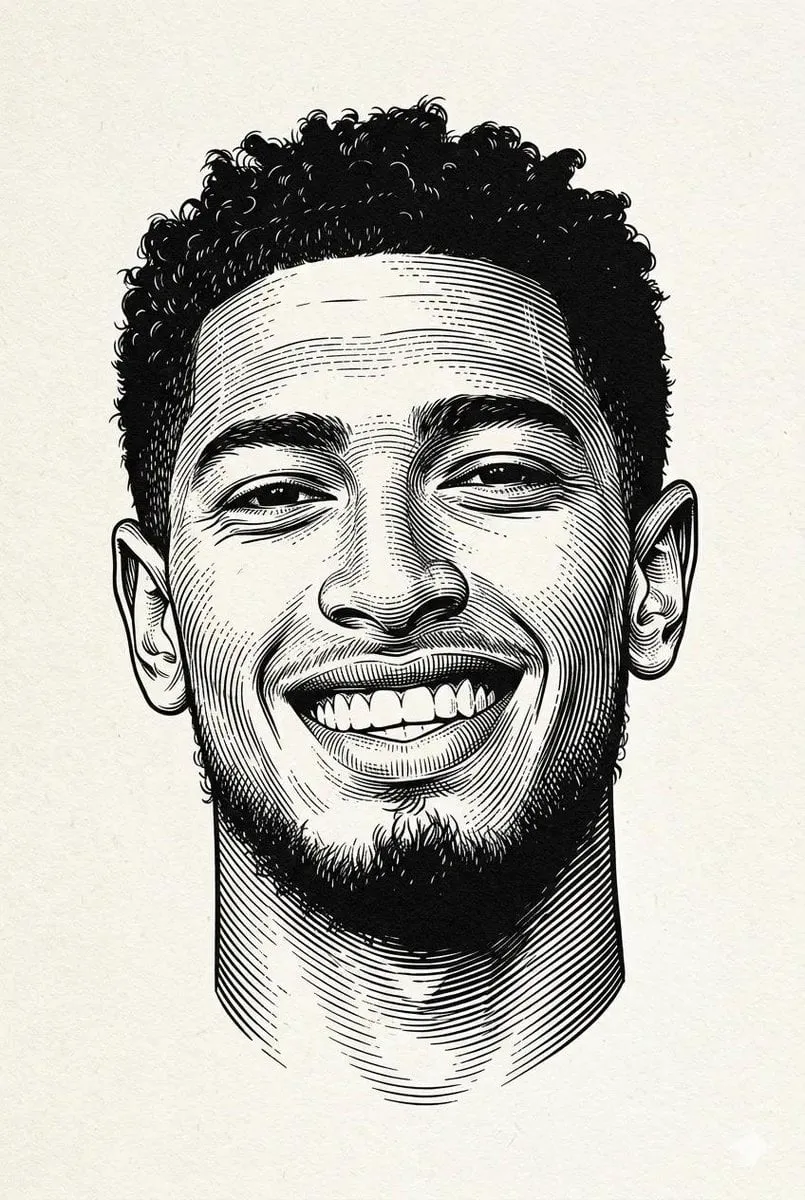
There is something almost magical about watching a frozen photograph start to move. A portrait turns its head, a landscape's clouds drift, a childhood photo of a pet stirs to life for a few seconds. That magic is now available to anyone with an image and a text prompt, thanks to AI animation tools built on a technique called image-to-video, or simply I2V.
What once required an animation studio and months of rotoscoping can now be accomplished in minutes. But getting a good result rather than a merely possible one is still a skill. The difference between a clip that feels cinematic and one that looks like a cheap morphing effect comes down to a handful of deliberate choices about the input image, the model, the motion, and the audio.
This guide walks through the whole process step by step, from preparing your source photo to exporting a finished, believable animation. It is written to be tool-agnostic, so the techniques apply whether you prefer one platform or another.
What Is Image-to-Video Animation?
Image-to-video animation is a category of AI generation that takes a single static image as its primary input and produces a short animated clip derived from that image. Unlike text-to-video, which builds a scene from one word description, I2V starts from an existing visual and extrapolates the motion that could plausibly follow.
That distinction is important. When the model works from a real photo, it has anchor points to preserve: the subject's face, the proportions of the body, the exact color palette, and the geometry of the background. The animation then becomes a question of what could move rather than what should the scene be. This makes I2V dramatically better than text-to-video for any project with a real subject you want to keep recognizable.
The technology has matured quickly. Where early models could only add a gentle sway or a pan across the frame, current systems can animate head turns, hair and cloth movement, camera dollies, and even more complex character performance. The speed of progress is why references to training advances, larger datasets, and better motion coherence now dominate the discussion around these tools.
Preparing Your Source Image
The single biggest factor in animation quality is the quality of the input image. A great model cannot fully rescue a bad photo, but a great photo can let even a modest model excel.
Start With the Highest Resolution You Have
Begin with the sharpest, highest-resolution version of your image. Upscaling later cannot recover detail that was never captured. If your original is low-res, clean it up as best you can before feeding it in, rather than hoping the model invents fine detail from nothing.
Fix the Image Before You Animate
Animation amplifies the image's problems. A slightly blurry face becomes obviously blurry in motion. A distracting background element wobbles and calls attention to itself. Before you generate, do quick housekeeping:
- Sharpen soft areas, especially the subject's face and eyes.
- Clean up specular highlights so they do not break apart in motion.
- Remove or simplify noisy backgrounds that would smear during movement.
- Correct obvious color casts so the motion does not look off.
Cut the Subject Out When Needed
If you want the background to remain completely stable or to be replaced, work with a cut-out version of the subject on a clean layer. This gives the model a clear subject boundary and prevents it from unintentionally warping the surroundings. For portrait shots where only the person should move, a cut-out is a reliable shortcut to cleaner results.
Provide a Cohesive Trade
When your subject crosses to a new environment or needs extra context the original image lacks, consider supplying a supplementary reference. Some tools accept multiple images; where they do, feed a clean facial reference plus the full scene so identity and setting each have their own source of truth.
Choosing the Right Model
Not all image-to-video models behave alike. Matching the model to your goal is the fastest way to get what you want on the first pass.
Know the Trade-Offs
Some models prioritize photorealism and gentle, believable motion. Others lean into stylized or anime looks with strong implied motion. Still others excel at camera movement over subject performance. Generalize these categories in your head so you reach for the right tool per shot.
Start Simple, Then Specialize
For your first attempt with a new image, use a general-purpose model. It is the safest default and tells you what the image already contains. Once you see the baseline, you can switch to a specialized model to push a specific quality, whether that is more dramatic camera work, faster motion, or a cleaner character performance.
A Quick Decision Guide
- A calm portrait that should feel real: choose a photorealism-focused model and keep motion gentle.
- A stylized illustration or anime image: choose a model that respects flat colors and line art rather than a realism-first tool.
- A scene that needs dramatic camera movement: choose a model known for smooth dollies and pans.
- A test or placeholder: use a fast model and iterate before committing expensive compute.
Describing the Motion
Once your image is ready and your model is chosen, the prompt is the steering wheel. The trick is to describe motion as a director, not as a poet. Be specific about what moves, how fast, and in which direction.
The Prompt Anatomy That Works
A strong motion prompt includes four elements:
- The subject and what it is doing, such as turning its head or walking toward the camera.
- The intensity of that motion, such as subtle, gentle, or pronounced.
- The camera, such as a slow push-in, a dolly left, or a locked-off shot.
- The mood, such as calm, energetic, or dreamlike, which set the overall feel.
Do not overload the prompt. Focus on two or three motion ideas at most. Too many competing instructions produce a clip where nothing reads clearly.
Controlling Camera Movement
Camera language maps directly onto how the generated clip feels. A slow push-in adds intimacy. A gentle rise reveals the scene. A locked-off tripod shot keeps attention on the subject. Explicitly state the camera move you want, and keep it consciously chosen rather than letting the model default to an arbitrary drift.
Respecting the Model's Comfort Zone
Every model has a sweet spot for shot length. Shots that are too long invite flicker, warping, and instability. If you need a long animated segment, plan to generate short clips and stitch them, or design the shot so the model has a realistic amount of motion to cover in its comfortable duration.
Motion and Camera Workarounds
Occasionally the model over-animates or under-animates. You can steer results without fighting the tool.
Dialing Back Wild Motion
If the subject is warping or moving too much, reduce the motion intensity in your prompt and prefer words like subtle, restrained, or natural. Simpler actions with short distances always generate cleaner than chaotic multi-part motion.
Faking Bigger Camera Moves
To achieve a larger move than a single model handles cleanly, generate several shorter shots with similar framing and join them, each adding a small incremental camera motion. Edited together, they read as one continuous, confident glide.
Locking the Background
When you want the subject to move but the environment to stay put, motion-lock the camera in the prompt (a static or locked-off framing) and describe only the subject's action. This keeps the plate stable and reduces distracting background warping.
Sound and Post-Production
Animation, like any video, becomes far more persuasive with sound. The visual only carries so far without an audio layer that sells the world.
Build an Audio Layer
Add sounds in stages rather than a single music bed:
- Room tone or ambience suited to the setting.
- A low bed of music that fits the mood.
- Foley touches timed to the motion, such as footsteps or cloth rustle.
- Subtle effects like whooshes on camera moves.
Sync Music to Motion
For atmospheric pieces, cut to the beat. Place the music first, mark its rhythm, then let your animated clips land on the accents. A piece cut on rhythm feels composed and deliberate even if the individual clips are gentle.
Finish and Export
In post, unify color across clips so multiple generated segments match, add captions only where they aid comprehension, and export a version sized for the platform you are publishing to. Verify the audio levels against your target platform's norms before you ship.
Common Pitfalls and Fixes
The Face Melts or Warps
This happens when a model over-extrapolates from an unclear reference. Fix it by using a sharper facial crop as your main input, reducing motion intensity, and staying inside the model's comfortable shot length.
Everything Moves at Once
Too many prompt directives lead to noise. Limit your prompt to the subject's core action and one camera move. Let the rest of the frame stay still.
The Background Blurs and Shifts
Use a locked-off camera instruction, work with a clean background, and animate primarily the subject. For stubborn cases, keep two separate clips and composite.
The Result Feels Lifeless
Often the problem is not the motion but the missing audio. Add delicately timed sound, a gentle music swell, and matching ambience, and a static-feeling clip will gain life immediately.
Frequently Asked Questions
Do I need to be an artist to animate photos?
No. The AI does the drawing and animating. Your job is to prepare a good input, choose a model, and describe the motion clearly, none of which requires artistic drawing skill.
Can I animate an old, low-resolution family photo?
Often yes, but restore and sharpen it first. The better the source detail, the more believable the movement. Expect softer results with genuinely low-res scans.
How do I keep the face looking like the person?
Rely on reference images wherever supported, keep the subject clearly framed, and avoid extreme motion that forces the model to invent new geometry. Consistency comes from good inputs more than clever prompts.
Should I animate the whole image or just the subject?
It depends. For a portrait, animating the full frame with gentle motion feels most natural. For a complex scene where only one element should move, isolate the subject or lock the camera.
How long should each animated clip be?
Short clips under a few seconds are the most stable. Plan to generate several and stitch them for longer animated sequences, rather than stretching a single generation beyond its comfort zone.
Final Thoughts
Animating a still photo into a living scene is one of the most satisfying entry points into AI video because it starts from something you already have and immediately produces shareable, emotional results. The craft lies in preparation, restraint, and audio. Choose your input carefully, let the model work in its comfort zone, describe motion like a director, and never skip the sound.
As the tools improve, the barrier keeps dropping, but the fundamental habits, sharp inputs, clear motion intent, and layered audio, will keep paying off. Open your best photo and give it a few seconds of life. That is where every great animated project begins.
A Quick Start Workflow
If the full pipeline feels like a lot on day one, run a stripped-down version to get a feel for the process:
- Pick a single photo of a subject you care about.
- Spend ten minutes sharpening it and removing distractors.
- Choose one general-purpose model and write a two-line motion prompt.
- Generate a short clip, review it against the shot plan, and regenerate once if needed.
- Add a minute of ambience and a music bed, then export.
This thirty-minute loop teaches every principle in this guide without the overhead of a big project. Once it clicks, layer in the more advanced controls.
Matching the Tool to Your Goal
Different projects reward different combinations of the tactics above. A marketing teaser that only needs a few seconds of floating product motion can rely on one model and a locked camera. A narrative short with a recurring character needs reference sheets, multi-image fusion, and careful clip stitching. A long-form documentary-style piece depends most heavily on audio layers and color unify across many sources.
Write down your goal before choosing tools. The decision cascade from format to model to audio follows naturally from that single description.
Sharing and Refining Your Results
The final step of any sequence is getting feedback. Share early rough cuts with a few trustworthy viewers before polishing, and note what confused or bored them. Every project you finish teaches you something you can encode in your reusable template. Over time, the pipeline stops being a process you follow and becomes a philosophy you internalize: prepare, direct, review, and finish in deliberate order.
