
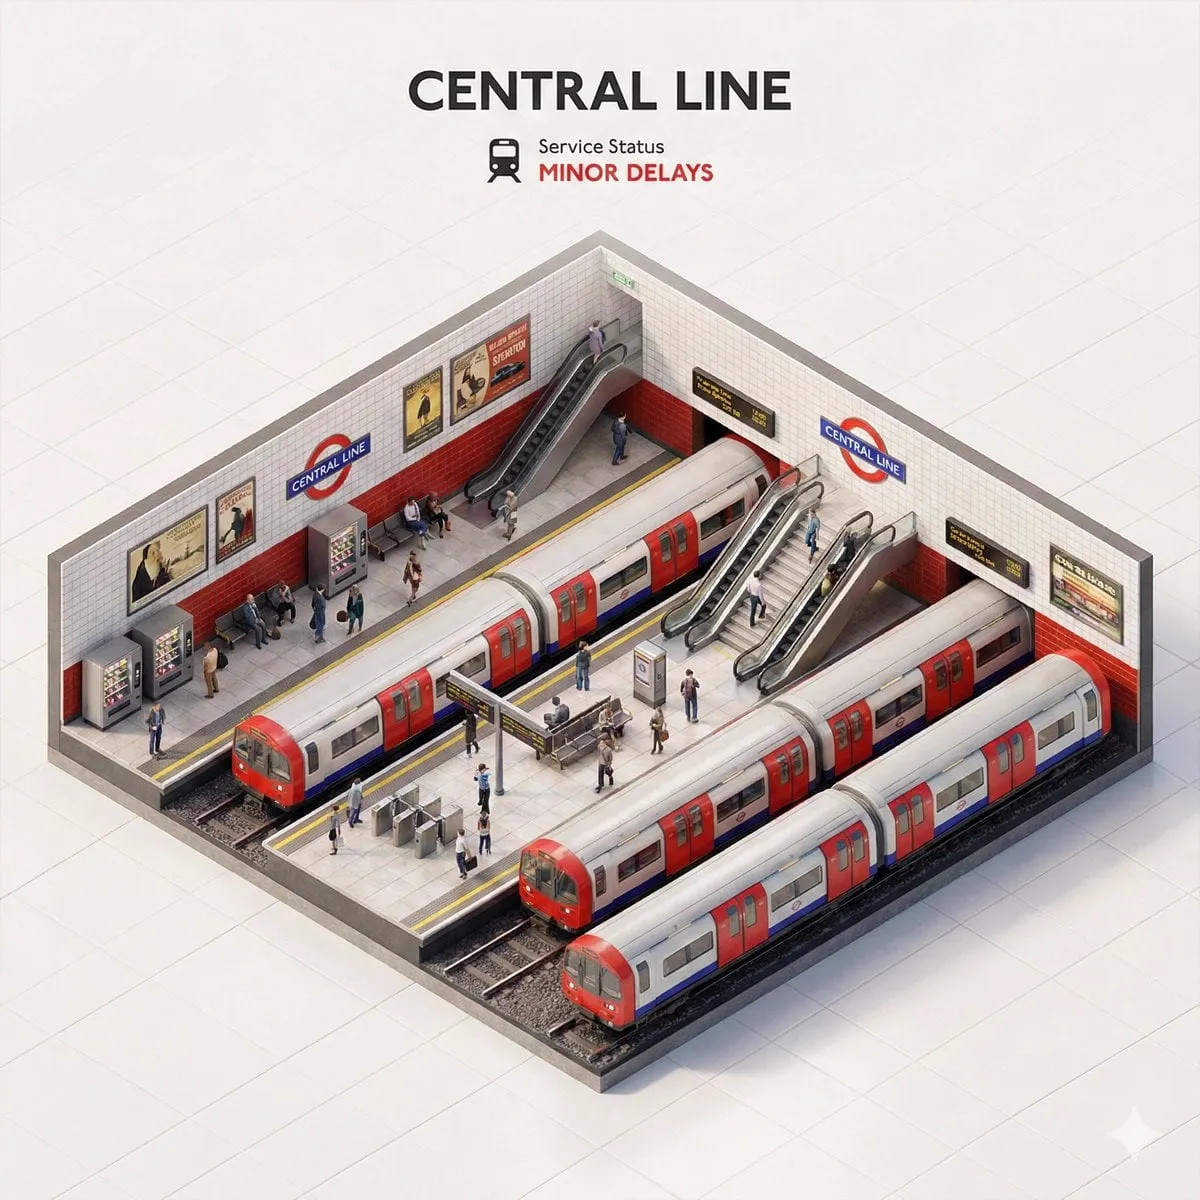


Artificial intelligence has collapsed the distinction between two worlds that used to require completely different skill sets: stylized anime and photorealistic imagery. The area between them is one of the fastest-moving fields in AI today, and for good reason. Creators in media, marketing, and entertainment can now generate both a crisp, flat anime character and a photographically believable environment from the same kind of text instruction, without re-training, without a huge studio, and without years of traditional craft.
This guide breaks down how modern image generation handles these two very different visual targets, which models serve each one best, and how to integrate still-image generation into a broader video production workflow.
Why this area matters beyond curiosity
Generating images with AI has moved from a novelty to a strategic tool. A marketer can prototype campaign art in an afternoon. An entertainment studio can visualize concept art and pre-production frames before committing to full production. An independent creator can build a consistent animated character without a character designer on staff.
The real value is not in producing a single impressive image. It is in producing consistent, controllable, style-appropriate imagery at scale, which is what pushes the technology from a toy to a genuine production asset.
The shift toward control
Early image generators were impressive but uncontrollable: you gave a vague prompt and took whatever came out. The current generation is defined by a different emphasis. Instead of pure generation, the focus has shifted to control and consistency, keeping a character recognizable across scenes, holding a palette steady, and letting a creator direct the result rather than gamble on it.
The technical foundations of high-quality generation
Understanding a little about how these systems work helps you use them far better. Modern image generation rests on a few core ideas.
Diffusion models and how they learn
Most modern generators are built on diffusion models. These systems learn by adding and then removing noise from images over many examples, gradually building an internal understanding of what realistic and stylized images look like. The models have evolved quickly, and the emphasis in current systems has moved from raw capability to fine control over the output.
For a creator, the practical implication is that you get the best results when you describe what you want with structure and specificity, using the language of light, composition, and style that the model has internalized, rather than relying on vague adjectives.
Style consistency and the anime versus realism question
The big technical challenge is that anime and photorealism make very different demands. Anime asks for strong lineart, flat or cel shading, expressive proportions, and a coherent visual grammar that viewers recognize instantly. Photorealism asks for accurate materials, correct lighting physics, realistic skin, and believable depth.
Some models handle both reasonably well. Others are trained more heavily toward one end of that spectrum. Knowing which tool leans which way prevents a lot of frustration, because a model that creates beautiful realistic portraits can struggle with clean anime linework, and a model tuned for stylization may not handle realistic faces convincingly.
Choosing models for photorealism
Photorealistic generation lives and dies on fidelity: surfaces, light, and detail. The best tools for this task produce results that hold up to close inspection, with convincing material properties and natural lighting.
When you generate photorealistic images, prioritize specificity about the physical scene. Describe the light source and its quality, the environment, the material of surfaces, the lens feel you want, and the depth of field. Photorealism rewards detailed physical description far more than abstract mood words.
When realism is the right choice
Photorealistic images suit product visualization, architectural renderings, editorial mockups, film stills, and any project where the audience expects the world to look "real." If your goal is a believable setting that a viewer can picture clearly, a strong photoreal generator is the right foundation.
Choosing models for anime and stylization
Anime and stylized generation rewards a different emphasis: crisp lineart, expressive shape, strong silhouettes, and a consistent comic or cel-shaded look. Some of the most impressive results come from models tuned toward specific anime art styles, which hold the grammar of that style far better than a general-purpose generator.
The same principle applies as with realism, specificity pays. Describe the artistic conventions you want: the shading method, the proportions, the line weight, the color treatment, and the mood. A prompt that specifies "flat cel shading, clean bold lineart, soft pastel palette" produces a very different result from one that just asks for anime.
Budget-friendly and high-performance alternatives
Quality does not always demand the most expensive option. A range of efficient models and open-weight generators can produce impressive stylized and realistic work at a fraction of the compute cost. These are ideal for brainstorming, rapid iteration, and high-volume work where the goal is speed and coverage rather than the last ounce of polish.
A pragmatic approach matches the tool to the need: use lighter models to explore many ideas quickly, and reserve the strongest models for the frames that will actually be seen at high quality.
Integrating image generation into video production
Still-image generation rarely stands alone in professional work. The more common and powerful pattern is to treat generated images as frames or assets inside a video pipeline.
Ensuring visual consistency with image fusion
The most valuable technique for turning stills into a coherent sequence is image fusion: feeding the model one or more reference images that define a character, an object, or a style, and asking it to render new scenes that match that reference. This anchors your visual identity so that every frame of a sequence looks like it belongs to the same world.
For a consistent animated character, build a small reference kit first: several views of the character with the same palette. Reuse those references across every scene. This is what turns a set of disconnected images into a believable, continuous production.
From stills to moving scenes
When you are ready to animate, plan your stills as keyframes. Establish the character and environment with fusion, lock the palette and lighting, and then generate the intermediate frames or shots needed to tell the story. Because the keyframes share the same references and rules, the motion has somewhere coherent to start from.
A practical workflow for mixed-content production
Working across both anime and realism in one project means choosing your battle per scene. A reliable order of operations:
- Decide the dominant tone of the whole project, and set it explicitly.
- Build your reference kit for any recurring character, object, or style.
- Generate exploratory keyframes with lighter models to settle composition and mood.
- Promote the winning frames to a higher-quality render.
- Keep lighting direction and palette stable across realism and stylization alike.
- Review the full sequence, not just individual images, to catch drift.
The discipline of continuity applies double when you mix realism and stylization, because a palette or lighting jump is even more jarring when the whole visual register changes.
Common pitfalls and how to avoid them
- Using the wrong model for the target, for example, expecting crisp anime from a pure-realism tool.
- Describing photorealism abstractly instead of physically, which hands control to randomness.
- Building stylized characters without a reference kit, guaranteeing inconsistency across scenes.
- Spending premium compute on every exploratory frame instead of only on final selections.
- Ignoring lighting and palette continuity when mixing two visual styles.
Negative prompts and cleanup for both styles
No matter which end of the spectrum you target, models add artifacts, and cleaning them up is where a lot of the difference between amateur and professional work hides.
For photorealism, the recurring problems are doubled or warped limbs, unnatural teeth, extra fingers, and a distinctive smooth "AI plastic" skin texture. Keep a lean negative list that targets exactly those failures and adjust it per result rather than loading forty generic negatives into everything.
For anime and stylization, the artifacts are different: muddy lineart, inconsistent shading between areas, unintended texture creep into flat regions, and strokes that look hand-scanned rather than crisp. Your negatives should push toward clean lineart and coherent cel-shading, and away from photographic texture that fights the flat aesthetic.
Treat negatives iteratively. Generate, spot the repeating flaw, add the one precise negative for it, and regenerate. Refining a targeted negative list beats a giant catch-all almost every time.
Resolution, upscaling, and final polish
Image generators produce at a base resolution, and for print or broadcast you will often want more detail. Learn how your tool handles high resolution and upscaling, because naive scaling can soften lineart in anime or add plastic sheen to realism. The cleanest path is to render the composition you want, fix the composition first, and only then scale, rather than scaling early and fighting artifacts on top of a bigger image.
Building a personal style library across both worlds
Seasoned creators who work across anime and realism keep a small personal library of the tools and references they trust. For each tool, record what it does best, where it fails, and which style it favors. For each recurring project, keep your canonical references organized so you never rebuild a character from scratch.
This library does not need to be large. A small selection, a capable photoreal model, a tuned stylized model, and an efficient workhorse for iteration, covers almost every scenario if you know exactly when to use each one. The value is in judgment, not in the size of the toolkit.
A template for the mixed pipeline
To make repeated work fast, sketch a reusable pipeline that assumes both styles will appear: set the overall tone, build references, storyboard with light models, render keyframes with the best tool for each domain, keep palette and light continuous, and review the whole sequence together. When you have such a template, mixing anime and realism stops being a special challenge and becomes just another project you run.
Choosing between realism and stylization per scene
A recurring question is which style to use for a given scene, and the answer is rarely "always the same one." Sketch a quick decision framework before you generate:
- Choose photorealism when the audience must believe the world is real, as in product shots, architecture, and cinematic live-action feel.
- Choose stylization when recognition and mood matter more than believability, as in character identity, mascots, game art, and playful brand worlds.
- Mix both deliberately when the contrast itself tells a story, as when a realistic environment contrasts with a stylized hero to draw attention.
The mistake is mixing styles by accident rather than by choice. If you want a stylized hero in a realistic world, that is a valid and powerful choice, but only if you hold the two registers consistently, otherwise it reads as confusion rather than craft.
Frequently asked questions
Can one model do both anime and photorealism well? Some do both reasonably, but a model usually leans toward one end. Choose by the dominant need of each scene.
How do I keep an anime character consistent across frames? Build a small canonical reference set and reuse it with image fusion in every scene.
Do I need a powerful or expensive model to start? No. Efficient and open-weight models are great for exploring and iterating; reserve high-end models for final key frames.
Why is specificity so important in prompts? Models have internalized the language of light, composition, and style. Specific descriptions steer them; vague ones leave the result up to chance.
Can generated stills become part of a real video? Yes. Treat them as keyframes or assets, keep references and palette consistent, and they integrate into a moving sequence cleanly.
How do I keep quality high while working fast? Separate exploration from production. Iterate quickly with light models, then funnel only the winning compositions into a high-quality render. That focus is the single biggest speed-quality lever.
What is the biggest difference between prompting anime and photorealism? Photorealism rewards detailed physical descriptions of light, material, and scene, while anime rewards precise references to the conventions of the style, lineart, shading, and proportions. Match your descriptive vocabulary to the target.
The line between anime and photorealism is not a wall. It is a spectrum, and modern AI lets you move along it scene by scene with the same discipline you would bring to any creative tool: choose the right model, keep your references consistent, and let clarity of intent drive quality.
