
![Create a hyper-realistic 3D holographic blueprint projection of a [CAR NAME]...](https://storage.brightvectorlabs.com/prompts/bright/illustration-and-3d/2009945337788805362-0.webp)
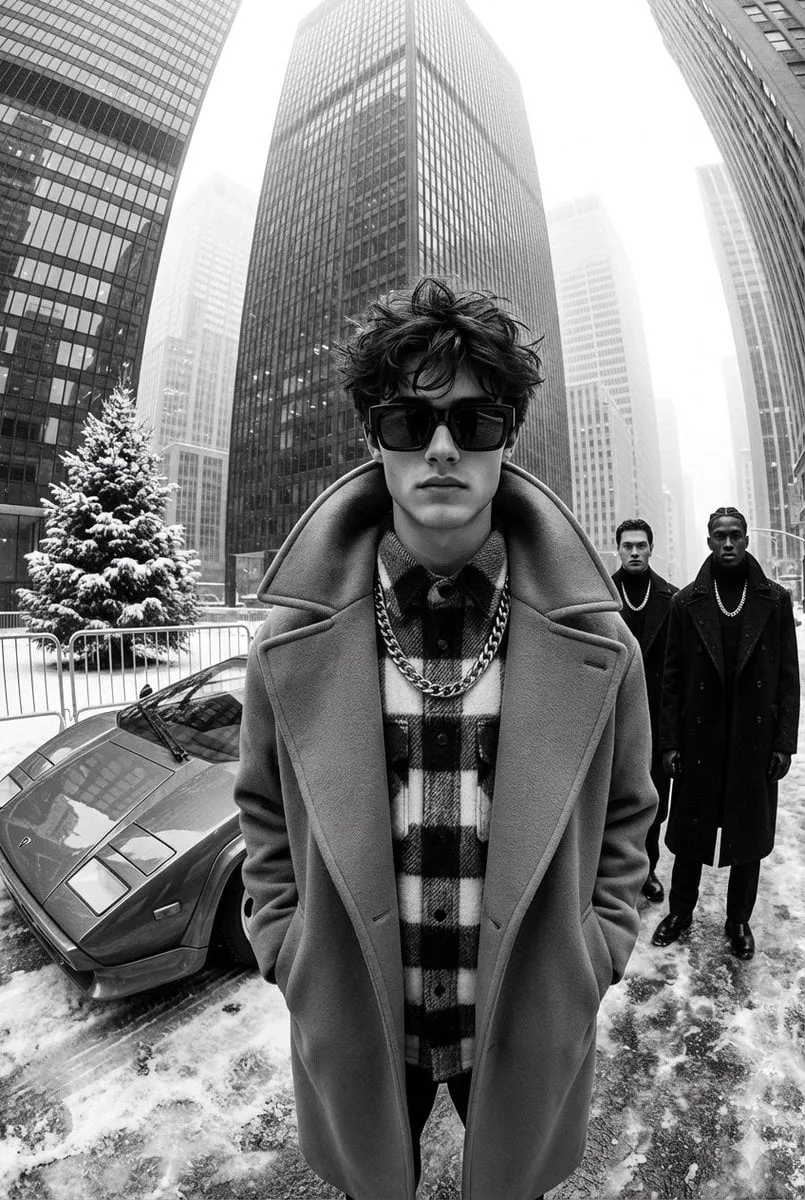
One of the most persistent frustrations in AI video is a character who refuses to stay the same. The hero looks right in the first shot, then in the next scene their face sags, their hair changes color, their jacket morphs into a different coat. Viewers notice in a fraction of a second, and the illusion of a continuous story collapses. Keeping a character consistent across many scenes is one of the hardest and most valuable problems in AI filmmaking, and the most effective answer is a technique called multi-image fusion.
Multi-image fusion means giving the generation model several reference images at once so it can lock the identity from multiple angles while still creating a new, scene-specific image or clip. Instead of pulling a face out of a single frame under pressure, you supply a portrait, a profile, and a detail shot, and the model combines the information to keep the character intact wherever the camera moves.
This guide explains why character consistency is so challenging, how multi-image fusion works, and the practical best practices that keep your characters recognizable from the first frame to the last.
Why Character Consistency Is So Hard
Text-to-video models face a fundamental limitation: short-term memory. Describe a character in detail in a prompt, and the model may hold it together for the first few seconds, but as the scene extends, details slip. The model drifts toward a generic version of the described subject rather than the specific character you intended.
There are three main culprits behind inconsistency:
- Short-term memory: the model cannot reliably hold fine details across a long or complex generation.
- Prompt ambiguity: words alone leave too much room for interpretation, so each pass invents its own version.
- Independent generations: when every scene is generated in isolation, there is nothing explicitly tying them together.
Multi-image fusion attacks all three at once. By providing concrete visual anchors, you remove ambiguity, reduce the reliance on text memory, and create a shared reference that every scene can draw from.
How Multi-Image Fusion Works
At its simplest, multi-image fusion takes two or more reference images and uses them as the basis for a new generation. The model analyzes the shared identity across the images, identifies what stays constant (the face shape, the eye color, the style of the clothing) and what can change (the pose, the background, the camera angle), then produces an output that holds the constant features while adapting the variable ones.
This is different from a single reference, which gives the model one shot at understanding the subject. Multiple references let the model generalize the identity rather than copy one pose, so you can see the same character from a new angle without it collapsing into a clone of the source image.
When You Need It Most
Multi-image fusion pays off in scenes where you need both a clear identity and a wide or close range of camera work: a character turning toward camera, an establishing wide shot followed by a tight close-up, or a character that must move through a changing environment while staying the same person.
Its Limits
Fusion is powerful but not a magic wand. It works best when your references are clean, consistent, and share the same identity. Mismatched references, where the faces or styles do not agree, confuse the model and produce a blended mess. The quality of your inputs is the ceiling on the output.
Preparing High-Quality Reference Images
The most important step is preparing your references. Take your time here, because everything downstream inherits the quality of these inputs.
Build a Character Sheet First
Before you generate anything in motion, create a small set of still images that define the character. A typical sheet includes:
- A clean frontal portrait.
- A side or three-quarter profile.
- A full-body shot showing the outfit.
- One emotional or expressive variation.
Keep the lighting and style consistent across all views, so the model has uncontradicted identity information to draw from.
Ensure Visual Agreement Across References
Every reference you feed must agree on the fundamentals: same face, same hair, same clothes, same style. If one reference shows the character in the rain and another under harsh studio light, the model struggles to reconcile them. Curate references that are compatible.
Fix Details Before Fusion
Clean up your references first. Sharpen soft faces, remove distracting artifacts, and settle a consistent neutral expression where you need one. A clean reference set produces dramatically more stable generations.
Use Consistent Naming and Storage
Keep your character sheets in an organized library so you can reuse and update them across projects. Treat each character as a reusable asset rather than a one-off, and consistency across an entire body of work improves alongside it.
Choosing the Right Model for Fusion
Not every model handles fusion equally well. Some are explicitly designed to accept multiple input images, while others only support a single reference. Choose accordingly.
Match the Model to the Task
If your primary need is consistency with multiple references, reach for a model that supports multi-image input. If the tool only takes one image, simplify your workflow: generate a single composite reference that captures the identity, or steer toward tools built for fusion.
Consider the Scene Requirements
Think about what the scene demands. A tight close-up might need only a facial reference, while a wide action shot benefits from a full-body reference plus details. Match your input set to the camera work of the scene rather than always feeding the same images.
Keep the Style Anchor Consistent
Whatever model you choose, keep the style anchor stable. If one scene is photorealism and the next is painterly, the character will feel like a different person even if the face matches. Coherence of style matters as much as coherence of face.
Controlling Motion and Camera for Stability
Consistency is not only about the face; it also depends on how you direct motion and camera. Stable motion leads to stable identity.
Keep Motion Instructions Restrained
Describe motion that aligns with the character's identity. A gentle, believable performance reads as natural, while extreme distortion invites the model to invent new geometry. Prefer natural actions and modest camera moves.
Lock the Camera When You Want a Quiet Plate
When you want the subject to move but the environment to stay put, describe a locked-off camera and animate the subject only. This keeps the background and the face stable while the character acts.
Stay Inside the Model's Clean Range
Short clips are far more stable than long ones. For longer animated stretches, generate several short clips with consistent references and stitch them in the edit, rather than pushing one generation beyond its comfort zone where identity begins to warp.
Advanced Control with Keyframes and Video Fusion
For the most demanding projects, keyframe control and video fusion take consistency further.
First-to-Last Frame Control
Some tools let you provide both a start and an end frame. The model seeds the beginning and the destination, then animates the transition between them. This is ideal for pose changes or transformation scenes, because both ends are locked and the identity has two concrete anchors.
Anchoring Recurring Angles
If a character reappears from the same angle across a project, reuse the same reference for that angle every time. Consistent anchors for recurring shots remove variance and make the character feel like a stable presence.
Building Video Fusion
When you have multiple clips of the same character, you can use them as references for later generations. This lets the model learn the character's identity from several moving examples, strengthening consistency across an entire series rather than just a single scene.
A Repeatable Consistency Workflow
Bring the principles together into a workflow you can reuse.
Step One: Curate the Reference Set
Create a clean, consistent character sheet and store it in an organized library.
Step Two: Pick References Per Scene
Choose the references appropriate to the camera work of each scene rather than always feeding the identical bundle.
Step Three: Prompt the Intent, Not the Details
Describe the scene's action, mood, and camera move, and let the references carry the identity. Do not overload the prompt with a re-description of the look.
Step Four: Review Against a Checklist
Before accepting a clip, check: does the character match the reference? Is the motion natural? Does the scene fit the storyboard? Does it cut cleanly?
Step Five: Iterate with Notes
Log what worked for each character and scene. Over time you build a playbook that accelerates consistency on every future project.
Common Pitfalls and Fixes
Feeding Conflicting References
References that disagree produce a mash. Curate references sharing the same face, style, and lighting.
Relying on Prompt Alone
Words cannot carry identity across many scenes. Use references and anchors, and let the prompt handle action and mood.
Overloading the Prompt
Huge prompts encourage drift. Keep the prompt focused on intent and let the images carry the look.
Pushing a Generation Too Far
Long, extreme shots invite warping. Keep clips short and assemble longer sequences from consistent pieces.
Neglecting Style Continuity
Switching visual styles breaks identity. Hold a single style anchor across the whole project.
Frequently Asked Questions
What is multi-image fusion, exactly?
It is the practice of supplying several reference images to a generation so the model locks a shared identity while creating a new scene-specific frame. It beats single-reference or prompt-only approaches for keeping a character consistent.
How many reference images do I need?
A frontal portrait, a profile, and a full-body shot are a solid baseline. Add an expressive variation if the scene calls for it. Quality and agreement matter more than raw quantity.
Can I keep the same character across different projects?
Yes, if you maintain a clean, consistent character sheet and reuse it as an asset. Consistent anchors across projects build a recognizable recurring presence.
Is consistency more about the model or about my inputs?
The inputs set the ceiling; the model determines how close you get to it. Great references combined with a capable fusion model produce the best results.
What if my tool only accepts one reference image?
Generate a single composite reference that captures the identity, simplify your per-scene needs, or choose a tool that supports multi-image input for consistency-critical work.
Final Thoughts
Making a character feel like the same person from one scene to the next is the difference between a collection of AI clips and a drawn story. Multi-image fusion, backed by prepared references, the right model, and restrained motion, is the most reliable path to that continuity.
Start with one character you care about. Build a clean reference sheet, pick the references per scene, keep your prompts about intent, and review every clip against a checklist. Each consistent scene builds on the last, and before long the whole video holds together as one believable, continuous world. That is worth the extra care.
Building a Consistency Playbook
The fastest way to get better at consistent character video is to keep a playbook. After each project, note which reference arrangement worked, which model held identity best, and which camera moves stayed stable. Over time you will have a per-character and per-scene reference guide that removes guessing from every new shot. This small habit compounds across projects, so the same favorite character moves reliably from scene to scene and story to story without a redesign.
When to Accept a Slight Imperfection
No clip is perfect, and chasing perfection can stall real work. Set a tolerance level for small artifacts based on how visible they will be in the final edit. A brief warp in a fast-moving wide shot may be invisible; the same warp in a slow close-up is not. Decide consciously what is acceptable in context, generate again only when the flaw genuinely harms the shot, and keep your momentum by not demanding flawless results from every single pass.
