
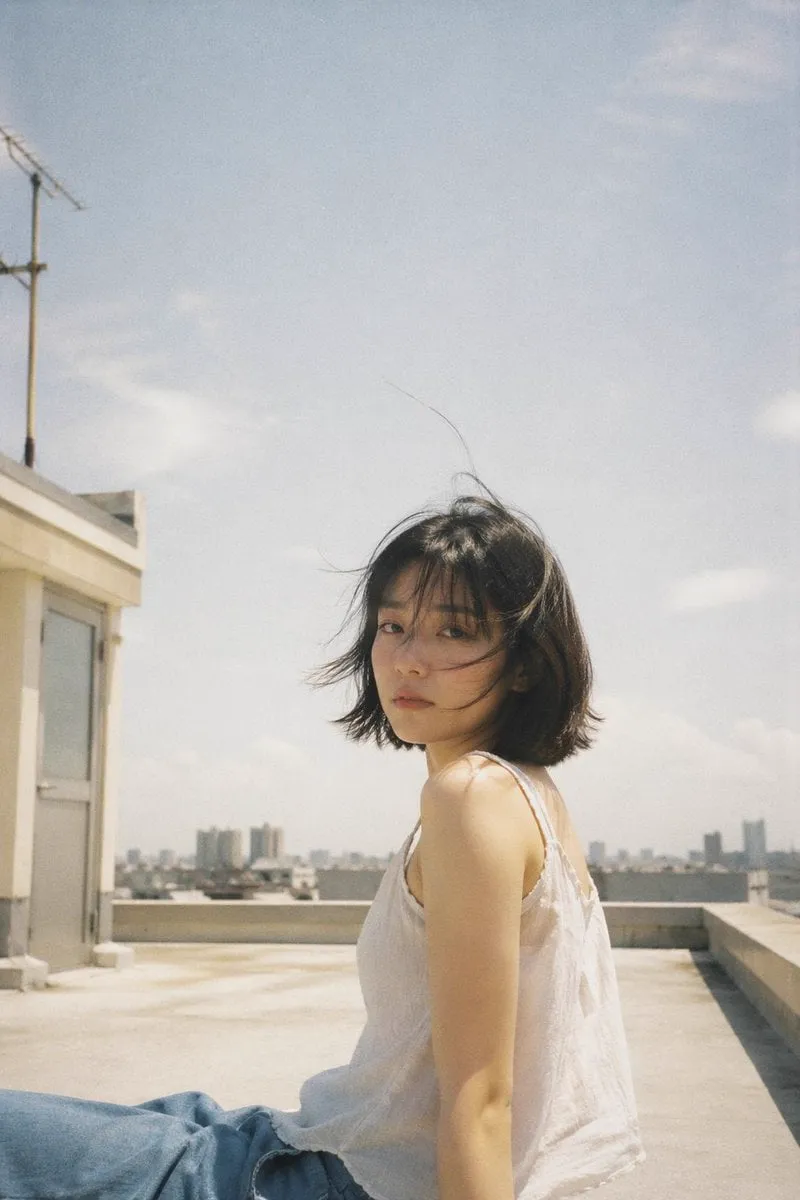
You do not need a film crew, a studio, or a big budget to make videos that look professional anymore. If you have a phone full of good photographs and a willingness to experiment, you already have the raw material for filmmaking. Generative AI is the bridge that turns those static frames into moving, breathing sequences.
DIY filmmaking is about being resourceful. It is the art of getting a surprising amount of output from modest input — and in the current content economy, that skill is worth more than almost any other. Every photo you own is a potential opening shot, a potential establishing scene, a potential story beat. This tutorial shows you how to unlock that potential, step by step, without a single editing tutorial memorized.
What DIY Filmmaking Really Means
DIY, or do-it-yourself, filmmaking is precisely what it sounds like: producing video content on your own, outside a traditional production pipeline. Ten years ago that meant learning complex software, capturing additional live footage, and babysitting render times. Today it means curating a few good images, writing a clear prompt, and letting an intelligent model handle the heavy lifting of animation.
The mindset matters as much as the tools. DIY filmmakers think like resourceful problem-solvers. They ask: what do I already have, and how do I turn it into something new? That question is the foundation of the entire workflow in this guide. It also keeps your costs low and your creative options open, because you build from what you own rather than from what you can rent.
The Basics: Transforming Photos into a Living Image Stream
Before you can make a film, you need to understand the fundamental transformation: taking a still photograph and giving it motion.
What happens under the hood
A generative video model looks at your image, understands its content — the subject, the setting, the lighting — and then imagines the frames before and after. The result is a short clip that feels like a piece of filmed footage. This works best when the model has a clear picture to anchor its imagination, which is why your photograph is so important.
Start with a single interesting image
Do not try to build a complex film on your first attempt. Pick one strong photograph and animate a single, simple motion — a slow zoom, a gentle pan, a subtle change of light. Master the basics on one clip before combining many. Confidence grows fastest through a string of small, successful wins.
Selecting and Preprocessing High-Quality Source Photos
The success of your entire video traces back to the images you start with. No model can make a masterpiece from a bad photo.
Choose high-resolution, well-lit images
High-definition or better resolution, plus even, flattering lighting, gives the model clean material to work with. Sharp edges and clear details translate into smooth, believable motion. Dark, blurry, or heavily compressed images produce murky, jittery results.
Consider the composition
Images with strong composition — a clear subject, leading lines, balanced framing — animate better because the model has a clear focal point to hang the motion on. Take a moment to select photos that are already visually striking.
Clean up before you start
Remove time stamps, watermarks, borders, and anything distracting from the edges. Mobile phone photos are often cluttered at the margins. Cropping to the essential subject gives the animation a cleaner canvas and reduces artifacts. Small cleanup steps prevent recurring problems that would otherwise appear in every animated frame.
The Fundamentals of Prompt Engineering for Films
A prompt is your screenplay. It tells the model what happens on screen, how the camera moves, and what mood to strike. Learning to write good prompts is the single highest-value skill in DIY filmmaking.
Describe action, not adjectives
Instead of telling the model the video should be "beautiful," describe what actually happens: "a slow camera push toward a person looking out of a window, soft morning light, leaves moving gently outside." Concrete action beats vague praise every time.
Mention camera movement explicitly
Words like "slow zoom in," "panning left," "handheld wobble," or "overhead shot" guide the camera behavior directly. Camera language gives your clip a sense of intentionality that static frames never had.
Keep the scope manageable
A prompt packed with a dozen competing instructions confuses the model. Focus on one main action and one mood. You can layer details in subsequent versions once the core is solid.
What a good prompt template looks like
A reliable structure is: subject plus action, then camera movement, then mood and light. For example: "a person walking through a busy market, slow pan following them, warm golden hour light, documentary mood." Filling in each slot keeps you disciplined and produces better, more consistent results.
Choosing the Right Model for Your Project
Different projects ask for different engines. Learn to match the tool to the goal.
Realism vs. stylization
If your photos are documentary or product-focused and you want a lifelike result, choose a model known for realism. If you want an artistic or cinematic reinterpretation, a stylized model gives you a consistent, distinctive look.
Consider motion quality
Some models excel at smooth, natural movement, while others handle stylized or exaggerated motion better. Watch sample outputs and pick the one whose motion matches the tone of your film.
Don't be afraid to test several
Play the field. Try your photo on two or three models and compare. The differences in lighting, texture, and motion are often dramatic, and the best choice for this particular shot might surprise you. Build a mental library of which model suits which kind of content.
Ensuring Visual Consistency: From Static Frames to Fluid Scenes
Once your film has more than one shot, consistency becomes critical. Audiences feel when a character suddenly changes appearance or a scene's lighting shifts without reason.
The importance of multi-image fusion
When a scene needs multiple shots of the same character or setting, the most reliable technique fuses several reference images into a single coherent view. This lets the model build a stable image of the subject and then animate it confidently, instead of guessing what it should look like in every new frame.
Anchoring the character across scenes
Define the essential features of your subject once — their outfit, hair, distinguishing marks, and color palette — and keep those constant across every shot. This "character anchor" is what keeps the film feeling like one production instead of a random collage.
Managing motion dynamics
Think about speed, tempo, and flow. A calm scene needs slow, gentle motion; an intense scene needs faster strides and snappier cuts. Consistent motion dynamics prevent jarring transitions between shots.
Automating Post-Production with Advanced AI Tools
The editing room is where many DIY projects used to die. AI streamlines even this stage.
AI-assisted audio and music synchronization
Matching motion to music used to require careful manual editing. Now you can generate a voiceover, add ambient audio, and align the scenes to the beat of a track with far less effort. The result is a video that feels polished and intentional.
Automated transitions and color
Let the tool apply smooth transitions between your shots and keep color grading consistent across the whole film. Consistent color is a quiet but powerful signal of professionalism.
Iterating quickly on edits
Because the whole pipeline is fast, you can generate several versions, compare them, keep the best, and move on. This rapid iteration is the DIY filmmaker's secret weapon — volume plus selection beats a single perfect attempt.
Telling a Story, Not Just Showing Clips
A film is more than a collection of moving pictures. It is an arrangement of moments with a purpose.
Think in beats, not shots
Break your story into emotional or narrative beats. Each beat needs one or two shots that advance it. Arrange the beats in a logical, emotionally paced order, from introduction through rising action to a satisfying close.
Maintain a visual thread
Carry at least one consistent element through the entire film — the same character, the same palette, the same location. That thread is what holds disparate clips together into a single experience.
Cut to the rhythm
Time your scene changes to the motion and music. Fast beats call for fast cuts. Let the film breathe in quiet moments. Rhythmic editing is what separates assembled clips from a story.
Working Efficiently When Producing Multiple Videos
If you are making a series, a little structure goes a long way.
Build reusable templates
Save your best prompts and settings as reusable starting points. The next project slots its assets in and inherits a proven pipeline instead of starting from scratch.
Batch similar work
Group photographs with similar lighting and style into one session. Consistent input makes consistent output and speeds up your review process.
Review in stages
Check a few samples early, fix systemic issues, then let the rest of the batch run. Early correction beats producing a whole set with a mistake baked in.
Practical Project Ideas to Build Your Skills
Put the theory to work with these beginner-friendly projects.
The single-subject portrait film
Take three to five photos of one person or object and animate them into a short, atmospheric clip. Great for pets, products, or a favorite place.
The product transformation
Animate a product from several angles with consistent lighting. Perfect for a DIY brand or a personal portfolio.
The travel recollection
Turn a photo series from a trip into a music-synced montage. The emotional payoff is high and the workflow is forgiving.
The daily routine loop
Show a recurring moment — a sunrise, a commute, a brewing coffee — as a smooth, repeatable loop. Loops are highly shareable and great practice.
Common Mistakes and How to Avoid Them
- Generating from bad source photos. Invest time in selecting and cleaning your images.
- Packing prompts with too many instructions. Stay focused on one action.
- Skipping the character anchor. Inconsistent subjects ruin believability.
- Rendering full quality too early. Test in low resolution, then finalize.
- Trying to do too much on the first project. Master one shot before you attempt a whole film.
- Forgetting audio. A silent film of moving photos feels unfinished; add music and ambient sound.
A Working Single-Project Checklist
- Choose a single strong photograph as your starting point.
- Decide on one mood and one color direction.
- Write a prompt with subject, action, camera, and mood.
- Generate a low-resolution preview.
- Refine the prompt based on the first result.
- Add a second or third photo and maintain consistency.
- Compose the sequence and align it to music.
- Render the final version and review with fresh eyes.
FAQ
Do I need professional software to start?
No. You can begin with AI generation tools and a basic editing app. As your skills grow, you may want to add more advanced tools, but they are not required to get impressive results.
How long does it take to produce one short film?
For a beginner, a single animated clip takes minutes; a short multi-shot film can take an afternoon once you have the workflow down. Early projects are slower as you learn the prompts.
Can DIY AI filmmaking really substitute for a crew?
For most independent and social content, yes. For complex productions with actors, set design, and dialogue, a crew still adds value. Know what each project truly needs.
What if my photos are old or low quality?
Older snapshots can still be animated, especially for nostalgic or artistic themes where softness is acceptable. For crisp professional results, prioritize high-resolution source images.
Final Thoughts
DIY filmmaking with AI is not about replacing skill with shortcuts. It is about giving resourceful creators a lever — a way to make their ideas visible using what they already have. Your photo library is a film waiting to be edited together.
Start small, learn to prompt clearly, match the right model to the right shot, and keep your visuals consistent. Add music and sound, plan your story in beats, and review before you finalize. Before long you will be assembling footage that once felt out of reach. The tools are in your hands; the only missing piece is the decision to start.
