

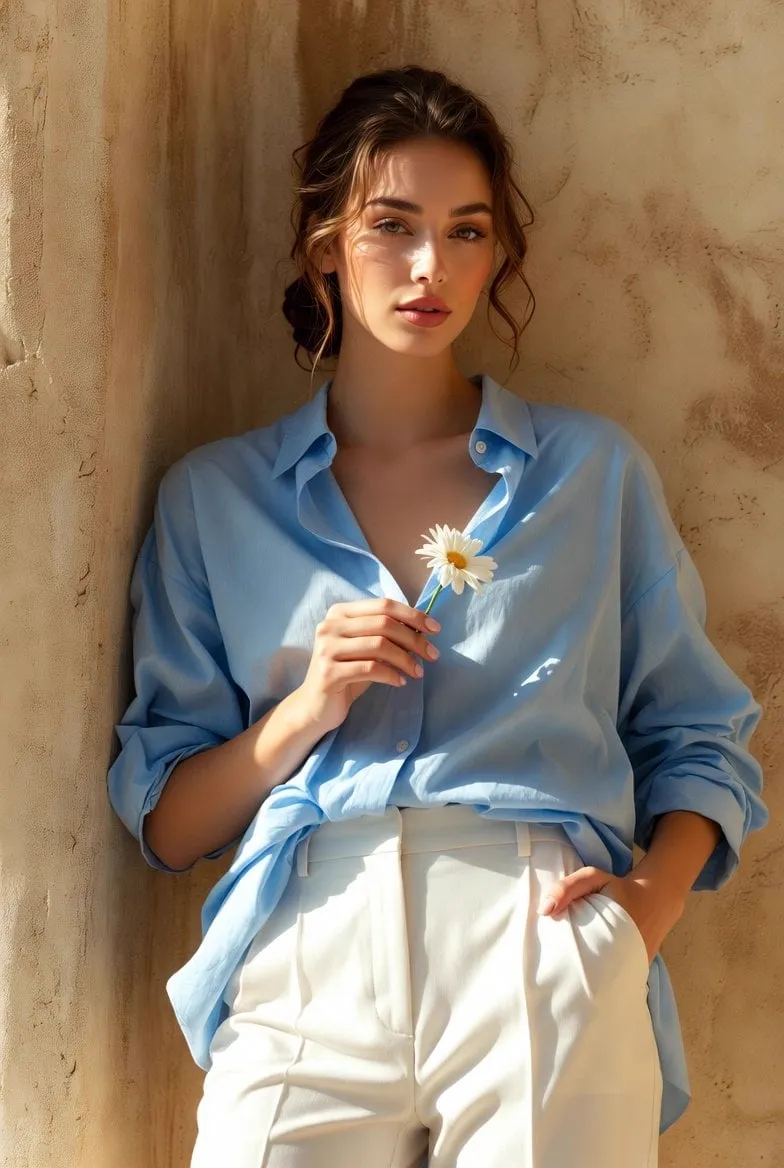
Hollywood-grade visuals used to be the exclusive province of massive budgets, room-sized render farms, and teams of specialized artists. That is no longer true. With image-to-video generation, an individual creator can begin from a single still and animate it into photorealistic motion that would have looked at home in a studio film a few years ago. The market for AI-generated video is growing at a breakneck pace, and the race is now defined by two hard problems: realism of the render and consistency of identity across every frame. This guide unpacks both, and shows you the materials, models, and techniques that turn a starting image into a believable, film-quality sequence.
Understanding the ingredients, modeling the right materials, and controlling consistency are the three pillars of the craft. Master them and the models become a means, not a mystery.
Why image-to-video has become the turning point
Starting from an image rather than from text changes everything about the generation. When you begin from a photograph you have already locked the composition, the subject, the lighting, and the mood. The model no longer has to invent a world; it only has to animate the one you handed it. That anchoring hugely improves realism, because the expensive work, deciding what the frame shows, is already done, and it makes consistency far more attainable, because the identity is present in the very first frame.
Image-to-video also lowers the cost of control. You can craft your starting image in an image editor, iterate until it is exactly right, then let the video model carry that craftsmanship forward into motion. This split, art-directed stills plus generated motion, is the workflow that increasingly underpins high-end AI video production, and it has permanently changed what a solo creator can deliver.
How modern video models achieve photorealism
Under the hood, a video model takes your input image, encodes it, and then steps through latent space to synthesize a sequence of plausible frames, with a temporal component ensuring that adjacent frames share appearance and motion. The leap in photorealism over older generations comes from models that can model physical detail: how fabric drapes, how light scatters through skin, how a shadow falls across a moving object.
Different models optimize for different things. Premium flagships deliver the highest fidelity, with subtle skin texture, credible motion blur, and convincing physics, but cost more in time and compute. Mid-tier models offer a strong quality-to-cost balance for social and draft work. And specialized models, some tuned toward East Asian aesthetics and appeal, some toward cinematic realism and some toward anime or stylized looks, all give you a fabric of options to pull from. The right choice is rarely the single most expensive model; it is the one whose strengths match your specific subject and goal.
Choosing the right model for the right task
Think of a model library as a wardrobe; you pick the piece that fits the occasion. For a hero shot, a brand film, or anything the audience will scrutinize frame by frame, spend on the strongest realism model you can access, because its detail and physics are visible to a trained eye. For routine social content and storyboards, a faster mid-tier model keeps your cadence and your budget healthy. For stylized work, a model with a signature aesthetic saves you the fight of pushing a realism-first engine away from its nature.
The strategic habit is to benchmark on your own reference rather than trust marketing. Save one reference image and one prompt, and re-run that exact test on every new model you evaluate. That gives you a durable, personal comparison of quality, speed, and consistency that claims never provide, and it lets you upgrade confidently when a genuinely better tool appears.
The core materials for photorealistic output
Realism is assembled from materials, and you choose them deliberately. A photorealistic starting image needs the right resolution, decent dynamic range, and a clear subject uncluttered by excess detail that would confuse the motion. Lighting in the source image is the single strongest predictor of how photoreal the video will feel, because a well-lit still gives the model the physical cues it needs to render convincing shadow and depth.
Beyond the source, the "materials" extend to your prompt layer: skin texture, fabric weight, ambient occlusion, specular highlights, depth of field, and film grain are all materials you can name. The more concretely you describe how light behaves on a surface, the more believably the model renders it. Realism is not one quality you turn on; it is a pile of correctly observed physical details, and you stack them on purpose.
Multi-image fusion and keyframe control for consistency
The killer challenge in image-to-video is keeping a subject recognizable as itself across time. The most reliable answer is fusion: feeding the model multiple reference views of the same subject so it builds a richer, more coherent model of that identity than any single image provides. Paired with keyframe control, where you designate what happens at specific frames, fusion gives you both a stable identity and directed motion, the exact combination that separates performance from mere animation.
With these controls, shared by most modern pipelines, the craft moves from hoping the model behaves to directing precisely. You set the starting pose, decide the ending expression, choose where the camera goes, and the model interpolates believable physics between your anchors while the fused references hold the face steady. That is the mechanism behind most of the impressive sequences you see online, and it is reproducible by anyone who learns the controls.
Technical challenges and how to overcome them
Photorealism fights against three persistent gremlins. Temporal consistency is the first: the subject must not morph or flicker between frames, which you defend with fused references, a fixed seed, and consistent prompt wording. Motion prediction is the second: physics has to feel right, which improves when you constrain the action to one clear finite piece of movement and give the model a strong visual cue of weight and scale. And fine detail is the third: skin, hair, and fabric invite artifacts, which you counter with negative prompts and higher-fidelity models for the shots that need them.
None of these are unsolvable; they are all engineering problems with known fixes. The mistake is to fight them reactively on every render. Instead, build a defense-in-depth: validation renders at low cost, a versioned prompt library, and a clean reference that you do not let drift. The teams that ship consistent work are not the ones with better models but the ones with better systems.
A creative workflow that scales
Good production is a loop, not a sprint. Begin with concept and art direction, deciding the tone, subject, and what you want the audience to feel. Then craft the starting image, commissioning it ideally through a good image model and refining until it is exactly right. Next, validate identity by rendering test stills at several angles and confirming the face holds. After that, direct motion with keyframes and camera language, render short low-res tests, and only then commit to a full-resolution render. Finish with a light color-grade, a little grain, and a careful take selection, because polish is what reads as professional.
The same loop scales from a single clip to a full piece. Every step is cheap at the low-res test level and expensive at the full-render level, so spending your iteration budget early is how you avoid wasted final renders. That discipline is the quiet difference between creators who waste budgets and creators who ship.
Enabling the creator economy
Image-to-video has done more than improve quality; it has changed who gets to be a filmmaker. An individual with a laptop can now produce visual content that competes with well-resourced studios, which reshapes entire industries from music videos and advertising to education and social. The democratization of tools does not guarantee good work, but it guarantees opportunity, and the creator economy is rearranging around exactly that.
With opportunity comes responsibility. Audiences increasingly expect synthetic media to be labelled where it might deceive, and professional standards mean you should handle likeness and IP with care. Using the power well, transparently and ethically, is what protects the very openness that makes the moment exciting.
Always disclose synthetic content where a reasonable person might not recognize it, especially when it involves a real person's likeness or could be mistaken for documentary footage. Label clearly, obtain the right consents for recognizable individuals, and avoid reproducing copyrighted imagery or protected designs. These habits protect both the audience you serve and the legitimacy of the entire space, and they cost you almost nothing while shielding you from real legal and reputational risk later.
Building a reusable process that compounds
The best reason to formalize the portrait technique is that it compounds. Every project adds to your library: a validated reference set, a style block, a prompt recipe, and a benchmark result. The next project starts not from nothing but from the parts you already proved, which is why experienced creators ship faster and more consistently over time. Treat your process as an asset you deliberately grow, not as incidental habit.
Version your workflow the way you would version code. Save the exact prompt, seed, and model version alongside each render so you can reconstruct or troubleshoot any output months later. When you change one part of the pipeline, note what improved or regressed. This small amount of bookkeeping turns your experience into institutional knowledge, and it is the quiet reason the same technique often yields better results the fifth time you use it than the first.
Stylized and commercial applications beyond realism
The image-to-video pipeline is not limited to photographic realism. Stylized animation, branded motion graphics, and music-video aesthetics all benefit from the same control, using a starting frame and consistent references just as a documentary-style shot would. The technique is style-agnostic: lock a stylized keyframe, keep a fused reference for the character, and direct motion with keyframes, and you can turn a painted board into a moving sequence that holds its look.
Commercial use is where this really pays off. Product campaigns can animate a still of a product with controlled motion and lighting; educational content can give static diagrams life; and social brands can generate a consistent vertical aesthetic across many posts. In each case the discipline is identical, which is exactly why the craft transfers. A creator who learns the loop for realism has, in the same breath, learned the loop for everything else.
An FAQ on getting started
Is a good source image the most important factor? It is the highest-leverage single input. A strong, well-lit still gives the model everything it needs, so invest there before touching the video settings.
How do I keep identity from drifting? Use multiple reference views, fix your seed, and repeat identical subject wording on every prompt. Fused references hold far better than text alone.
What is the fastest path to photoreal output? Prepare an excellent image, name the light and lens, constrain motion to one clear action, and use negative prompts against common artifacts.
Do I need an expensive model to look cinematic? Not for everything. Reserve premium models for hero shots; a mid-tier model with strong lighting discipline looks better than a flagship model with careless prompting.
Can this replace traditional filmmaking? Not wholesale, but it is increasingly the fast, flexible layer of production, especially for previz, social, and budget-constrained visual storytelling.
Composing the final frame
Hollywood-grade visuals are no longer a privilege; they are a discipline. The models will keep improving, but the fundamentals hold: an excellent source image, deliberate control of light and motion, fused references that pin identity, and a production loop that spends iteration cheap and renders only when validated. Nail those and the difference between professional and amateur work is, increasingly, not the tool but the craft.
Start with one image of a subject whose character you can describe in detail. Lock that identity with references, direct one clear piece of motion with keyframes, and iterate on short test renders until the physics and the texture read as true. Then build. Before long, the sequence you compose will hold together like footage, not fragments, and you will understand why the secret to Hollywood-grade visuals is better understood as a secret to better systems.
