


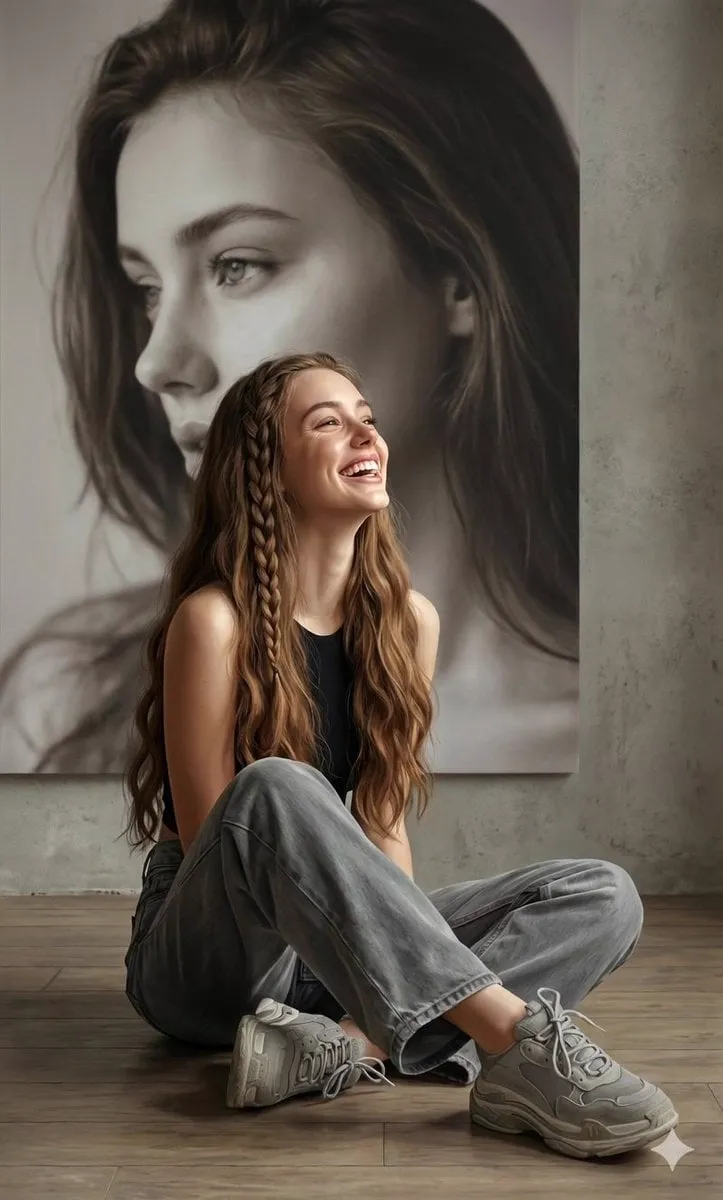
Why Creators Are Moving Past Pure Text Prompts
Text-to-video tools impressed everyone by turning a sentence into a moving scene. But creators who use them daily quickly hit a wall: the same character looks different in every shot, the lighting drifts between clips, and the composition rarely matches the vision in their head. These problems are not bugs. They are the natural limit of describing a world with words alone.
Image-to-video (I2V) is the answer that the industry has converged on. Instead of asking the model to invent a subject from a text description, you give it an image that already shows the subject, the style, and the composition. The model then animates that image: it keeps the identity and adds motion. This one change fixes most of the consistency problems that plague pure text workflows, and it opens creative options that were previously impossible.
The transition is not a rejection of text-to-video. It is an evolution. Text is still the fastest way to sketch an idea, but images are the way to lock it down. The most productive creators now move fluidly between the two, using each where it is strongest.
The Core Problem With Text-Only Generation
Every text-to-video model faces the same challenge: it must infer what a described person, place, or object looks like, then hold that inference across every frame. Early models solved this by generalizing, which is why a "detective in a raincoat" prompt can produce a different face in every shot of a sequence.
The drift is not limited to faces. Clothing, room layouts, product details, and even the style of the rendering itself shift when the model has no fixed visual anchor. In a single clip the drift is often subtle, but across the cuts of a finished video it becomes obvious, and audiences notice even when they cannot name the problem.
Text-only workflows also struggle with control. You can describe "a blue ceramic mug with a handle on the right," but the model decides the exact shade, the handle's angle, and the lighting. If you are building a brand asset or adapting an existing design, that lack of control is a dealbreaker. You do not want a slightly different version of your product in every render.
How Image-to-Video Actually Works
The mechanics vary by tool, but the core idea is consistent. You provide one or more images, the model analyzes them, and it generates a sequence of frames that preserves the visual content while adding motion consistent with your prompt.
A single reference image is the simplest case: the model animates that exact picture. This is powerful for bringing a still photograph to life, whether it is a portrait, a product shot, or a piece of concept art.
Multi-image fusion goes further. You supply several images of the same subject from different angles, or several frames that define a style, and the model blends them into a stable identity. This is the technique behind reliable character consistency: three portraits of a character give the model enough information to keep the face stable across different scenes and poses.
Keyframe anchoring is the most advanced form. You provide the first frame, sometimes the last frame, and let the model fill the motion between them. This gives you direct control over the start and end of a shot, which is exactly what editors need when they are assembling a sequence with specific beats.
Building a Visual Reference Library
Image-to-video is only as good as the images you feed it, so building a reference library is the first real project for any I2V workflow.
Start with your recurring elements. If you make content around a specific character, generate or commission a set of portraits: front, side, three-quarter, and a couple of action poses. Use consistent lighting in these references, because the model will treat the light as part of the identity.
For products, capture or generate clean shots from multiple angles on a plain background. Include one shot with the packaging or logo clearly visible. These references become the anchor for every product render, and they keep the marketing team and the AI in agreement about what the product looks like.
For locations, build a small set of establishing frames in one style. A café, an office, and a street corner, each rendered consistently, let you place characters in a believable world instead of a generic void.
Organize the library like any asset folder: clear names, consistent formats, and a note about which style words go with which reference. The library is a living asset that improves every project you use it in.
Style references deserve a place in the library too. A single image that captures the look you want, whether it is a film still, a painting, or one of your own renders, can act as a style anchor for an entire project. When the model is told to match that image, the output inherits its color palette, texture, and mood far more reliably than from a written description. Keep a small set of approved style anchors per project, and resist the temptation to swap them mid-project. Changing the anchor changes the look of every subsequent render, and audiences notice the break even when they cannot say what changed.
Keeping One Character Consistent Across Every Shot
Character consistency is the headline feature of image-to-video, and it deserves a careful workflow.
First, fix the identity before any animation. Generate the reference set, pick the best version of the character, and do not change it mid-project. Every shot starts from the same approved reference.
Second, describe the character's state in the prompt. The reference defines the face, but you still tell the model what the character is doing, wearing, and feeling in each scene. A character in a rain scene needs the wet hair and coat described, even with a perfect face reference.
Third, be careful with drastic costume changes. Models anchor identity best when clothing stays roughly consistent. If the story requires a wardrobe change, generate a new reference of the character in the new outfit before rendering those scenes.
Fourth, verify across scenes, not within them. Render two test shots from different angles, compare the faces side by side, and adjust before committing to a long sequence. Catching drift in the test phase saves hours of re-renders.
Creative Workflows Where I2V Shines
Some projects are dramatically easier with image-to-video, and knowing which ones to route to I2V saves real time.
Storyboarding and pre-visualization are the clearest win. Directors and agencies already draw storyboards; animating them with I2V turns a static board into a moving preview that communicates pacing and camera movement to clients instantly.
Brand and product work is a close second. A single approved product image can produce an entire campaign of animated variations: rotating shots, lifestyle scenes, and close-ups, all faithful to the real product. This is the workflow that makes AI video genuinely useful for e-commerce.
Character-driven narrative benefits the most from multi-image fusion. Once a character reference set exists, the same face can appear across dozens of scenes, which is what makes short AI films watchable instead of uncanny.
Concept art animation is a favorite of illustrators and game studios. Static concept art becomes a living preview of a world, which helps teams evaluate mood and composition before expensive production begins.
Choosing Between Text-to-Video and Image-to-Video
The right choice depends on what you need from the shot. Use text-to-video when you are exploring: new ideas, unexpected compositions, and mood boards. It is fast and it surfaces directions you did not plan.
Use image-to-video when you need control: a known character, a real product, a specific style, or a sequence that must match other shots. The anchor image is worth the extra preparation step.
The hybrid workflow is usually best for finished projects: generate a few text-to-video drafts to find a composition you like, take a still from the best draft, refine it, then use that still as the anchor for the final image-to-video render. You get the creative freedom of text and the stability of images.
The decision also has a practical side. Image-to-video workflows require more upfront asset work, and some tools charge differently for the two modes. Factor in the reference preparation time when you estimate a project; a consistent sequence takes longer to set up but far less time to fix.
A Complete Image-to-Video Example, Shot by Shot
Theory is easier to trust when you see it applied. Consider a concrete project: a brand wants a thirty-second launch video for a new coffee grinder, with the same product appearing in every shot.
Phase one is the reference set. The team photographs the actual grinder on a neutral background from four angles: front, side, three-quarter, and a detail shot of the grind dial. They also shoot one lifestyle image of the grinder in a sunlit kitchen. These five images become the visual anchor for the whole project. No prompt will ever describe the product again; the references do that work.
Phase two is the shot list. The sequence needs six shots: an opening close-up of the dial turning, a wide shot of the grinder in the kitchen, a lifestyle shot of a hand adding beans, a medium shot of the grinder in action, a detail shot of the grounds falling, and a closing frame with the product in a clean composition.
Phase three is the render. Each shot starts from the appropriate reference image, with a prompt that describes only what is new: the action, the camera move, and the mood. The dial close-up, for example, uses the dial reference plus "the dial rotates slowly to the right, macro lens, shallow depth of field, warm light." Because the product identity comes from the reference, the grinder looks identical in every shot even though each is generated separately.
Phase four is the review. The team renders all six shots as drafts, compares them side by side, and confirms the product, the lighting, and the color grade match across the sequence. Two shots need adjustments: the lifestyle shot drifts toward a cooler color, and the action shot has a subtle warp in the grind dial. They fix the lighting words on the first and re-render the second with a different seed.
Phase five is the assembly. The editor cuts the six clips in order, adds a voiceover describing the grinder's features, layers a soft jazz track, and finishes with the brand's standard lower-third and end card. The final export at 16:9 matches the platform spec, and the team publishes both the full version and a vertical cut for social.
The entire project, from reference photos to final export, fits in a day. The same workflow scales to any recurring subject: a character in a short film, a location in a travel series, or a product in a catalog campaign. The effort shifts from re-rendering to preparation, which is exactly where consistency is won.
FAQ
Do I need to be a designer to use image-to-video?
No. You can generate reference images with image tools or use photographs you already have. The skill is in choosing good anchors, not in creating them from scratch.
Can I animate any photo?
Most tools can animate a wide range of images, but quality varies with the subject. Faces, products, and scenes with clear motion potential animate best. Highly detailed images with many small elements can confuse some models.
How many reference images should I use?
For a single character, three to five good angles is a sweet spot. More images help up to a point, then they can dilute the identity. Test with your tool to find the number that gives stable results.
Is image-to-video replacing text-to-video?
Not replacing, refining. Text is still the fastest way to explore, and images are the best way to control. The best creators use both, often in the same project.
What about copyright on reference images?
Use images you created, own, or have clear rights to. Generated references from your own prompts are usually safe, but check your tool's terms. When in doubt, start from your own photography or commissioned art.
How do I fix a character that still drifts?
Strengthen the reference set with more angles and consistent lighting, re-render test shots before the full sequence, and keep clothing and environment descriptions stable across prompts. Drift that survives all that usually points to a tool limitation, so try a different model.
