
![A colossal [OBJECT] reimagined as a complete natural biome. Tiny [WILDLIFE]...](https://storage.brightvectorlabs.com/prompts/bright/illustration-and-3d/2011819664536444937-0.webp)
Why Image-to-Video Is Different From Text-to-Video
Most people discover AI video through text prompts: type a sentence, watch a clip appear. Image-to-video works differently and, for many projects, better. You start with a real image — a photo, an illustration, a design — and the model animates it. The composition, the colors, the identity are already decided. The machine's only job is to invent motion.
That division of labor is the reason image-to-video feels more controllable. Text-to-video is a negotiation: you describe, the model interprets, and you hope. Image-to-video is a commission: you hand over the blueprint and ask for the execution. This guide explains how to prepare images, write motion prompts, keep faces and objects stable, and build a repeatable workflow around the technique.
What You Can Do With a Single Photo
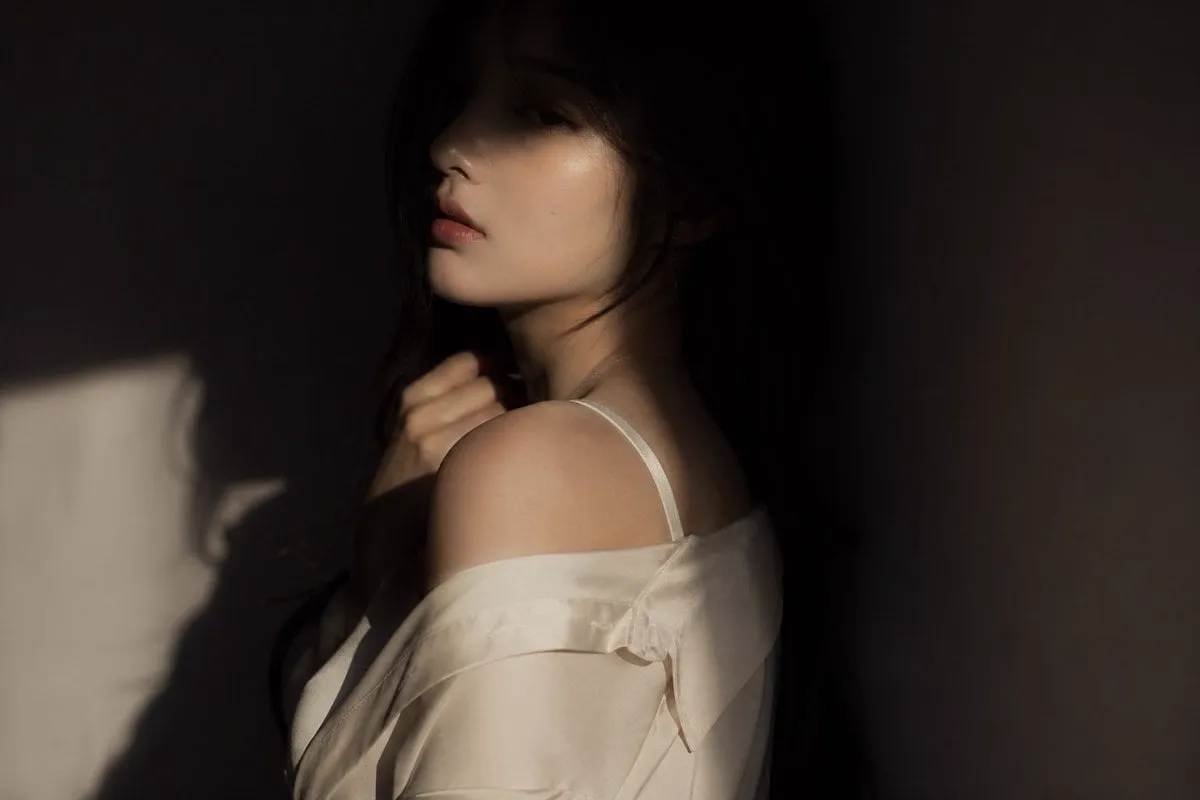
The range of results you can get from one image is wider than most people assume. A portrait can become a subtle cinematic shot with hair moving in wind and eyes catching light. A product shot can gain a slow orbit that reveals the object from every angle. A children's drawing can turn into an animated scene. An old family photo can gain gentle motion that makes it feel alive.
The practical uses are multiplying in parallel: e-commerce brands animate product photos for social ads; editors bring stills into documentaries; storytellers turn storyboards into animatics; artists preview how a composition will move before committing to full animation. Even photographers use image-to-video as a new way to present portfolios.
Preparing Your Image Before You Generate
The quality of the output starts with the input. A little preparation goes a long way.
- Resolution and sharpness matter. Start from the highest-resolution version of your image. Upscaling after generation is not a substitute for a clean source.
- Crop to the composition you want. The model will respect the framing you give it, so make the crop decision yourself.
- Remove distractions. A cluttered background gives the model license to invent noise. Simplify before you generate.
- Consider the subject's position. Faces and objects near the frame edge are more likely to distort during motion. Leave a little breathing room.
- Keep the identity clear. If the image contains a person or character you care about, make sure the face is visible and well lit.
None of this requires advanced editing skills. A few minutes in any image editor is enough.
Writing a Motion Prompt: What to Describe
With image-to-video, the prompt no longer needs to describe the scene — the image already does that. The prompt should describe movement. Four elements matter most:
What moves: the hair, the fabric, the water, the camera, the subject itself. Name the things that should be in motion explicitly; otherwise the model may keep them frozen or invent motion you do not want.
How it moves: gentle, slow, flowing, abrupt, drifting. Direction matters: "wind from the left," "turning toward the camera," "falling leaves." The more precise the motion verb, the more predictable the result.
How the camera behaves: fixed, slow push-in, orbiting, handheld. Even a tiny camera move makes an animated still feel like footage.
What stays still: this is the underused instruction. Telling the model which parts must not move — the face, the product logo, the horizon — is often the difference between a usable clip and a morphing mess.
Keep the prompt short and focused on motion. A long scenic description is wasted effort in image-to-video; the image already carries that information.
Keeping Faces and Objects Consistent
The main risk in image-to-video is drift: the face shifts, the logo warps, the product changes shape mid-clip. The techniques that protect consistency are simple but easy to skip.
Reduce motion intensity. The single most effective fix. If a clip has distortion, regenerate with gentler motion. Most models distort because the requested motion is too aggressive for the source image.
Use reference locking where available. Some models let you re-supply the same source image as a reference during generation, which anchors identity more firmly.
Shorten the clip. Drift accumulates over time. A five-second clip of a face holds identity far better than a ten-second one.
Keep critical features central and static. Faces, text, and logos survive better when they are not the elements doing the moving. If a logo must remain perfect, animate the environment around it instead.
Choosing the Right Tool for the Job
The image-to-video field is crowded, and the right choice depends on the source material and the desired motion. A few guidelines:
For natural motion and camera control, models like Luma Ray 2 are strong choices, especially for environmental scenes, product reveals, and smooth loops.
For character and identity work, models with multi-reference support, such as Vidu Q1, let you combine a character image with a style reference, which improves consistency for illustrated and animated content.
For physical realism, engines like MiniMax Hailuo produce convincing interaction between the animated subject and the scene.
For cinematic looks, the premium engines with strong world modeling give the most polished results when the shot matters.
Whatever you choose, test two engines on the same image before committing. The differences will be obvious, and your go-to tool will emerge from comparison rather than reputation.
Three Workflows You Can Copy Today
Product and e-commerce
A skincare brand wants a launch clip. The team shoots one clean product photo, crops it to vertical, and animates it with a slow orbit and a subtle light change. The result: a video that looks like a studio production but required no video shoot. Repeat with two or three angles and cut them together with captions and music.
Portraits and storytelling
A documentary needs to bring an archival photo to life. The editor prepares the photo, adds gentle motion — hair, background flicker, a slow push-in — and keeps the face locked. The clip becomes a breathing moment inside the film without contradicting the archival record.
Illustrations and animation
An illustrator wants to preview a book spread in motion. Each illustration is animated with subtle environmental movement: leaves drifting, curtains swaying, clouds passing. The animatic lets the client feel the pacing before a single frame of full animation is produced.
Fixing Common Problems
Distorted faces: reduce motion, use reference locking, keep the face central, regenerate with gentler verbs.
Frozen results: your prompt described too little motion. Name what moves and how.
Flickering texture: the source image may be noisy or the clip too long. Simplify the background, shorten the clip.
Object warping: the element doing the moving is too complex. Let the environment move instead of the object itself.
Unexpected color shifts: lock the palette in the prompt or apply a grade in post. Models sometimes drift color over a clip.
Keep a log of each problem and the fix that worked. Within a few projects you will have a personal playbook that makes most failures one-shot fixes.
Where This Is Heading
Image-to-video is evolving quickly in three directions that matter for practical work. Multi-reference fusion will keep improving, making it easier to hold identity across longer scenes. Camera control will become more precise, so directors can specify moves as exactly as they would with real equipment. And the boundary between image and video tools will keep blurring — editing a still and generating motion will become one continuous workflow.
For creators, the strategic implication is clear: the ability to start from your own imagery and control the result is becoming the core skill. People who can combine their visual assets with reliable motion will produce work that looks distinctive in a field full of generic generations.
Building a Library of Motion Templates
The fastest way to improve at image-to-video is to stop reinventing prompts. Start a small library of motion templates — short, tested prompt fragments that reliably produce a specific kind of movement.
A template looks like this: "slow push-in, hair drifting gently in wind, face stays still, soft background motion." Another: "slow orbit around the product, reflections sliding across the surface, logo remains static." Each template pairs the prompt text with the model and settings that worked.
Organize the library by purpose: portraits, products, landscapes, illustrations, abstract motion. When a new project arrives, you reach for the closest template instead of writing from scratch, then adjust the details. This cuts iteration time dramatically and, just as important, gives you a consistent motion language across all your work.
Review the library monthly. Delete what never worked, promote what keeps delivering, and add new templates from your best recent sessions. Within a few months, your library becomes a real asset — the kind of thing that turns an occasional hobby into dependable production.
A Complete Example: The Product Launch in a Week
Let us walk through a full project to show how the pieces fit. A coffee brand is launching a new package and wants a social video built entirely from stills.
Day one: the brand provides three clean product photos and a direction — warm morning light, artisan feel, calm motion. The team writes a one-page plan: hook (close-up of the package), texture shot (coffee pour), lifestyle shot (cup on a wooden table), and a final logo card. The reference images are prepared: cropped, sharpened, backgrounds simplified.
Day two: stills are approved. Motion prompts are written from the template library — a slow push-in for the hook, a gentle orbit for the package, steam drift for the pour.
Day three: image-to-video runs on a fast model for all four shots. Two come back with distortion in the logo; they are regenerated with gentler motion and a static-logo instruction. The hero shot is rendered overnight on a premium engine.
Day four: editing. Captions, music, and a voice-over are added. The grade is matched across all four clips so they feel like one shoot.
Day five: review on a phone, fix caption timing, publish. The team logs the prompts, models, and settings into the library for the next launch.
The result is a video that looks like a small studio production, built from three photos, with a total of about three working days — most of it waiting for renders. No video shoot, no crew, no location.
FAQ
Do I need a good photo to start?
A decent, sharp image is enough. Quality in, quality out: clean source, clear subject, simple background.
How do I get better results with my own photos?
Follow the same discipline professionals use: shoot with light in mind, keep the subject sharp, simplify the frame, and choose images with clear separation between subject and background. Photos with a distinct subject and calm surroundings generate far more reliably than busy snapshots. Then write motion prompts that respect what the photo already contains — let the model enhance the existing mood rather than impose a new one.
Can I animate any image?
Almost any image can be animated, but the result depends on content. Faces, products, landscapes, and illustrations all work well; dense text and complex patterns are harder.
How long should a clip be?
Start with five seconds. Shorter clips hold consistency better, and you can assemble longer pieces in the edit.
What is the best prompt for image-to-video?
Describe motion, not the scene: what moves, how it moves, how the camera behaves, and what must stay still. Short and specific beats long and vague.
Can I use image-to-video for client work?
Yes, with the usual checks: verify each tool's commercial license terms and keep records of what was generated and how.
What should I learn after the basics?
Multi-reference workflows, custom model training, and motion design judgment. Those skills turn occasional experiments into dependable production.
Is image-to-video enough, or do I also need text-to-video?
Keep both. Image-to-video gives you control and consistency; text-to-video gives you flexibility when no source image exists. The two complement each other: generate a still from text, then animate it with image-to-video. That combined workflow is how most professional pieces are actually built.
