
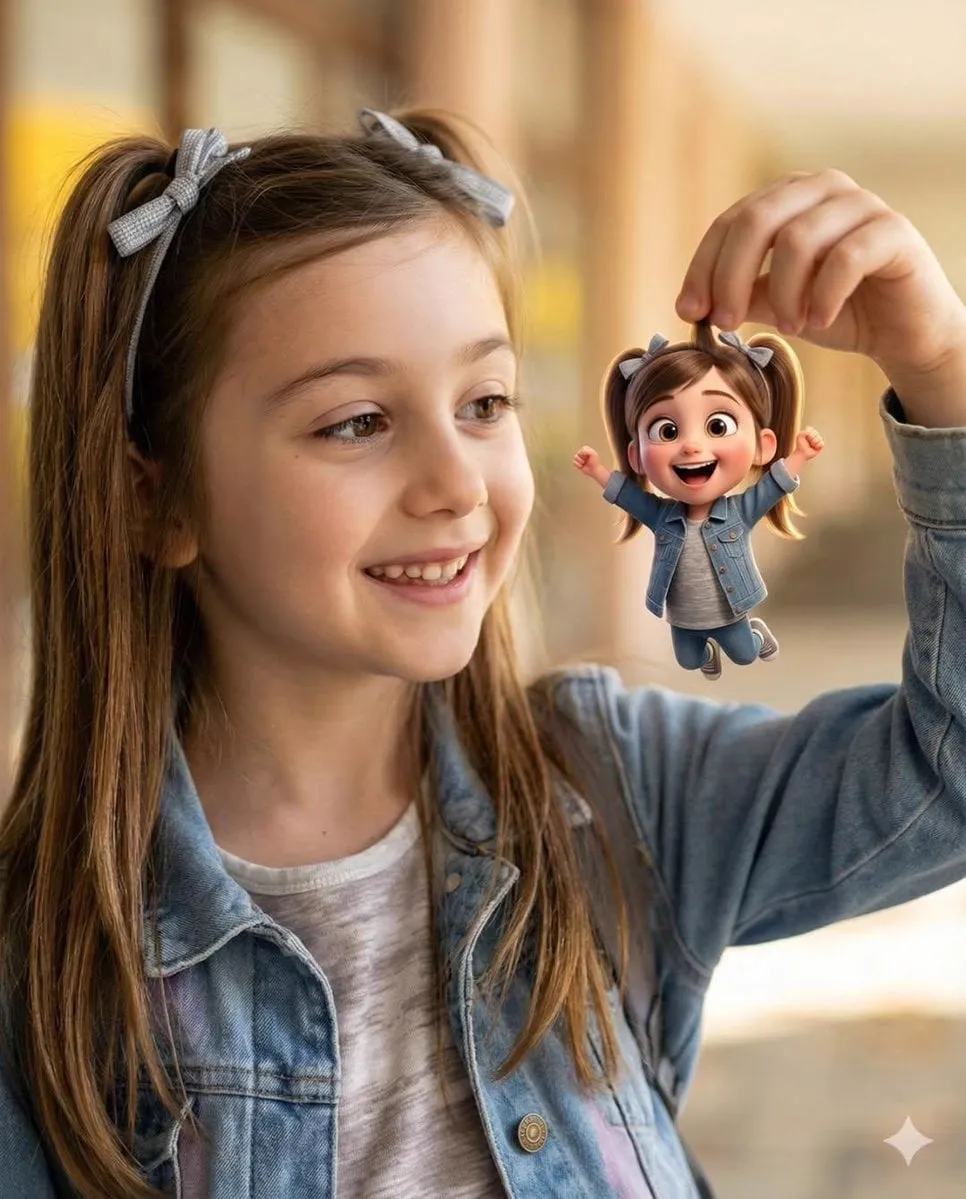
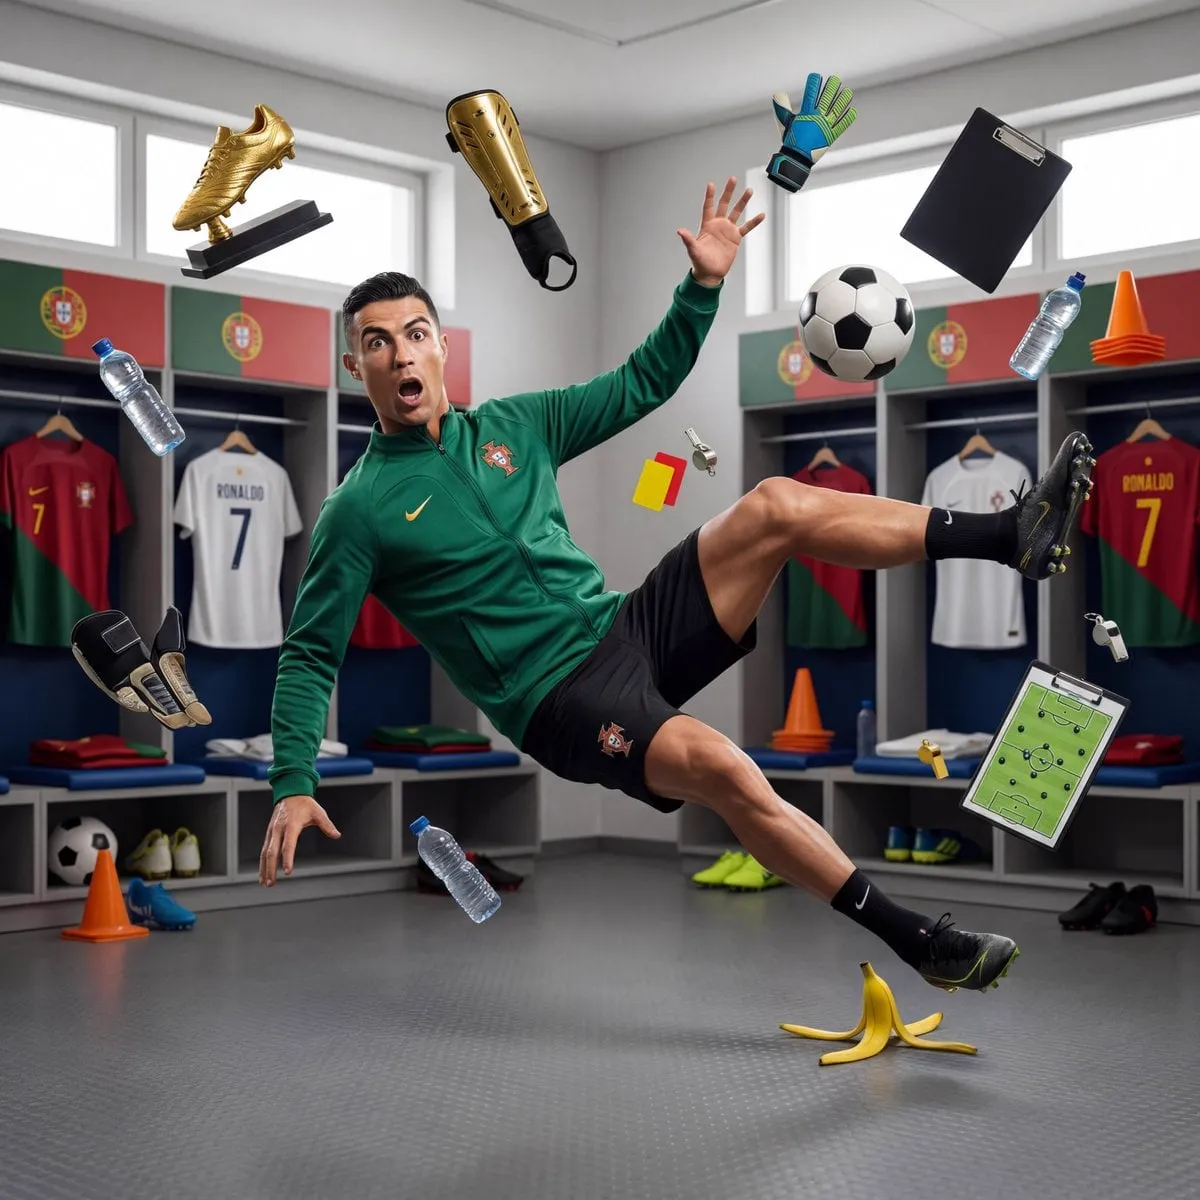
A single photograph can carry a memory, an idea, or a mood, but it is frozen in time. What if that same image could breathe, move, and tell a short story? In recent years, image-to-video AI generators have made this possible: you feed them a static photo, and they produce a short animated clip where the subject shifts, light plays across the frame, and subtle motion brings the scene to life. For creators, this closes a surprising gap between the images they already have and the moving content audiences expect.
This guide is a practical walkthrough of image-to-video generation. It explains what the technology actually does, what makes it produce good output, which visual and character controls matter, and how to weave moving-image workflows into content creation without getting lost in technical details.
Why Static Photos Are No Longer the Endpoint
For years, content creation divided naturally into photographs, which are static, and video, which is expensive to produce. The arrival of generative motion models blurred this line. A brand photo shoot, a product shot, a portrait, or an art piece can now become the opening frame of a short clip with relatively little effort.
The appeal is efficiency. Instead of scheduling a full video shoot, a creator can produce a still, then animate selected moments of it. For social media formats built around short, moving loops, this is a significant advantage. A beautiful portrait becomes a subtle live photograph; a product still becomes a rotating showcase; an illustrated background gains drifting clouds and falling light.
The efficiency also drives scale. Because each still can be turned into a clip cheaply, teams can produce a steady stream of moving content from a single batch of photos, testing several variations quickly before committing to a final version.
How an Image-to-Video Generator Works
At a high level, an image-to-video generator is trained to predict plausible motion from a single still. The model looks at the provided image and, guided by a text prompt, imagines what movement is most natural and how the next frames should evolve. It does not paste the image into a template; it re-renders the full sequence with the identity of the original image preserved.
The technical foundations draw on deep generative architectures that model sequences of frames. Early approaches had difficulty keeping the subject recognizable while it moved, which is why still-image fidelity was often lost after a few frames. Modern systems are better at separating the stable identity of the image from the changing motion, so the resulting clip retains the character, lighting, and composition of the original while gaining believable movement.
From the user's standpoint, the important corollary is that the input image quality matters more than ever. Anything that confuses the model in a still, such as cropped limbs, extreme fish-eye distortion, or cluttered backgrounds, will be carried into the motion and often amplified.
Best Inputs for Strong Motion Output
Not every photograph animates well, and understanding what works saves hours of tinkering. High-resolution, well-lit images with a clear subject and a defined focal point give the model the cleanest basis to build from. A single, clearly discernible foreground subject surrounded by simple negative space produces the most natural motion because the model can infer how that subject moves.
Conversely, images with a dizzying amount of detail everywhere, such as dense crowds or busy textile patterns, can confuse the generator, which may then invent jittery or unnatural movement. Composition with straight verticals and coherent perspective also help because the model can reason about camera movement more reliably.
Lighting is a quiet hero. Soft directional light shapes the subject and gives the model cues about where shadows should fall as motion occurs. Hard, flat, mixed-color lighting gives fewer such cues and more often results in wobbly or unstable frames. When you can choose, prefer dramatic but clean lighting.
Controlling Motion, Camera, and Consistency
A raw image-to-video output is rarely the finished piece. The real craft lives in control. Most tools expose a text prompt that steers what the model does with the image: you can request a slow zoom into a character's eyes, a gentle camera pan across a landscape, wind moving through a field, rain starting to fall, or a subject turning toward the viewer.
The prompt is where you describe both the movement type and the mood. Being explicit about the camera action, such as a slow push-in versus a lateral dolly, yields far more predictable results than a vague request for "make it move." Pairing motion with a clear emotional frame, such as calm resolve or festive energy, guides the model's interpretation of speed and rhythm.
Consistency across clips becomes the next priority, especially when one character appears in multiple animated scenes. The same multi-image and reference techniques used for static consistency apply here: establish a canonical look for the character and reuse it so that the animated version of a person stays recognizable from clip to clip, even as each clip animates a different moment.
Building a Go-to-Market Asset Pipeline
For anyone producing content regularly, the real value of image-to-video AI is a repeatable pipeline rather than one-off experiments. A sensible pipeline starts with a still-image library. Produce a set of strong, consistent hero images first, then use them as the raw material for many animated variations.
Next, define motion presets. Instead of typing a fresh prompt every time, maintain a small set of reusable prompts for common calls to action, such as an intro zoom, a hero turn, or a background drift. This speeds up iteration and keeps the output style coherent across a campaign. Finally, establish a review step where each animated clip is checked for frame stability, subject fidelity, and how well it loops, since platform loops tend to magnify small seam errors.
Tracking what works also compounds over time. Record which types of stills and which motion presets perform well on your channels, then double down on the styles that genuinely engage your audience instead of chasing every new feature.
Standing Out in the Moving-Content Crowd
The same tools are available to almost everyone, so distinctiveness does not come from simply having an animated clip. It comes from having a recognizable visual identity and a consistent aesthetic that carries across every moving piece you publish.
A signature color grade, a characteristic subject, a repeated camera behavior, and a consistent editing rhythm together form a style audiences can recognize. The best creators define this style before they generate anything, then make deliberate choices that reinforce it. An occasional surprising motion can delight viewers, but a stable visual brand is what keeps them returning.
It also pays to use motion with intent. A clip that advances a message, reveals a product feature, or creates a mood is far more effective than motion applied merely because the tool can do it. Ask what the movement adds, and cut it if it adds nothing but noise.
Common Mistakes and Fixes
Beginners tend to repeat a few predictable errors. Oversimplicity, such as relying on heavily compressed or low-resolution source images, leads to mushy output. Overcomplexity, such as cramming every prop and background detail into the frame, produces jittery motion. Ignoring the prompt, or giving only a generic instruction, yields generic movement that fails to match the intended mood.
Frame-seam artifacts upset many creators on their first attempts. These often come from motion that does not loop cleanly back to the start. Designing movement that returns to its origin, such as a cloud bank passing and returning, minimizes these seam artifacts. Another common fix is simply increasing the source resolution before generation, which gives the model more information to preserve.
Finally, do not let perfectionism stall progress. Generate several variations early, select the strongest, and refine only after you can see a clear best candidate. Waiting for a single perfect generation usually wastes more time than iterating.
Frequently Asked Questions
What kind of photo works best as a starting image?
A sharp, well-lit, high-resolution image with one clear subject and a simple background generally produces the cleanest motion. Clean composition and directional lighting give the model the most reliable cues.
How long can a generated clip be?
This varies by tool, but most image-to-video generators produce short clips, often a few seconds long. Longer narratives are usually assembled by chaining several short clips together rather than generating one long take.
Can I keep a character looking the same across different clips?
Yes. Use reference and multi-image techniques to establish a canonical appearance for the character, then apply it consistently. The static identity carries through motion when the same visual foundation is reused.
Does the prompt really change the output?
Significantly. The text prompt directs what the model animates and how. Being specific about camera action, motion type, and mood produces measurable changes in the resulting clip.
The Bigger Picture
Image-to-video generation has turned idle photographs into moving moments that fit naturally into a fast-moving, video-first content landscape. The technical details matter, and understanding how motion models preserve identity while adding movement gives a real edge. But the lasting advantage belongs to creators who build consistent visual languages, maintain strong still libraries, and use motion with clear intent.
The tools are only improving, and the gap between a single animated clip and a sustained, high-quality moving content strategy is closing. Start with one strong image, learn how it responds to different motion prompts, and grow from there. Before long, those static photos will be doing far more than sitting still.
Matching the Tool to the Platform
Where your moving clip ends up changes what makes a good result. Platforms built around short loops reward movement that is self-contained and that reads instantly on a small screen, even with sound off. A product showcase meant for a website, by contrast, can afford slower, more atmospheric motion and a longer arc.
Before generating, decide the intended platform and think about playback behavior. Vertical formats suit close, centered subjects, while wide horizontal supports landscape and travel content. Loops that end where they began hide the seam; clips that cut away cleanly avoid the jarring reset. Small design choices at the generation stage save significant re-editing later.
Captions and motion interact more than many creators expect. Because much viewing happens without sound, consider how a moving background competes with text overlays. Plain, less busy motion behind captions keeps them legible, while more energetic footage suits moments where there is no on-screen text competing for attention.
The Value of Small Batch Experiments
A steady habit of batch experiments outstrips occasional, perfectly polished attempts. When you produce a family of variations, force yourself to compare them side by side and articulate why one works better than another. That act of comparison trains the eye and steadily builds the taste that guides future prompts.
Keep a short log of what changed between successful and failed attempts, in the prompt, the source image, or the chosen model. Over time this log becomes a private playbook of reliable triggers, and it protects you from repeating the same mistakes across several projects.
Experimentation also protects creativity. Repeating the same comfortable combinations produces diminishing results; running deliberate attempts pushes you toward new motions, moods, and subjects you would not otherwise have tried. The cost of each try is low, which is exactly why you should be generous with attempts and strict only at the selection stage.
When to Add More Than One Tool
No single generator is excellent at everything. Some outputs win on motion realism, others on identity preservation, others on stylized aesthetics. A strong workflow often composes the work: generate an establishing look with one tool, preserve a character with a second, and finish stylistic treatment in a third.
This does not mean stacking every tool you can find. It means knowing each one's center of gravity and routing each piece of a shot to the tool that fits. Keep the pipeline as simple as it can be while still hitting your quality bar, and only add a new tool when evidence shows it solves a real gap not covered by what you already use.
The discipline of tool selection mirrors the discipline of intent in the earlier sections. Tools are means, not ends; the clearest creators win by having a clear vision and reaching for whatever implements it best, rather than by mastering the largest possible number of unrelated features.
