

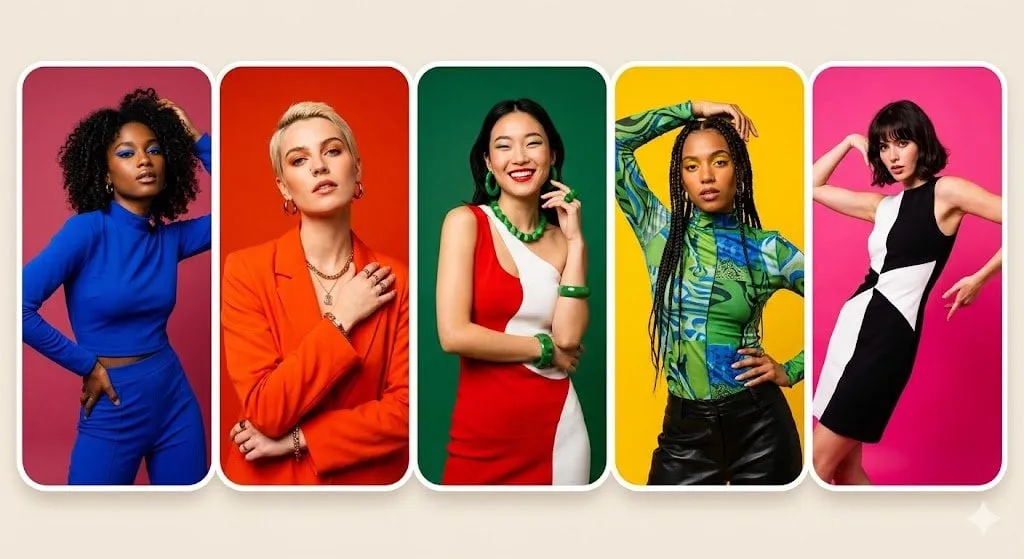
From Still Image to Moving Story
The image-to-video workflow is quietly becoming the most practical way to produce video with AI. Instead of describing a scene from scratch and hoping the model interprets it correctly, you start with an image you already like and bring it to life. The result is predictable in composition, controllable in style, and dramatically cheaper than generating everything from text.
It works for a lot of use cases. A product photo becomes a cinematic pan. A character design becomes an animated scene. A concept art frame becomes the opening shot of a short film. If you can create or find a good image, you can turn it into motion.
This guide explains how image-to-video generation works, how to choose the right model, how to prepare your source image, and how to build a repeatable workflow from a single still to a finished clip.
Why Image-to-Video Is the Fastest-Growing Workflow
Text-to-video is exciting but unpredictable. The model decides what the scene looks like, and the results can vary wildly between attempts. Image-to-video removes most of that uncertainty. The composition, the colors, the character, the lighting are already fixed in the source image. The model's only job is to add motion.
That changes the economics of production. You can iterate on a still image until it is perfect, which is fast and cheap, and only then spend the more expensive generation budget on motion. Failed video attempts become rare, because the hardest creative decisions are already made.
The workflow also fits naturally into existing production habits. Designers already work with storyboards, concept art, and style frames. Image-to-video treats those assets as the starting point, which means it slots into pipelines that teams already have.
How It Works Under the Hood
Modern image-to-video models use diffusion architectures that understand both the image and the motion you describe. You provide a starting frame and a prompt describing what should move, and the model predicts a sequence of frames that follow from both.
The model needs to figure out several things at once: what moves, in which direction, at what speed; how the camera behaves; how lighting and shadows respond to the new arrangement; and how the scene stays coherent over time. The best models balance these factors naturally, which is why some outputs feel like real footage and others feel like a warped still.
Two concepts matter when you work with these models. The first is motion intensity: how much the scene changes from the source image. Some clips need barely any movement, like a character blinking in a portrait; others need full camera motion across a landscape. The second is duration: most models generate clips of a few seconds, and longer sequences are built by extending or chaining segments.
Choosing the Right Models
The choice of model depends on what you are animating and how much motion control you need.
For realistic scenes, product shots, and footage that should look photographed, models in the photorealistic tier are the safest bet. They preserve textures and lighting faithfully while adding natural motion. For character animation, models with strong expression handling keep faces recognizable, which matters when the source image contains a person.
For cinematic camera movement, look for models with explicit camera controls. They can execute pans, pushes, and tracking shots that generic models approximate poorly. For stylized or illustrated source images, models that respect style rather than forcing realism will give you consistent results.
The practical advice is the same as everywhere in AI: test the same source image and prompt on two or three models before committing. The differences are usually bigger than the spec sheets suggest.
Preparing Your Source Image
The quality of the output depends heavily on the input. A low-resolution, cluttered, or badly lit image will produce disappointing motion no matter which model you use.
Start with a clean image. Remove distracting background elements, fix the framing, and make sure the subject is well defined. Higher resolution is generally better, but extreme resolutions can slow generation without visible benefit; match the resolution to your target output.
Think about what should move. The best image-to-video results come from images with clear motion potential: hair that can sway, water that can ripple, a road that invites a tracking shot, a character in a pose that suggests the next action. If the image is static and rigid, the motion will feel forced.
Finally, establish the light. If your source image has strong, directional lighting, the video will inherit it, which adds production value. Flat lighting produces flat motion.
Writing Prompts for Motion
The prompt in image-to-video is not a description of the whole scene; it is a description of the change. Focus on what moves, how it moves, and what the camera does.
Be specific about motion: "the leaves drift slowly across the frame", "the character turns toward the camera and smiles", "the camera pushes in on the product while the background blurs". Mention speed and direction where they matter. If you want barely any motion, say so; many models default to more movement than you expect.
Describe the camera separately from the subject. "Static shot with the character walking into frame" is a different result from "handheld camera following the character". The more precisely you separate subject motion from camera motion, the more control you get.
Keeping Characters and Scenes Consistent
Image-to-video starts with consistency because the first frame is fixed. The challenge is keeping it stable for the duration of the clip and across multiple clips in the same project.
Use the same source image as the anchor for every clip that features the same subject. If you need a different angle, generate a new still from the same character reference, then animate that. Never let the model invent a character from a prompt when you have a reference available.
For scenes, keep the color palette and lighting consistent across clips. If you are chaining multiple clips into one sequence, plan the transitions: end one clip and start the next with compatible framing, so the edit feels continuous rather than stitched.
Workflow: From Single Image to Finished Clip
- Choose the moment: pick or create the still that captures the composition and mood you want.
- Prepare the image: clean it up, crop it, and make sure the subject is clear.
- Write the motion prompt: describe what moves, how fast, and what the camera does.
- Generate several takes: run the same source and prompt multiple times, then pick the best.
- Extend or chain if needed: for longer sequences, extend the clip or generate compatible segments.
- Post-produce: add music, sound, titles, and color grading in your editor.
Use Cases
Product marketing: turn a single product photo into a cinematic hero clip for ads or landing pages. Character content: animate character designs for stories, games, or social media. Concept visualization: bring concept art to life early in a production to communicate ideas. Event content: add subtle motion to event photography for more engaging posts. Stock and licensing: produce moving versions of stills for libraries that accept video.
Beyond these, image-to-video is valuable for internal teams: a design team can animate wireframes and mockups to test ideas, and a sales team can turn simple product images into short demo clips without waiting for a production department.
Frequently Asked Questions
Do I need to be good at image generation?
It helps, but the bar is lower than for text-to-video. You need a usable still, and modern image tools make creating one relatively easy.
How long is a typical image-to-video clip?
Most models generate clips of a few seconds. Longer sequences come from extension or from chaining multiple clips in the editor.
Why does my clip look like a warped photo?
Usually the motion prompt is too aggressive or the source image has too little motion potential. Reduce the motion intensity, or choose an image with clearer movement.
Can I use someone else's image?
Only with the right to use it. Use your own images, licensed assets, or images you are explicitly allowed to transform.
Troubleshooting Common Problems
The clip barely moves. Increase the motion intensity in your prompt, describe a clear action, or choose a source image with more movement potential. Static subjects produce static clips.
The character morphs mid-clip. Start from a cleaner, more detailed source image, and reduce the amount of change you ask for. Large camera moves and strong deformations are when faces usually break.
The lighting shifts unnaturally. Keep your motion prompt modest and rely on the source image's lighting. If the model invents new light sources, describe the existing lighting explicitly in the prompt.
The output looks soft or low-detail. Use a sharper source image and match the generation resolution to your target. Post-processing sharpening can help, but the source quality is the ceiling.
Series Production: One Image, Many Clips
A single image can anchor an entire series of clips. A product photo becomes a hero shot, a detail pan, a lifestyle scene, and a close-up, all derived from the same visual identity. A character design becomes the star of multiple episodes.
Plan the series like a production board: list every clip you need, the source image for each, and the motion prompt. Generate in batches so the style stays consistent, and keep every source image in one organized library. Series production is where image-to-video pays off most, because the creative foundation is built once and reused many times.
Combining Image-to-Video with Other Tools
Image-to-video rarely works alone. Pair it with image generation to create and iterate on source stills quickly. Pair it with audio tools to add music and narration. Use your editor to assemble clips, add titles, and grade color.
The combination creates a full pipeline: generate the image, animate it, score it, and assemble it. Each stage uses the best tool for the job, and image-to-video sits in the middle as the bridge between the still and the finished piece. Building this pipeline once is the difference between an occasional experiment and a repeatable production capability.
Choosing Clip Length and Aspect Ratio
Clip length and aspect ratio shape everything downstream. Most models generate clips of a few seconds, so decide early whether you need short punchy takes or longer sequences, and check what your chosen model supports.
Aspect ratio matters even more for distribution. Vertical formats suit short-form feeds and stories; horizontal formats suit video platforms and presentations; square formats work on several social networks. Generate at the final aspect ratio rather than cropping later, because cropping a generated clip often destroys the composition. If you need multiple formats, generate a dedicated version for each rather than stretching one source.
Working with Reference Collections
The more you use image-to-video, the more valuable your reference collection becomes. Keep every source image you have animated, organized by project and by subject, with notes on which prompts produced the best motion. That collection is a reusable asset: the next time you need a product hero clip or a character scene, you start from a proven image instead of creating one from scratch.
Build the collection deliberately. When you generate a still, save the prompt that created it. When a clip turns out well, note the motion prompt and the model settings. Over time, the collection becomes your personal production manual, and every new project gets faster because it stands on your own history.
Conclusion
Image-to-video is the most controllable way to produce AI video, and it rewards preparation. A clean source image, a precise motion prompt, and the right model for your scene will take you from a still to a finished clip with far less waste than text-to-video. It fits the way creators already work, it keeps characters and scenes consistent by design, and it turns the expensive part of generation into a final, predictable step. Start with one good image, and let it move.
