
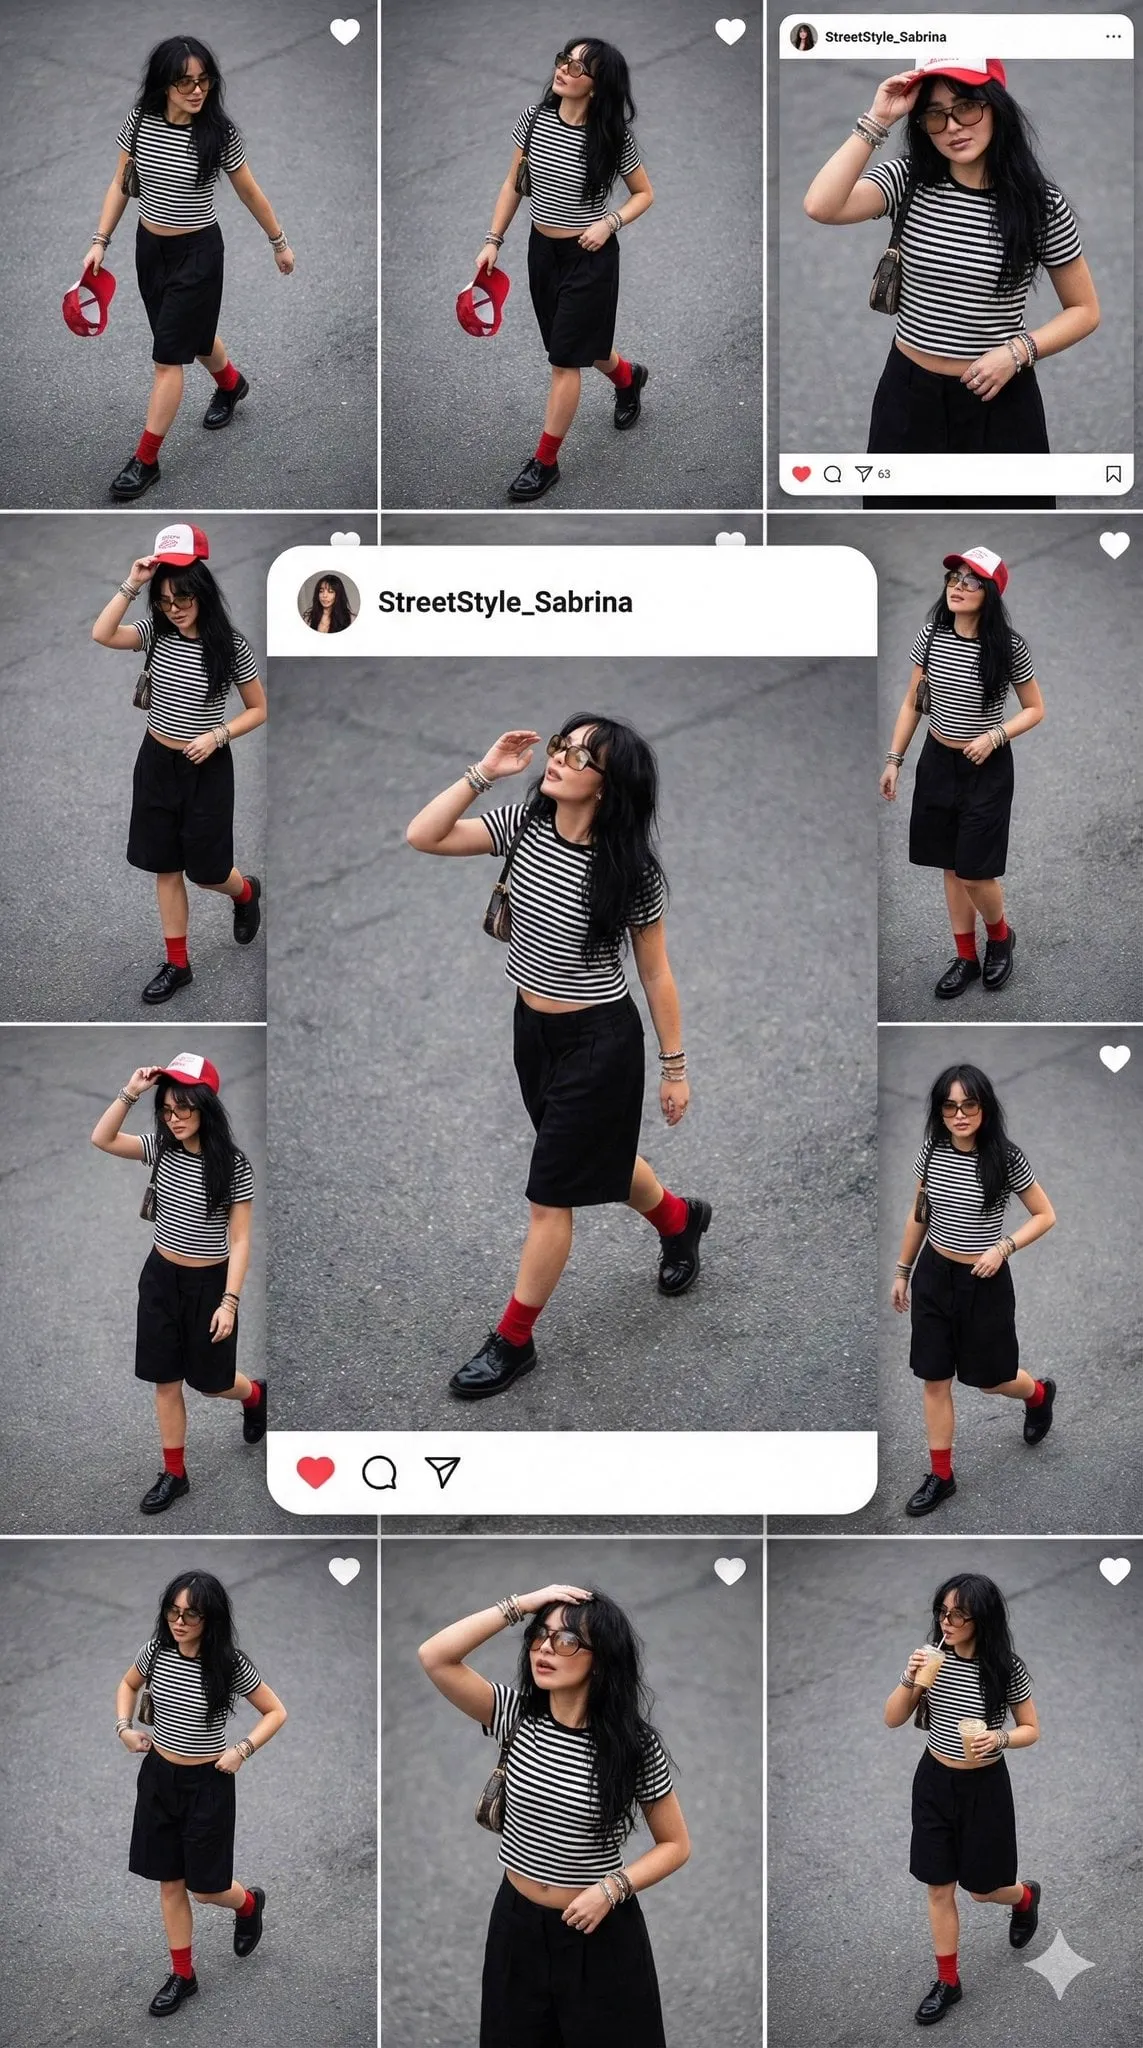

A single photograph used to be a finished piece of content. Now it is often just a starting point. Image-to-video AI takes a static image and brings it to life: a portrait turns its head, a product rotates on a turntable, a landscape catches the wind. The technology has moved from a novelty to a practical production tool in a remarkably short time, and it is changing how creators, marketers, and filmmakers approach motion content. This article explains how image-to-video models work, which tools lead the field, how to keep characters and scenes consistent, and how to build a practical workflow around them.
From Stills to Motion: Why Image-to-Video Matters
Image-to-video sits between two other capabilities. Text-to-video generates motion entirely from a written prompt, which is flexible but hard to control precisely: the model decides what the subject looks like. Video editing takes existing footage and reshapes it, which gives total control but requires something to have been shot first.
Image-to-video occupies the sweet spot. You choose the exact frame, the exact subject, the exact composition, and the model supplies the movement. This matters for practical reasons:
- Brands can animate their existing key visuals without a shoot.
- Creators can turn one strong photo into a short clip for feed content.
- Filmmakers can pre-visualize a shot before spending money on set.
- Designers can test motion concepts without committing to animation software.
The result is a workflow where the human controls the art direction and the machine handles the motion. That division of labor is why the technology has spread so quickly.
How Image-to-Video Models Actually Work
Understanding the mechanics helps you use the tools better, even if you never touch the code.
Diffusion Models and Temporal Coherence
Most modern image-to-video tools are built on diffusion models. A diffusion model learns to generate images by progressively removing noise from random patterns, guided by a prompt. For video, the challenge is bigger: the model must generate not one image but a sequence of frames that flow naturally from the starting image. The key requirement is temporal coherence, meaning an object must look the same from frame to frame as it moves, and motion must obey recognizable physics.
Early systems achieved this only for short clips with simple motion. Current systems generate longer sequences with camera movement, object interaction, and lighting changes, while keeping the subject stable. The quality of that stability is the main differentiator between tools.
The Role of Motion Conditioning
The starting image is not the only input. Most tools accept additional conditions that shape the motion: a text prompt describing the action, a camera movement instruction, sometimes even a reference video that defines the style of movement. Learning to write these motion prompts is the real skill. "The camera slowly pushes in while the subject turns toward the light" produces a very different clip from "quick handheld shake," and both are valid depending on the goal.
The Current Generation of Tools
The landscape changes quickly, but the leaders are consistent in what they offer. Rather than listing every release, here is how to think about the main families.
OpenAI Sora
Sora set the benchmark for realism and narrative coherence. It handles complex physics, reflections, and long sequences better than most competitors, and it excels at scenes that require understanding how objects interact. Its main trade-off is control: the model is powerful, but fine-grained direction is harder than with tools designed for precise inputs. Sora is the choice when you need maximum visual plausibility and can tolerate less granular control.
Kling and Hailuo
The strongest challenge to the Western leaders comes from Asia, with Kling and Hailuo standing out for prompt adherence and iteration speed. These tools are prized by creators who need the output to match the instruction closely, and they have closed much of the realism gap. Their strengths make them excellent for commercial work where the client has specific requirements about the shot.
Luma and Pika
Luma and Pika focus on accessibility and creative flexibility. They are easy to learn, fast to iterate, and popular for social content and concept exploration. They are not always the most realistic, but they are often the most practical for quick turnarounds and for testing ideas before committing to a heavier pipeline.
Vidu, Hunyuan, and Wan
These tools push the technical edges of the category. Vidu offers strong multimodal and reference handling, Hunyuan excels at Chinese-language prompts and diverse reference types, and Wan provides granular control mechanisms for specific creative choices. For teams with specialized needs, they are worth evaluating alongside the better-known names.
Keeping Characters and Scenes Consistent
The classic failure of AI video is the morphing subject: a character whose face shifts between frames, a logo that bends, a product that changes color. For most professional use, these glitches are disqualifying, so consistency is the battleground.
The most effective technique is reference conditioning. Instead of relying on a text description of the character, you provide multiple reference images of the same subject from different angles and lighting conditions. The model uses those references to keep the identity stable across the sequence. This is why the image-to-video workflow is naturally better than pure text-to-video for branded content: the starting image itself is already a strong reference.
In practice, build a small reference set for anything that must stay consistent: the main subject, the environment, the color palette, the style. The more consistent your references, the more consistent your output.
Building a Practical Image-to-Video Workflow
A repeatable workflow looks like this:
- Select or create the starting frame. The best results come from strong stills with clear composition, good lighting, and a subject that has natural motion potential.
- Define the motion in words. Write the action, the camera movement, and the mood. Be specific about what should move and what should stay still.
- Run several passes. Generate multiple versions of the same clip and pick the best, rather than accepting the first result.
- Check consistency. Review the sequence frame by frame for morphing, flickering, and physics errors.
- Post-process. Even the best generation benefits from a pass in an editor: stabilization, color grading, and sound design turn a clip into a scene.
This loop is fast and cheap enough to repeat many times in a day. The discipline of checking every clip frame by frame is what separates usable output from impressive demos.
Choosing the Right Tool for the Job
The right tool depends on the use case, not on the leaderboard:
- Brand and product content: choose tools with strong reference conditioning and consistency features, because the product identity must not drift.
- Narrative and cinematic work: prioritize realism and physics handling, where the leaders in long-sequence coherence shine.
- Social and experimental content: favor speed and ease of use; iterate many versions and let the audience decide.
- Pre-visualization for film: any competent tool works; the goal is to communicate intent, not to publish the output.
Most teams end up using two tools: one for high-fidelity work and one for fast iteration. Resisting the urge to standardize on a single tool is fine; the costs of switching are lower than the cost of using the wrong tool for a high-stakes shot.
A Worked Example: Animating a Product Shot
To see the workflow in action, imagine a skincare brand that wants to turn its hero product photo into a short clip for social ads. The starting frame is a clean studio shot of the bottle on a stone pedestal. The goal is a gentle rotation that reveals the label, with soft light moving across the surface.
The team writes a motion prompt: "The camera slowly orbits the bottle from left to right while the bottle stays centered; soft studio lighting, subtle reflections on the glass; background remains static." They run three passes. The first pass drifts too far and clips the edge of the pedestal. The second pass keeps the composition but the label flickers slightly at the end. The third pass is clean.
They check the winner frame by frame, confirm the label stays legible, and send it to post-production. The editor adds a slow push-in, a color grade that matches the brand palette, and a few seconds of ambient sound. Total turnaround: under an hour, compared to a half-day studio session for the same result.
The lesson is transferable to any subject: a strong starting image, a specific motion description, several passes, and honest frame-by-frame review. The tools change, but this loop is the reliable core of image-to-video work.
Common Problems and Fixes
A few issues come up again and again:
- Morphing faces: add more reference images of the subject and keep the camera movement modest.
- Flickering textures: reduce motion intensity and check whether the tool offers consistency settings.
- Unnatural physics: simplify the requested action; complex interactions are harder for every model.
- Motion that is too subtle or too wild: adjust the prompt wording and try intermediate levels of motion strength.
- Wrong style: be explicit about the look in both the starting image and the prompt; style transfer is easier from a reference than from words.
When a clip fails, the temptation is to regenerate with the same prompt and hope. The more effective move is to change one variable at a time: the starting frame, the motion description, or the consistency references.
What Comes Next
The pace of improvement in image-to-video is unlikely to slow. Expect longer native sequences, better audio integration, and stronger control over motion direction. The practical consequence for creators is not new tools to chase, but rising expectations from audiences: as the technology spreads, the bar for what looks acceptable keeps climbing.
The durable skills are the ones that do not depend on a specific tool: choosing a strong reference frame, writing precise motion language, building consistency sets, and reviewing output critically. Those skills transfer from today's leaders to whatever ships next year. Staying current matters less than staying disciplined.
FAQ
Is image-to-video better than text-to-video?
For control, yes. The starting image fixes the subject and composition, so the result is more predictable. Text-to-video is better for exploring ideas where you do not yet have a visual.
How long can generated clips be?
It varies by tool, from a few seconds to around a minute for the most advanced systems. For longer sequences, generate segments and edit them together.
Can I use image-to-video for commercial projects?
Yes, but check the license terms of the specific tool and plan. Most commercial-friendly plans allow monetized use, but terms differ, so verify before publishing.
How do I avoid the AI look?
Start with a strong, natural-looking reference image, keep motion realistic, and finish with color grading and grain. The AI look comes mostly from over-smooth motion and sterile colors, both of which you can fix in post.
What equipment do I need?
None. The whole pipeline runs in the browser or on a cloud service. Your starting image is the most important input, and you can create it with any camera or even with image-generation tools.
Do I need to learn video editing too?
Not strictly, but it helps. The final quality gap between raw generations and finished content is closed in the edit: stabilization, color, pacing, and sound. A basic grasp of editing multiplies the value of every clip you generate.
Can image-to-video handle faces well?
Modern tools are much better at faces than earlier versions, especially when you provide strong reference images of the same person. For close-ups and emotive shots, expect to run several passes and check carefully; faces are the fastest place for artifacts to appear.
The Image Is the New First Draft
Image-to-video AI has quietly turned every good photograph into potential footage. For creators, it is a way to produce motion content without a camera crew. For brands, it is a way to reuse existing assets at near-zero marginal cost. For filmmakers, it is a pre-visualization tool that saves real money.
The technology will keep improving, but the workflow discipline will not change: choose a strong starting image, describe the motion precisely, iterate, and check consistency. Master that loop, and the tools become a reliable extension of your creative process rather than a source of unpredictable surprises.
