

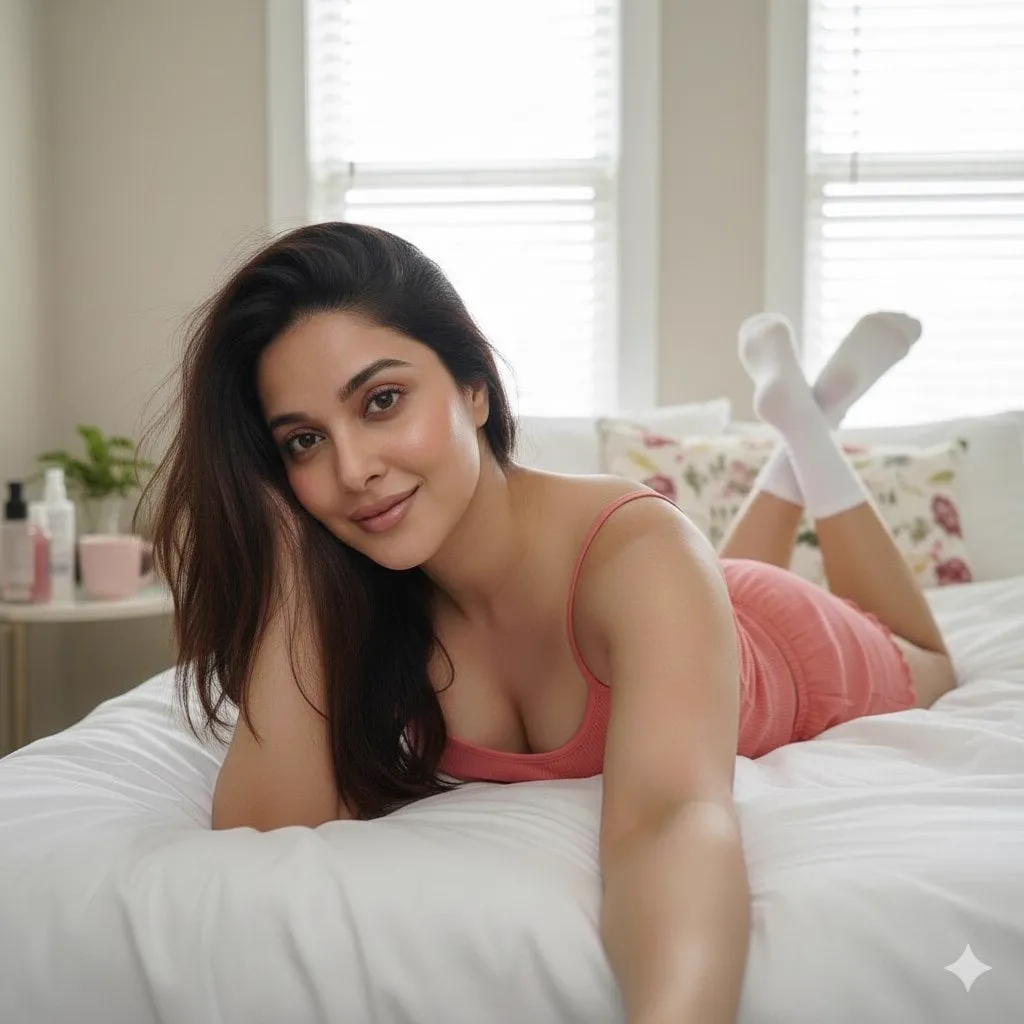
Image-to-video generation has quietly become one of the most practical entry points into AI filmmaking. Instead of describing an entire scene from nothing with a text prompt, you start with a frame you already like — a portrait, a landscape, a concept illustration — and let the model imagine what happens next. The output is not a generic clip but a continuation of your visual intent. That small shift in how you begin a project has a surprisingly large effect on the final result: less guesswork, fewer failed generations, and a much clearer path from idea to a finished, cinematic sequence.
This guide walks through the complete workflow, from preparing a strong starting image to choosing the right model, directing motion, keeping characters consistent, and integrating the whole process into a production pipeline that you can reuse on project after project.
Why Image-to-Video Changes the Production Equation
For most of the history of generative video, creators were forced to work backwards. You wrote a text prompt, the model produced a clip, and then you spent hours trying to fix whatever it got wrong — the character's face, the lighting, the composition. Text alone leaves too much room for interpretation, and every reinterpretation is a chance for the model to drift away from your vision.
Image-to-video flips that equation. The first frame is decided by you. Composition, color, mood, character design, and framing are locked in before any motion exists. The model's only job is to animate what you already approved. That makes the creative process feel closer to directing a scene with a cinematographer than to gambling on a slot machine. You make the big decisions, and the AI handles the in-between frames.
There is also a practical advantage. Many projects begin with existing assets: a character sheet, a product shot, a location photo, or a storyboard keyframe. Image-to-video lets those assets earn a second life as moving footage instead of requiring you to regenerate everything from scratch. For teams that already produce images with AI or traditional tools, the upgrade path is short and the learning curve is gentle.
How Image-to-Video Models Actually Work
Understanding the machinery, even at a high level, makes you a better operator. Most modern image-to-video models are built on diffusion transformers. They start from your input image and progressively denoise random noise into a sequence of frames that follow the visual constraints of that input.
The hardest problem these models solve is temporal consistency. When a model generates video from a single image, it must imagine subsequent frames that respect the geometry, texture, and identity established in the first one. If a character has a red jacket in frame one, the model has to keep that jacket red when the character turns around in frame twelve. Early models failed at exactly this, producing characters whose faces morphed between shots. Modern architectures attack the problem with consistency regularization, attention mechanisms that connect distant frames, and training data that rewards stable objects across long sequences.
Two other ideas matter in practice. First, many models now accept multiple reference images, not just one. You can feed a front view and a side view of a character, or a prop and a location, and the model uses all of them as anchors. Second, some models support control signals such as depth maps, motion vectors, or camera instructions. These give you a lever to influence movement directly instead of hoping the prompt carries the meaning.
None of this requires you to be an engineer. But knowing what the model is doing under the hood changes how you write prompts and prepare inputs. You stop asking the model to invent things and start giving it the constraints it needs to succeed.
Building a Strong Starting Image
The quality of your output begins with the quality of your input. A blurry, poorly composed starting image will not become a crisp cinematic clip, no matter how powerful the model is. Treat the first frame like a photograph you intend to publish.
Aim for high resolution and clean edges. Faces, hands, and text are the areas where artifacts are most visible, so review them closely before you animate. If the image has a watermark, a logo, or a busy background, the model will carry those problems into every subsequent frame.
Composition matters as much as cleanliness. Leave room for motion. A subject frozen dead-center with no negative space gives the model nowhere to move. Think about where the subject could travel within the frame and what the camera might do — a slow push-in, a pan, a subtle parallax. If you already know the motion you want, compose the frame as if that motion were about to begin.
Lighting is another decision that gets locked in. Strong directional light gives the model clear signals about shadows and depth. Flat, even lighting is safer but often produces less dramatic results. If your goal is a cinematic look, choose an image with visible contrast between light and shadow.
Finally, keep a small library of tested starting frames. When you find an image that reliably produces great motion, save it alongside the prompt and settings you used. Over time, this becomes a personal style kit that makes every future project faster.
Choosing the Right Model for the Job
There is no single best model, only models that fit different jobs. Learning to match the tool to the task is the skill that separates casual users from consistent producers.
For photorealistic product shots and advertising work, look for models with strong physical realism. They handle fabric, liquids, and reflections convincingly, which matters when the final video is meant to sell something real. For character-driven animation and stylized work, a model trained on illustrative data will preserve your aesthetic better than a photorealism specialist.
Speed is the second axis. Some models generate a short clip in under a minute; others take several. If you are iterating on a concept, a fast model lets you test many directions before committing. If you are rendering the final hero shot, the extra minutes of a high-fidelity model are worth the wait.
Cost is the third axis, and it works like any other production budget. Your highest-value renders deserve the premium tier; your rough drafts and internal tests do not. A smart workflow assigns models by value, not by habit. Use the cheap and fast option to explore, then spend on the model that will actually reach the audience.
A practical way to start: pick two models and learn them deeply. One fast model for iteration and one high-quality model for finals. Master their quirks, prompting styles, and failure modes. You will get better results from two well-understood tools than from ten tools you barely know.
Directing Motion with Your Prompt
Once the image is set, the prompt becomes your director's notes. The model is no longer inventing a scene; it is interpreting how that scene should move.
Be specific about motion verbs and camera language. Instead of "a woman walks," write "the woman turns her head toward the window, then smiles softly." Instead of "camera movement," write "slow dolly-in with a slight focus shift from the background to the subject." Models trained on film terminology respond well to precise camera language because their training data contains captioned footage and cinematography references.
Describe the physics you expect to see. Mention wind in the hair, fabric settling after movement, or the way light catches a surface as the camera angle changes. These micro-details are what separate a clip that feels alive from one that feels like a filtered slideshow.
Keep the prompt focused on the first few seconds. Image-to-video models are better at short, coherent bursts of action than at multi-scene epics. If you need a longer sequence, generate several short clips and edit them together. Trying to cram a full narrative into one generation usually produces muddled motion.
Negative prompts, when supported, are equally useful. Listing what you do not want — morphing faces, extra fingers, warped text — guides the model away from its most common failure modes.
Keeping Characters and Scenes Consistent
The most common reason a multi-shot project looks amateurish is drift: the character's face changes between shots, the lighting shifts, the wardrobe mutates. Consistency is the difference between a collection of clips and a film.
The strongest tool is the multi-reference approach. Feed the same character sheet, the same costume image, or the same location photo into every generation. Each clip then shares the same visual anchors, and the model has less freedom to invent a new face or outfit. This is the same principle that animation studios use with model sheets, applied to AI pipelines.
Locking keyframes helps with continuity across shots. If shot two must begin exactly where shot one ended, generate them as a chain: the final frame of the first clip becomes the starting frame of the second. Many modern tools support this handoff directly, and it eliminates the biggest visible seam in multi-shot editing.
Keep a written style sheet for every project. Record the character description, palette, lens choice, and mood in one document. Paste the relevant parts into every prompt. This sounds simple, but it is the discipline that keeps a ten-clip project looking like one coherent piece of work.
Advanced Techniques: Physics, Camera Language, and Storyboards
Once the basics are solid, the interesting work begins. Complex physics — hair, cloth, smoke, water — rewards models with specialized training and careful prompting. Break the effect into its components and describe each one. For a dress in the wind, name the fabric's weight and the wind's direction. For water, describe the surface state before you describe the splash.
Storyboarding becomes a practical tool rather than an art-school ritual. Sketch or generate a few keyframes for the shots you need: opening, middle, and closing. Use image-to-video on each keyframe and then assemble the sequence. The keyframes guarantee that the overall arc of the scene is right even if individual clips need retries.
Camera language deserves its own vocabulary. Masters, medium shots, close-ups, low angles, tracking shots, and rack focuses all communicate meaning. Decide what each shot should feel like before you generate it, then write the camera move into the prompt explicitly. Consistent camera grammar across shots is one of the fastest ways to make AI footage feel professionally directed.
Fitting Image-to-Video into a Real Production Pipeline
Image-to-video is not a replacement for an editing workflow; it is a new source of footage inside one. Plan for it like any other asset pipeline.
Start with a naming convention for your clips and the prompts that produced them. When a client asks for a revision six weeks later, you need to know exactly which model, settings, and input frame made that shot. A simple spreadsheet or project folder structure saves hours of archaeology.
Batch your iterations. Generate multiple variations of a shot in parallel rather than one at a time, then pick the winner. The marginal cost of extra candidates is low, and the quality of the best pick rises with every additional option.
Schedule the expensive renders. High-fidelity generations are slow and can queue up during busy periods. Do your fast drafts during the day and launch the final renders before a break. Treating compute like a production resource, with a queue and a budget, keeps costs predictable.
Keep humans in the loop for the decisions that matter. AI can propose a hundred takes; a human editor still chooses the one that serves the story. The pipeline should accelerate that choice, not remove it.
Common Pitfalls and How to Fix Them
The most frequent mistake is starting with a weak image. Blurry input, busy backgrounds, and awkward compositions produce bad motion, and no prompt can fully rescue them. Fix the input first.
Over-prompting is the second classic failure. A paragraph-long prompt packed with contradictory instructions confuses the model. Trim to the essential motion, camera, and mood, and let the model breathe.
Ignoring the platform's negative-prompt and seed controls wastes effort. Seeds give you reproducible results for iterative refinement; negative prompts remove the artifacts you already know the model produces. Use both.
Finally, don't judge a model on one generation. Every model has variance. Generate a handful of clips before you decide a tool is good or bad, and compare them on the same input so the comparison is fair.
Frequently Asked Questions
How many frames or seconds can image-to-video models generate at once? Most models produce short clips, usually a few seconds. For longer scenes, generate multiple clips and connect them using the previous final frame as the next starting frame.
Do I need a powerful computer to run image-to-video models? No. Most modern tools run in the cloud, so your local hardware only needs a browser. Local open-source models exist, but they require a serious GPU and are not necessary to get started.
Can I use the same starting image with different models? Yes, and it is a great way to compare models. Keep the input fixed and vary only the model and prompt to see which tool matches your style.
Is image-to-video better than text-to-video? Neither is universally better. Image-to-video gives you more control over the first frame; text-to-video is faster when you are still exploring ideas. Most professional workflows use both.
How do I avoid the "AI look"? The AI look usually comes from generic prompts and inconsistent lighting. Lock your style with a strong starting image, consistent references, and precise camera language, and the output will look deliberate rather than generated.
