

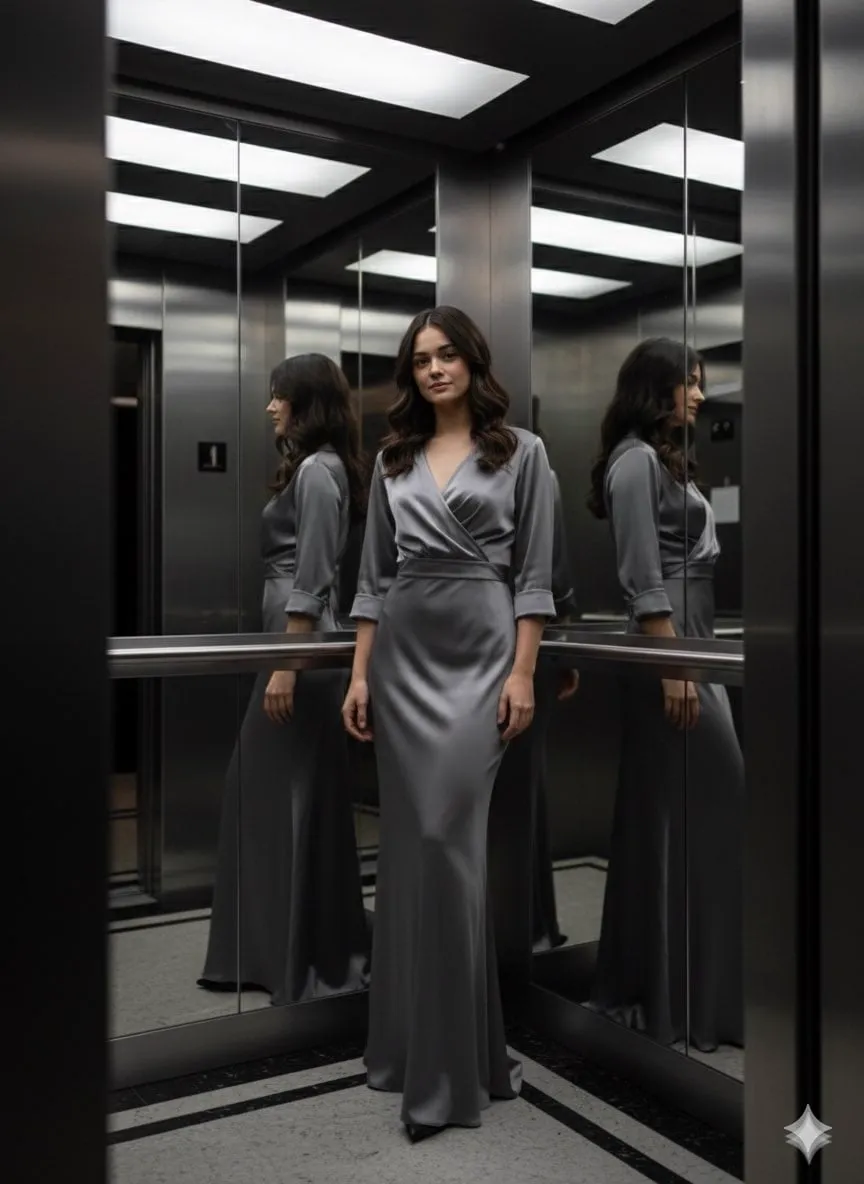

If you have ever wanted to make a still image move, you have more options now than ever before. The difficulty is no longer finding a tool; it is choosing among them. Every tool promises motion, but they differ sharply in how realistic the motion looks, how much control you have over it, and how long you wait for a result. This article gives you a practical framework for comparing image-to-video tools so you can pick the one that fits your images, your style, and your budget.
The good news is that the decision is manageable if you break it into a few clear questions.
What Image-to-Video Actually Needs to Do
At its most basic, an image-to-video tool takes one image, an optional prompt, and produces a short moving clip. But the useful ones do more than that.
Turn a Flat Image Into Plausible Life
The core job is making what is static feel alive: a breeze moves a curtain, a subject glances up, light shifts across a room. The motion has to look physical, not rubbery. This is the single most important quality, and it varies a lot between tools.
Respect What Must Stay Still
Equally important is restraint. A good tool moves only what should move. If you want a camera slow-zoom over a still product, the product should not sag and wobble. Control over what animates is a key differentiator.
Let You Direct the Camera
Beyond subject motion, the ability to move the camera is what gives a clip production value. Push-ins, pans, and gentle orbits turn a static frame into something a viewer leans into.
The Comparison Framework
Stop comparing feature lists and compare results. Use these four lenses.
Fidelity: Does It Look Like Your Image?
Generate a clip and ask whether it looks like a natural evolution of your image or a cheap approximation. Does it keep the texture, the light, the grain? Premium tools preserve these; budget tools flatten them. Test with your real images, not with sample content.
Control: Can You Direct the Motion?
Can you specify camera movement separately from subject movement? Can you lock a region so it does not animate? Control is what separates a directed clip from a dice roll. Try changing one variable in the prompt and see whether the output actually obeys.
Consistency: Does It Hold Across Shots and Characters?
If you generate several clips from the same character, does it stay one person? Multi-image reference support is the feature that makes identity hold. For anyone doing recurring characters or brand assets, this is decisive.
Turnaround and Cost: Can You Actually Use It at Volume?
Some tools render in seconds; others take minutes per clip. Understand the cost of the modes you would really use, not just the demo price. A tool that is technically best is useless if it cannot meet your deadlines or your budget.
Setting Up a Side-by-Side Test
Do not choose on reputation. Run a controlled test.
Pick One Representative Image
Use an image from your actual workflow, whether that is a product shot, a portrait, or concept art. This is the only fair test; every tool is gifted at its own demo assets.
Write One Standard Prompt
Reuse the same prompt across every tool. Describe the motion, the camera, and the mood identically. This isolates the tool as the only variable.
Compare on Four Levels
- The opening frame: does it match your image?
- The motion quality: does it look physical?
- The end frame: does it drift or hold?
- The turnaround: how long did each take?
A spreadsheet with these notes makes the winner obvious, and it gives you a reference you can trust later.
Matching the Tool to Your Work
Different work calls for different tools. A framework helps you sort this out.
For Product and Commercial Work
Prioritize fidelity and control. A client will notice a wobbly product instantly. Spend on a tool with strong camera control and reference support, and test with the exact products you ship.
For Social and Short-Form Video
Optimize for speed and volume. A fast tool you can batch through beats a slow premium tool when you are producing daily clips. Keep a premium pass for the hero shots that open each video.
For Character-Driven Stories
Make consistency the top criterion. You need a tool that reliably holds identity across many shots. Build a reference set of the character and feed it into every generation.
For Quick Concepts and Mood Boards
Anything works, because the output is provisional. Use the cheapest, fastest option and let it be ugly. The point is exploring directions, not shipping.
The Workflow That Gets the Most Out of Any Tool
Whichever tool you choose, this routine keeps output coherent.
Curate the Start Image Carefully
The image is the floor for quality. High resolution, clean subject, good light. A bad start image cannot be rescued by a great tool.
Declare One Motion per Clip
Give each clip a single primary motion. A face turning. A camera push-in. A fabric ripple. Multiple simultaneous motions are where models fail.
Set a Style Anchor Once
Decide the palette and mood once and reuse it across the project. Consistency across clips is built by shared anchors, not by hope.
Generate One Reference Version of Your Character
Before the real shots, produce a canonical version of your character from your strongest reference. Use that canonical output as the reference for everything else. It locks identity tight.
Batch, Then Select
Generate several takes of each shot and choose the strongest. Selection, not generation, is where taste lives. Keep the clips that feel right for the story.
Common Mistakes to Avoid
Chasing the Newest Model Every Week
New models are tempting, but every switch erases some of your hard-won workflow muscle. Master a tool for a project before judging it against the hype.
Ignoring the Commercial Terms
Before shipping client work, read the licensing of your chosen tools and confirm your rights over your input images. This is a legal line, not a detail.
Confusing Speed With Quality Control
A fast tool does not remove the need to review. Faster generation means more bad clips to filter, not fewer. Keep the review step in the loop.
Letting Volume Drive the Story
It is easy to ship many mediocre loops. Protect a bar for what goes out. One strong clip that serves the story beats ten that merely move.
Frequently Asked Questions
What is the most important thing to test?
Fidelity on your own image. If the tool turns your image into something unrecognizable, nothing else matters. That is the first test, always.
How long should generated clips be?
Most tools output a few seconds. Treat them as shots and assemble a sequence in an editor. Short shots assembled by hand deliver the most reliable results.
Do I need one tool or several?
Start with one and learn it well. Add a second only when a real project demands a capability the first clearly lacks. Depth beats spread.
Can I use image-to-video for client work?
Yes, when the tool's terms allow commercial use and you hold rights over the source image. Confirm both before delivering anything.
Final Thoughts
Choosing an image-to-video tool is less about finding the magical one and more about applying a clear framework: test on your own images, weigh fidelity and control and consistency and cost, and match the tool to the type of work you actually do. Do that, and the choice becomes obvious rather than overwhelming.
The tools will keep changing, but the craft will not. Curate strong images, declare single motions, lock your references, and review with taste. Master those habits and any good tool in front of you will produce work you are proud to share.
Building a Routine That Survives Tool Changes
Tools come and go, but a dependable routine keeps your output consistent no matter which model is under the hood. Worth encoding are a few habits that translate across any image-to-video product.
Keep a Shot-by-Shot Plan
Write the beats before you generate. Six to ten shots for a short piece, each with a clear function. A written plan prevents wandering and makes a batch easy to run unattended.
Freeze the Reference Set First
Decide the character, palette, and mood once, before any generation. Locking these up front is the highest-leverage move for consistency, whatever tool you use. Change the tool freely; never change the references mid-production.
Review the Sequence, Not the Clips
Judge batches against the plan and in sequence, not one clip at a time. A clip that is impressive alone but breaks the flow is a failure. Sequence-level thinking is what separates accidental output from deliberate work.
Keep a Decision Log
Note which model won which job and why. Over a few projects this log becomes a personal guide that protects you from re-learning the same lessons with every new tool.
A Deeper Look at Fidelity: Realism Versus Style
Fidelity is not one thing. Understanding the two distinct kinds of fidelity saves you from choosing the wrong tool for a project.
Photoreal Fidelity
This is the ability to render skin, glass, fabric, and light convincingly, like a camera might have captured it. It matters for products, portraits, and any content where being mistaken for real footage is a strength. It is also the hardest to sustain over long motion, so short photoreal shots usually work best.
Stylistic Fidelity
This is the ability to match a chosen look, an illustration aesthetic, a flat-design language, a painterly mood. Some projects need consistency with an established style more than they need realism. A model that renders convincing detail but the wrong style is a poor choice for that job.
Decide which fidelity matters before you test. A vague "does it look good?" question often misleads; "does it look like our image's kind of truth?" points to the right tool every time.
The Downstream: Rights and Deliverables
Before you hand over the first animated clip, settle the practical questions that trip people up.
Clarify Rights Early
Read the use terms of the tools you rely on and confirm your rights over the input images. For client work, make this an active, documented step rather than an assumption. It protects you and your client.
Deliver in the Right Format
Ask where the final clip will live, vertical, square, or widescreen, and generate in that aspect ratio from the start. Regenerating to fix a format wastes time and can cost you the natural framing the first pass gets right.
Keep Raw and Processed Versions
Hold onto both the raw generated take and your edited version. If a model or tool changes or disappears, the raw take is what you can re-process. Versioning your assets protects long-running projects.
Frequently Asked Questions, Continued
What if every tool in my shortlist looks similar?
Then the differences live in the margins of control and turnaround, not the headline demos. Run a stress test: a fast camera move, a detailed face, a busy pattern. The tool that holds those details under strain is the real winner, even if the glossy demo looked the same.
Can image-to-video replace commissioned animation?
Not for rich, bespoke animation. It is excellent for giving stills life quickly and cheaply, but full character animation with expressive turns still rewards skilled artists. Use each where it is strongest, and combine them when the budget allows.
How do I keep up without burning out on comparisons?
You do not need to test every release. Keep your framework, run a quick benchmark on candidates that seem materially better, and switch only when a real project justifies it. Curiosity is fine; constant churn is not.
A Simple Scoring Sheet
After each test, record: fidelity on your image, control over motion, consistency across shots, turnaround, and cost to actually run. A one-row-per-tool sheet makes the winner obvious and removes the emotion from the choice. Over time it becomes a valuable reference you can trust without re-testing what you already know.
Final Word
Choosing an image-to-video tool is a decision you make with a framework, not a feeling. Test on your own images, weigh fidelity, control, consistency, and cost, and match the tool to the kind of work you actually do. Add a plan, frozen references, and a decision log, and the tool you pick will carry you through both the easy days and the demanding ones.
The field will keep changing, but the habits that win are stable. Curate strong images, declare single motions, lock your references, and review with taste. Master those, and you will be able to pick up almost any image-to-video tool and make it sing for you, whichever one arrives next.
