
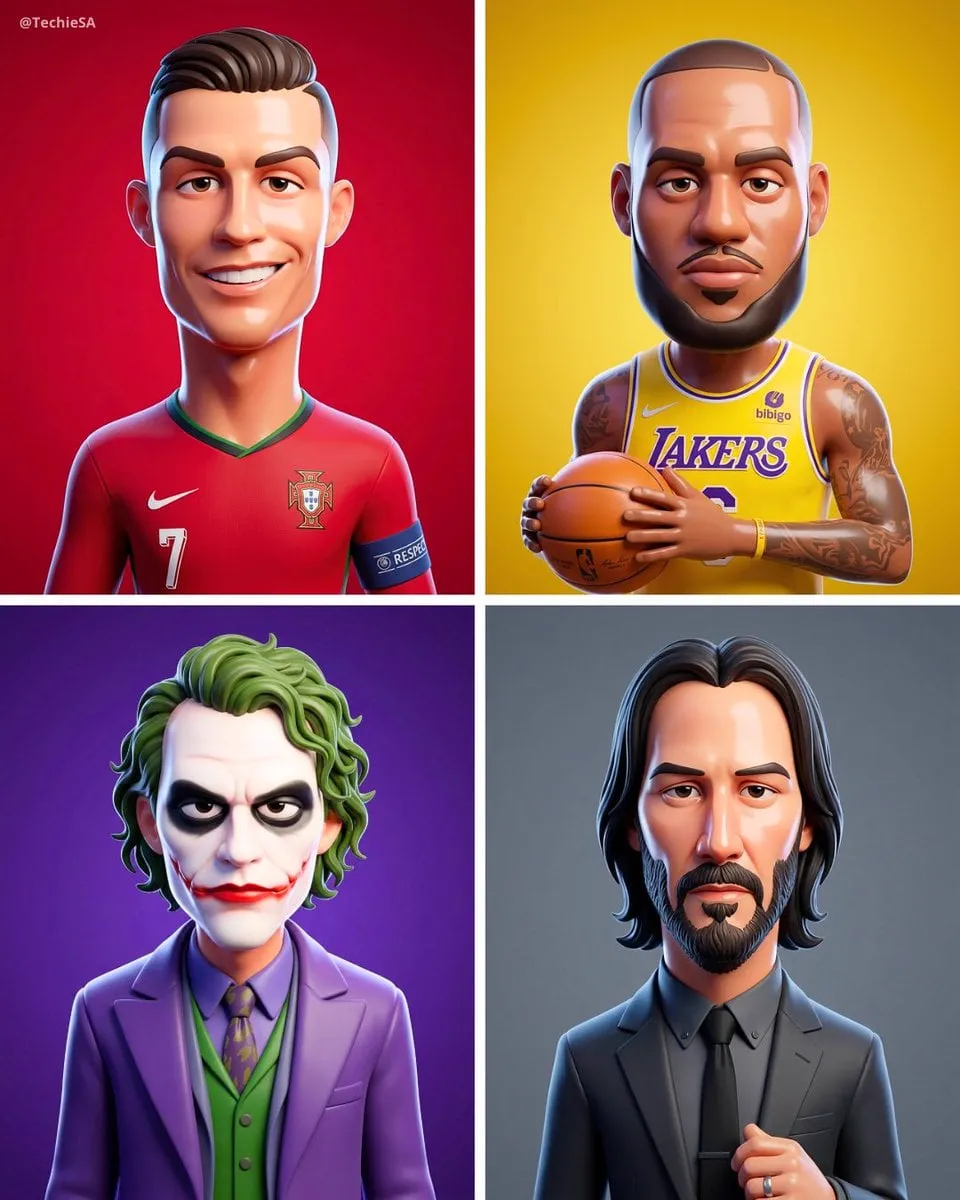

There is a moment that happens with almost every AI video tool: you upload a photograph, and a few seconds later the image moves. The eyes blink, the hair shifts, the camera glides, and a static memory becomes something closer to a film. Turning still images into video is one of the most practical, and most impressive, applications of generative AI. It takes assets you already have, product photos, portraits, brand imagery, and gives them motion. This guide explains how photo-to-video AI works, which tools and models to consider, and how to build a repeatable workflow that produces consistent, high-quality results.
Why Photo-to-Video Is the Smartest Entry Point into AI Video
Video generation from text is powerful but unpredictable. A text prompt leaves enormous room for interpretation, and the result can drift far from what you imagined. Photo-to-video starts from a concrete anchor: an existing image. The model knows what the subject looks like, what the lighting is, and what the composition should be. Its job is to add motion, not to invent a scene from nothing.
That constraint makes photo-to-video dramatically more reliable. It is the difference between asking someone to imagine a person and asking them to animate a specific photograph of that person. For brands, this is huge: the product in the video is the actual product, not a model's approximation of it.
The practical use cases are everywhere. E-commerce teams animate product shots for ads. Marketers turn event photos into social videos. Families animate old photographs. Artists bring their illustrations to life. Agencies create motion from client-provided assets. In every case, the workflow is the same and the results are far more predictable than text-to-video.
How the Technology Works
Photo-to-video models are built on the same generative foundation as text-to-video systems, typically diffusion-based architectures, but they are conditioned on the input image rather than on a text description alone.
The model analyzes the source image: the subject, the background, the depth, the lighting, and the likely motion of different elements. It then generates a sequence of frames that continues from that starting point. Modern models add physics awareness, so hair moves naturally, fabric ripples, and water reflects correctly, and they can simulate camera motion such as pans, zooms, and dollies around the scene.
The quality of the result depends on three factors: the quality and clarity of the source image, the capabilities of the model, and the prompt or settings that guide the motion. Get all three right, and the output looks professional. Get any one wrong, and the result shows it.
Understanding the Model Landscape
The AI video space moves quickly, but a few model families have established distinct strengths. Knowing them helps you match the tool to the job.
Photorealistic and High-Fidelity Models
For product content, brand films, and realistic scenes, photorealistic models are the standard. They excel at preserving fine detail, maintaining stable lighting, and generating motion that matches real-world physics. The Flux family, for instance, is known for strong prompt adherence and photorealistic output, which makes it a solid choice for premium product videos where accuracy matters more than style.
Motion and Dynamics Specialists
Some models are built around dynamic movement and cinematic camera work. These are the tools to reach for when the goal is dramatic motion, fast action, or complex camera paths. They tend to produce more energetic results, at the cost of slightly less control over fine detail.
International and Multimodal Options
The best-known Western models are not the only players. Several strong models come from international developers and each brings its own specialty. Some are particularly good at prompt adherence, others at stylized or animated output, and others at fast generation speeds. The practical point is to evaluate models on the specific task you care about, not on general reputation. A model that excels at stylized animation may be a poor fit for photorealistic product footage, and vice versa.
The Role of an AI Director Layer
The most useful development in recent tools is the addition of a direction layer on top of raw generation. Instead of writing a single prompt and hoping, you work with an assistant that helps you plan the camera moves, structure the sequence, and keep the subject consistent across multiple shots. This turns photo-to-video from a one-shot generator into a production workflow, which is what you actually need for anything beyond a single experiment.
A Repeatable Workflow for Photo-to-Video
Step 1: Prepare the Source Image
The source image determines the ceiling of the output. Use the highest resolution version you have, and make sure the subject is sharp, well-lit, and clearly separated from the background.
For product shots, a clean background with even lighting gives the model the best starting point. For portraits, a sharp focus on the face matters most. If the source image is blurry or low-contrast, fix it before you start; no model can invent detail that is not there.
Step 2: Define the Motion Intent
Decide what should move and how. The motion intent can be a text description, such as "camera slowly pushes in while the subject turns toward the window," or it can be expressed through settings that control camera path and motion strength.
Be specific about the camera: a slow dolly, a subtle zoom, a sweeping pan, or a handheld feel. Each reads differently. And be specific about the subject motion: a blink, a gesture, a walk, or a product rotating. The clearer the intent, the fewer retries you will need.
Step 3: Choose the Model for the Job
Match the model to the task. Photorealistic model for product realism, dynamic model for action and energy, stylized model for animation. When in doubt, run the same source image and motion intent through two different models and compare. The winner will usually be obvious.
Step 4: Generate and Review Iteratively
Generate a first pass and review it critically. Check for the three classic failure modes: subject distortion, where the subject changes appearance or shape; motion artifacts, where the physics look wrong; and camera instability, where the frame jumps instead of gliding.
Request changes on the specific elements that failed rather than regenerating from scratch. Many tools support inpainting or targeted re-generation, which saves time and keeps the parts that already work.
Step 5: Preserve Consistency Across a Series
If your project involves multiple shots, a product line, or a longer sequence, consistency is the priority. Use the same subject reference image for every shot, keep the same style and lighting settings, and review the shots together as a set, not one at a time.
The most common failure in multi-shot projects is style drift: the first shot looks warm and bright, the third looks cool and dark. Lock your settings after the first approved shot and reuse them for everything else.
Advanced Techniques Worth Knowing
Camera Motion as a Storytelling Tool
The camera move is not decoration, it is meaning. A slow push-in creates intimacy. A pull-back reveals context. A lateral tracking shot builds energy. When you plan your photo-to-video projects, decide what each camera move is doing for the story, and you will automatically produce more intentional results.
Motion Strength Control
Most tools let you control how much motion is applied. Low motion strength produces subtle, realistic movement, perfect for premium product content. High motion strength produces dramatic movement, but it also increases the risk of artifacts. Start low and increase only when the scene calls for it.
Combining Multiple Source Images
Some workflows benefit from multiple input images: a product shot for the subject and a location shot for the background, or a series of frames that the model uses to keep a character consistent across a longer scene. Multi-image conditioning is one of the most reliable ways to get consistent characters and scenes in AI video.
Text-to-Video vs Photo-to-Video: When to Use Which
The two approaches serve different jobs, and the most effective teams use both deliberately.
Use photo-to-video when the subject already exists: a product, a person, a location, or a brand asset. The image anchor gives you control over what the viewer sees, which is essential for anything commercial. The output is predictable because the model is animating a known subject, not inventing one.
Use text-to-video when the scene cannot be photographed: an alien landscape, a historical moment, a concept that exists only in the imagination. The trade-off is control. Text generation is more creative but less predictable, and the subject may drift from what you envisioned.
For most marketing work, the ratio tilts heavily toward photo-to-video. Start from real assets, add motion, and reserve text-to-video for the moments that need invention. This keeps the brand consistent and the output dependable.
Chaining Clips into Longer Videos
A single photo-to-video generation typically produces a short clip, and many projects need more than that. The technique for longer videos is chaining: generate a sequence of clips and assemble them into a coherent piece.
The rules of chaining are the same as the rules of editing. Each clip should continue the motion of the previous one rather than restarting it. The subject, lighting, and style must stay consistent across the boundary. And the sequence must have a reason to exist: a narrative arc, a demonstration flow, or a visual progression, not just a list of clips.
Start each new clip from the last frame of the previous one whenever the tool supports it. This gives the model a concrete starting point and dramatically improves continuity. Then treat the assembled sequence as a rough cut and review it as a whole. The seams are where quality is won or lost.
Common Mistakes to Avoid
Using low-quality source images. Blurry input gives blurry output. Invest time in the source asset; it is the cheapest quality upgrade available.
Asking for too much motion. Every element does not need to move. In most successful AI videos, the camera moves and the subject moves subtly. Restraint reduces artifacts and looks more professional.
Ignoring the aspect ratio. Decide where the video will live before you generate. Vertical for short-form platforms, horizontal for YouTube and web, square for feeds. Generate in the right format from the start.
Skipping the review pass. AI video is good, but it is not flawless. Watch every output before it ships, especially for faces, text, and logos, where errors are most visible and most damaging.
Frequently Asked Questions
How long can a photo-to-video clip be? Most models generate short clips, typically a few seconds to around ten seconds. Longer videos are built by chaining clips, with careful attention to consistency between segments.
Can I animate any photo? Almost any clear, well-lit photo can be animated. Photos with motion blur, heavy shadows, or cluttered backgrounds produce weaker results. Clean up the image first.
Is photo-to-video better than text-to-video? For most real-world projects, yes. The image anchor gives you control over the subject and composition that text prompts cannot match. Text-to-video remains useful for scenes you cannot photograph.
Do I need a powerful computer? No. Almost all photo-to-video tools run in the cloud. You need a decent connection and a browser, not a workstation.
Final Thoughts
Photo-to-video AI is the practical entry point into the world of generative video. It is reliable enough for real work, powerful enough to impress, and easy enough to learn in an afternoon. The workflow is simple: prepare a strong source image, define the motion intent, pick the right model, and review the results critically.
The teams and creators who get the most out of this technology treat it as a production tool, not a toy. They lock their settings, keep their subjects consistent, and review every output before it ships. Do that, and the static assets you already own become a library of moving content, ready for ads, social posts, and stories that actually move people.
A final practical tip: keep a style sheet for your photo-to-video work. Note the source image, the model, the motion intent, the settings, and the result for every project you complete. Within a few weeks, this sheet becomes the fastest way to start a new job, because you can reach for a proven configuration instead of experimenting from scratch. The teams that build this small habit consistently produce better work in less time, and they are the ones who turn a promising technology into a durable competitive advantage.
