
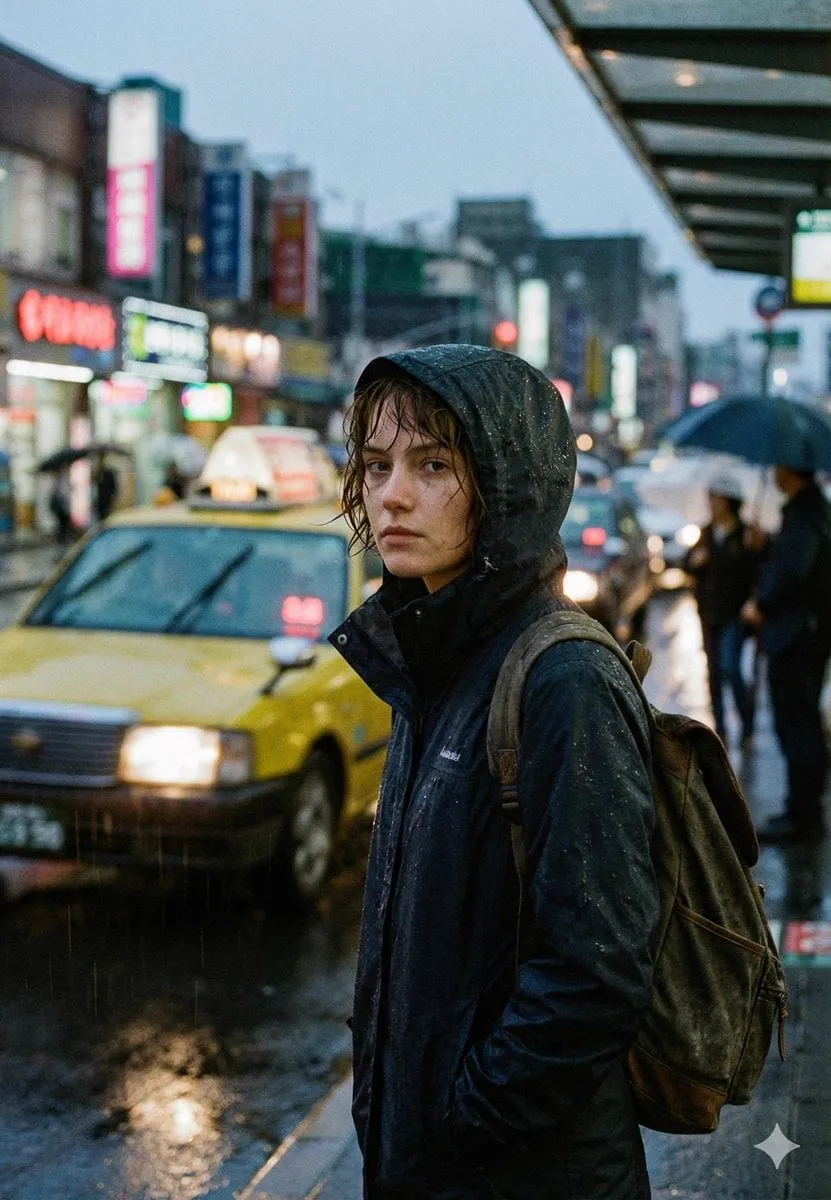
The moment a photo stops being a photo
Every photographer knows the feeling: you have a good image, technically clean, well composed — but it sits there, static, doing nothing. The moment it comes alive is when it becomes part of a story: the light shifts, the subject moves, the camera glides, and the still image turns into a frame from a film. That transformation used to be the exclusive domain of high-budget studios with expensive equipment and specialized teams. Today, AI pixel-level processing has put that capability in the hands of anyone with a decent computer and a willingness to learn.
The core idea is deceptively simple. Instead of treating your photo as a finished product, you treat it as the first frame of a scene. AI models analyze the image down to the pixel level — the textures, the lighting, the depth, the shapes — and reconstruct it into a sequence of frames that form a moving image. The photo does not get filtered or animated in the cheap sense of a slideshow pan. It gets rebuilt, frame by frame, into something that behaves like real footage.
This is not upscaling, and it is not a filter. It is a semantic reconstruction: the model understands what the image shows and generates plausible motion around it. A portrait can turn its head. A landscape can have its clouds drift. A city street can feel the camera push forward into it. The results vary wildly in quality depending on the tools and the method — which is exactly what this guide is about.
What pixel-level processing actually means
When AI works on an image, it operates on pixels, but not the way a classic image editor does. A classic editor adjusts color values and applies filters uniformly. A generative model builds an internal understanding of the scene: this region is a face, this is hair, this is a wall, this is sky, this object is closer, that one is farther. It reconstructs the image from that understanding, and in doing so it can generate details that were never explicitly in the source photo.
This is why the same photo can produce dramatically different results depending on the model and the settings. One model might interpret a blurry background as atmospheric depth and preserve it; another might try to sharpen it into something unnatural. One model might keep the subject frozen while the camera moves; another might animate the subject itself. Understanding these tendencies is the first step to controlling the output instead of gambling with it.
The practical implication: your source image matters enormously. A well-exposed, sharp, clearly composed photo gives the model clean information to work with. A noisy, dark, ambiguous photo forces the model to guess, and guesses produce artifacts. The professionals who get consistently good results spend real time on image preparation — cleaning up, cropping, fixing obvious flaws — before they ever ask the model to move anything.
Why consistency is the real challenge
The hardest problem in turning a photo into a scene is not generating motion. It is keeping everything recognizable while the motion happens. The subject's face must stay the same face. The jacket must stay the same jacket. The building in the background must stay the same building. Viewers are brutally sensitive to these details: a face that morphs mid-scene destroys the illusion instantly, even if they cannot articulate exactly what felt wrong.
This is where multi-image fusion comes in. Instead of giving the model a single reference image, you give it several: a front view, a side view, a full-body shot, a detail of the costume. The model consolidates these into a stable representation of the subject, then uses that representation when generating the moving scene. The result is a character that stays recognizably itself even as it moves, turns, and changes expression.
Keyframe control complements this. You define specific moments in the sequence that must look exactly as you specify: frame one shows the subject standing at the door, frame twenty shows them at the window. The model generates the in-between motion, but it is anchored to your fixed points. This technique turns generation from a lottery into a planning process. You decide the beats; the model fills the movement between them.
A practical workflow: from still to scene
Let me walk you through a realistic project: taking a single portrait and turning it into a short cinematic clip. This is the workflow I recommend to anyone starting out.
Step one: prepare the source. Choose a sharp, well-lit image. If it has obvious flaws — distorted hands, odd eyes, unwanted objects — fix them in an editor first. The model will faithfully preserve your mistakes into every generated frame, so clean up before you generate.
Step two: build references. Create two or three additional views of the same subject or location. These become the consistency anchors for the whole scene. This step feels optional to beginners; it is the step that separates good results from unusable ones.
Step three: plan the motion. Decide what should happen. A subtle camera push? A head turn? A slow walk toward the lens? The more specific your motion description — direction, speed, intensity — the more predictable the result.
Step four: set the keyframes. For a scene with multiple phases, define one keyframe per phase. The first keyframe is your source image; the later ones show the intended end states. Then let the model compute the transitions.
Step five: generate and inspect. Watch the result frame by frame. Look for sudden shape changes, flickering details, unnatural acceleration. When you find problems, tighten the keyframes or rephrase the motion description, then regenerate.
Step six: finish. Trim the head and tail, stabilize the image if it wobbles, and match the color to the rest of your project. Generated footage is raw material, not the final product.
Choosing models: quality, speed, and the budget trade-off
Not all video models are created equal, and the differences map directly to the classic trade-off between quality and cost. High-end rendering models produce the most detailed, most photorealistic results — the kind of texture and lighting that reads as cinematic. They are slower and more expensive per second of output. Faster models produce results quickly and cheaply, with somewhat less detail and control.
The professional approach is to use both classes deliberately. Use fast models during ideation: test compositions, motion ideas, style variations. Iterate cheaply until the direction is right. Then switch to the high-end model for the final render of the scenes that matter. The audience's attention is not evenly distributed across a video; it concentrates on the hero moments, and that is where the budget should go.
A related strategy is batch generation. When you need variations of the same scene, generate several in one pass, compare them side by side, and keep the best. This costs barely more time than a single generation and dramatically increases your odds of a great result. Combined with a library of reusable references — character sheets, location stills, style samples — this approach keeps both costs and quality under control.
Style transfer: giving the scene a visual language
Beyond motion, AI pixel processing offers a second superpower: style. The same photo can be reinterpreted as an illustration, a comic panel, a painterly scene, or a moody film still. This style transfer is not a filter that sits on top of the image; it is a full reconstruction of the content in a new visual language. The shapes stay recognizable; the rendering changes completely.
The strategic use of style transfer is unification. If you are producing a series of videos — a campaign, a music video, a mini-series — each scene is generated separately, and separately generated scenes tend to drift apart visually. Applying a consistent style to every scene before animating it creates a shared visual language that makes the whole project feel like one coherent piece. This is how AI productions achieve the "designed by one art director" look.
The caution: aggressive style transfer distorts identity. A strong style can change facial features, body proportions, and spatial relationships. The fix is moderation: apply the style at moderate intensity, check that the subject's essential characteristics survive, and increase intensity gradually until you hit the right balance between artistic expression and recognition.
Technical foundations that matter
The quality of your results is partly determined by the platform you use, and the underlying technical choices matter more than the marketing page suggests. Systems built on solid backends with modular architecture tend to handle complex multi-stage workflows more reliably — they keep assets organized, manage generation queues sensibly, and scale when you batch large numbers of jobs.
Storage and asset management are quietly important. A project with multiple scenes, references, and versions generates a lot of files, and losing track of which version belongs to which scene wastes enormous time. A system that keeps your assets organized — and lets you reuse a character sheet across many generations — pays for itself on the second project, not the tenth.
Practical advice: before committing to any tool, test it with a real project of yours, not with the showcase examples. Generate the same scene with two or three different tools and compare the results side by side. The tool that wins on your content, with your workflow, is the right tool — regardless of benchmarks, demo reels, or feature lists.
Common mistakes and how to avoid them
Mistake one: skipping image preparation. A mediocre source image produces a mediocre scene, and no amount of prompt engineering fixes it. Prepare first.
Mistake two: overloading the motion. Asking for camera movement, subject movement, and background change all at once overwhelms the model and produces artifacts. One dominant motion per section is plenty.
Mistake three: ignoring the reference library. Skipping the multi-image references because they feel like extra work guarantees characters that morph between scenes. The references are not extra work; they are the work.
Mistake four: treating generated footage as finished. Without a trim, stabilization, and color pass, even a great generation looks unfinished. The finishing steps are quick; skipping them costs you perceived quality.
Mistake five: chasing the cheapest option. Fast models are for iteration, not for hero shots. Spending resources where the audience is looking is not waste; it is the definition of a reasonable budget.
Frequently asked questions
Can I use my own photos, or does the source have to be AI-generated?
Your own photos work beautifully, often better than AI-generated images, because they contain real, consistent detail. Just make sure you have the rights to use them in whatever context you need.
How long does it take to learn this workflow?
The basics — animating a still, creating a simple camera move — are learnable in an afternoon. Reliable results with keyframes and consistency take a few weeks of practice. The learning curve is real but gentle, and every project teaches something.
Do I need an expensive computer?
Most of the heavy computation happens in the cloud, on the side of the tools you use. Your computer mainly needs to display results and handle the finishing edit, so a mid-range machine is enough to start.
Why do my results look worse than the examples in tutorials?
Because the examples are carefully prepared projects: clean source images, multiple references, planned keyframes, several iterations. The technique does not create the quality; the method does. Follow the workflow step by step and your results will catch up.
What is the best way to learn?
Pick one real project — a single portrait to a short scene — and take it all the way to a finished clip. Do not jump between tools and techniques. Completing one project end to end teaches you more than a dozen scattered experiments.
The frame that starts the film
The boundary between photography and cinema has always been motion. AI pixel-level processing does not erase that boundary; it hands you the key to cross it whenever you want. A good photo is no longer the end of a process but the beginning of one: the first frame of a scene, the anchor of a character, the seed of a style. The tools are accessible, the method is learnable, and the results — when you prepare, plan, and finish properly — are genuinely cinematic. The next time you look at a strong photo, ask not what it is, but what it could become.
