
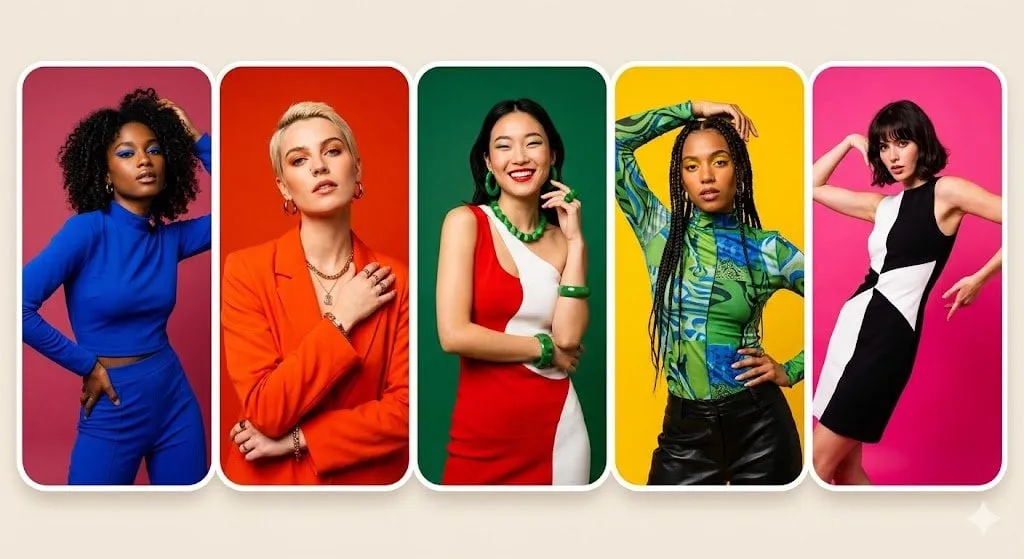
A single static image contains a thousand possible motions, but until recently, only a skilled animator could decide which one the world would see. Image-to-video AI collapses that craft into a prompt. You give the tool a photograph or artwork, describe how it should move, and it animates the frame into a clip that can feel startlingly cinematic. The technology has moved so fast that one still can now become a complete storyboard, one scene at a time.
This guide explains what image-to-video generation actually involves, walks through the controls that separate professional results from toy effects, and compares the leading tools in the space, from PixVerse to Kling, Runway, Sora, and the open-source crowd. Whether you are animating a portrait, a product shot, or a full environment, the goal is the same: turn a fixed image into motion that serves an idea rather than simply waving at it.
The Shift from Text-to-Video to Image-to-Video
Text-to-video models brought the promise of generating scenes from scratch, but they carry a hidden weakness: the character or product does not exist until the model invents it, so every new generation can reinvent it differently. Image-to-video sidesteps this with a concrete anchor.
When you supply a starting image, the model inherits the subject's actual appearance. It does not guess what your hero looks like; it has the pixels. The result is dramatically better control over identity, composition, and intent. You are no longer describing a scene in abstract terms, you are animating the specific frame you have already approved.
There is also an emotional and practical advantage for creators. An image is a commitment. You can perfect a single frame, lock the mood, and then ask the model to bring exactly that moment to life, without the instability that comes from generating freedom from a prompt.
Why this matters for production
For anyone producing content in volume, image-to-video turns a bottleneck into a pipeline. A brand's existing campaign images can be repurposed into motion content. An illustrator's artwork becomes animated scenes. A filmmaker's reference frames become animatics long before any expensive production begins. The image is the contract, and motion is the fulfillment.
PixVerse: Cinematic Control as a Starting Point
PixVerse has become a popular reference point in the image-to-video space, and one of the reasons is its focus on genuine control rather than raw spectacle. At its heart is the idea that animation should respect the director's intentions for the camera and the subject.
Its camera controls are among the most useful. Rather than leaving motion to chance, you can specify lens behavior, framing, and movement with a granularity that was once the province of professional motion graphics. A subtle push-in, a sweeping orbit, a handheld wobble, each can be expressed and applied to still images to produce footage with deliberate intent.
Cinematic lens control in practice
The distinction between a flat slide and a cinematic move is almost always the lens. A slow zoom on a product focuses attention. An arc around a character adds depth and drama. A dolly through an environment creates immersion. PixVerse treats these lens behaviors as first-class parameters, which means you can rehearse a shot the way a cinematographer would, by deciding where the audience looks and how the camera guides them there.
Multi-image references for character consistency
A single reference image animates one subject, but real scenes often contain more. PixVerse and similar tools support multiple reference images, letting you anchor a character from several angles or layer separate elements into one scene. This multi-reference behavior is what keeps a character consistent when you extend a short clip or build a sequence of shots that all need the same protagonist.
When the reference set is harmonious, the model builds a shared identity and carries it through motion. This is the technical heart of image-to-video production: it lets you generate not just one moving frame, but a coherent set of frames that read as the same person in the same world.
The Competitive Landscape: Major Image-to-Video Models
PixVerse is not alone, and understanding its neighbors makes the whole category clearer. The market splits into frontier labs, Asian specialist models, and an open-source tier, and each offers something different.
The frontier labs: Runway and Sora
The Runway line and the Sora series set the high-water mark for realism and cinematic quality. They are the tools people picture when they imagine premium AI video. Their strengths are lifelike physics, nuanced prompt understanding, and handling of long, complex sequences. For hero shots that will be seen at full quality, they are often the default choice, at the cost of higher per-generation expense and longer wait times.
Asian specialists: Kling and MiniMax Hailuo
Kling and the MiniMax Hailuo series grew up with a focus on expressive human motion and narrative realism, and they have become leaders in specific genres. Their strength is frequently natural performance, believable gesture, and the kind of subtle acting that makes a character feel alive. For character-driven storytelling, these models often surprise with how much emotional life they squeeze from a single reference.
Open source and budget: Hunyuan and Wan
The open-source tier, led by models such as the Hunyuan series and Alibaba's Wan line, offers control, privacy, and cost that commercial APIs cannot match. Running locally means no per-generation fee, full data control, and the freedom to fine-tune. The trade-off is visible quality and the burden of managing your own compute. For high-volume, experimental, or cost-sensitive work, none of the commercial options compete on economics.
How to Choose the Right Model for the Scene
With so many capable tools, the deciding factor should always be the scene, not the hype. Ask these questions before you render.
What is the shot for? A client hero and an internal draft live at different quality and budget tiers.
How much motion? Fast, complex movement stresses models. Prioritize strong temporal quality for action-heavy scenes.
Is it character work? If the same subject will appear again, favor models with robust multi-image reference and consistency.
Do you need realism or style? Match the aesthetic specialist to the look you want, from photoreal to stylized.
What is the budget and timeline? Factor in both cost and render latency, not just output quality.
Testing your shortlist
Run a controlled test. From the same reference image, generate three scenes in each candidate model and compare faces, motion, and cost side by side. A few afternoons of testing will reveal which model earns which job, and you can build a shortlist that saves time and money for every project after.
A Practical Image-to-Video Workflow
Consistent photo-grade results come from a repeatable workflow, not from individual lucky prompts.
Prepare the reference image
The quality of the output is capped by the quality of the input. Start with a clean, well-lit, high-resolution image. For character work, build a small reference set that agrees on identity across angles and expressions.
Direct the motion deliberately
Write your motion prompt to describe camera, action, and pacing, not just mood. A clear directive such as "slow orbit around the subject while dust drifts upward" gives the model a concrete job.
Draft, validate, then refine
Render a fast draft to check composition and motion, review for identity drift and errors, then render the final at full quality. Separate iteration from final production to save compute and to control quality at each stage.
Grade and composite
Bring generated clips into your editor, apply a consistent color grade, and composite with any live-action foreground. The finishing pass is what makes separate clips read as one coherent film.
Pre-Production: Preparing Images That Generate Well
The most common reason an image-to-video result fails is not the model, it is the input image. A few minutes of preparation before generation pays for itself many times over.
Start with a clean, well-exposed frame. Images that are sharp, properly lit, and high resolution give the model reliable information to work from. Grainy, dark, or heavily compressed stills force the model to invent details, which increases the chance of artifacts when they move.
Think about composition allowing motion. The best starting images leave some visual room around the subject so motion has somewhere to go. A subject cropped tight to the frame leaves no space for a push-in or a lateral move, and the result often feels cramped or jumpy.
Decide the direction of motion. Before generating, know whether the subject should move left, the camera should dolly forward, or the light should travel across the scene. A frame composed with that intent makes the requested motion feel natural rather than forced.
Test a still for its animate quality. As a rough heuristic, ask whether the image implies action: water that could ripple, fabric that could sway, hair that could move. Images full of implied motion tend to animate more convincingly than static, symmetrical compositions.
Pre-production turns generation from a gamble into a directed process. The same care you would give a photograph you intend to sell is the care you give an image you intend to move.
Directing Cinematic Motion on a Single Frame
The most impressive image-to-video results feel directed. They are not random waving, they are deliberate decisions about what the audience looks at and how the camera guides them. You can direct that on a single still.
Motivate the movement. A camera move makes sense when it has a reason. A slow push-in motivates by focusing attention on an important detail. An orbit reveals the scene from a new angle. A dolly-through creates immersion. If you can express why the camera moves, the motion will feel intentional.
Layer the kinds of motion. Strong clips combine subject motion, camera motion, and environmental motion. The subject turns, the camera drifts, and dust or leaves drift past. Layering these makes the frame feel alive in depth rather than simply animated.
Anchor with rhythm. The pacing of motion should respect the content. A calm, stately product shot moves slowly; an energetic action sequence moves fast. Matching motion energy to the subject's tone is a directorial choice that separates professional results from novelty clips.
Directing a single frame is the practical equivalent of blocking a scene before the camera rolls. Decide the intent, communicate it in the prompt, and let the model honor it.
Grading and Finishing for a Cohesive Sequence
Individual clips rarely belong together until you finish them. The finishing pass is where a set of image-to-video generations becomes a cohesive film.
Grade across the whole sequence. Apply the same color decisions to every clip. Even if the models differed slightly between shots, a unified grade pulls them into one visual world.
Match light direction. Ensure the light in foreground and background agrees. A mismatch is instantly visible and breaks the believability of a composite.
Unify the sound too. Sound is half the finish. A consistent music bed and clean effects glue clips together in a way visuals alone cannot.
Export at delivery standard. Normalize loudness and check sharpness on the device your audience will actually use, not just in the editor. A cohesive, polished deliverable is what turns individual generated clips into a finished piece you can ship.
Troubleshooting Common Image-to-Video Issues
The character changes as it moves. The reference anchor is too weak. Use a stronger multi-image set and repeat the subject's identity in the motion prompt.
Motion looks aimless or jittery. The camera or action is underspecified. Give an explicit camera move and a clear action verb rather than leaving the model to improvise.
The foreground and background feel separate. Adjust lighting to match direction across elements and add a unifying grade and shadow layer.
Output is soft or low resolution. Generate at the highest resolution your pipeline allows and apply an upscaler in finishing.
FAQ
Is image-to-video better than text-to-video? For anything with a fixed subject, yes, because the reference image gives the model an identity anchor that text cannot supply.
How many reference images do I need? Two to four harmonious images of the same subject cover most needs. More can introduce contradictions.
Do I need a powerful GPU? Only for local, open-source models. Hosted options run the compute for you in exchange for a fee.
Can I reuse a model's output across a series? Yes, especially if you keep your character sheet, palette, and camera language consistent, then re-grade in one pass.
Final Thoughts
Image-to-video has transformed the still frame from an endpoint into a beginning. With the right controls, a single approved image becomes the seed of an entire animated sequence, and the models now compete on the quality of the craft, not just the novelty of the effect. Understand the camera, respect the reference, choose the model for the scene, and build a workflow that separates drafting from finishing. The phase where animators had the field to themselves is over; the practical reason to use these tools is that they let you make exactly the motion you intend, reliably and at scale. The image is the promise, and the video is now, genuinely, what you make of it.
