
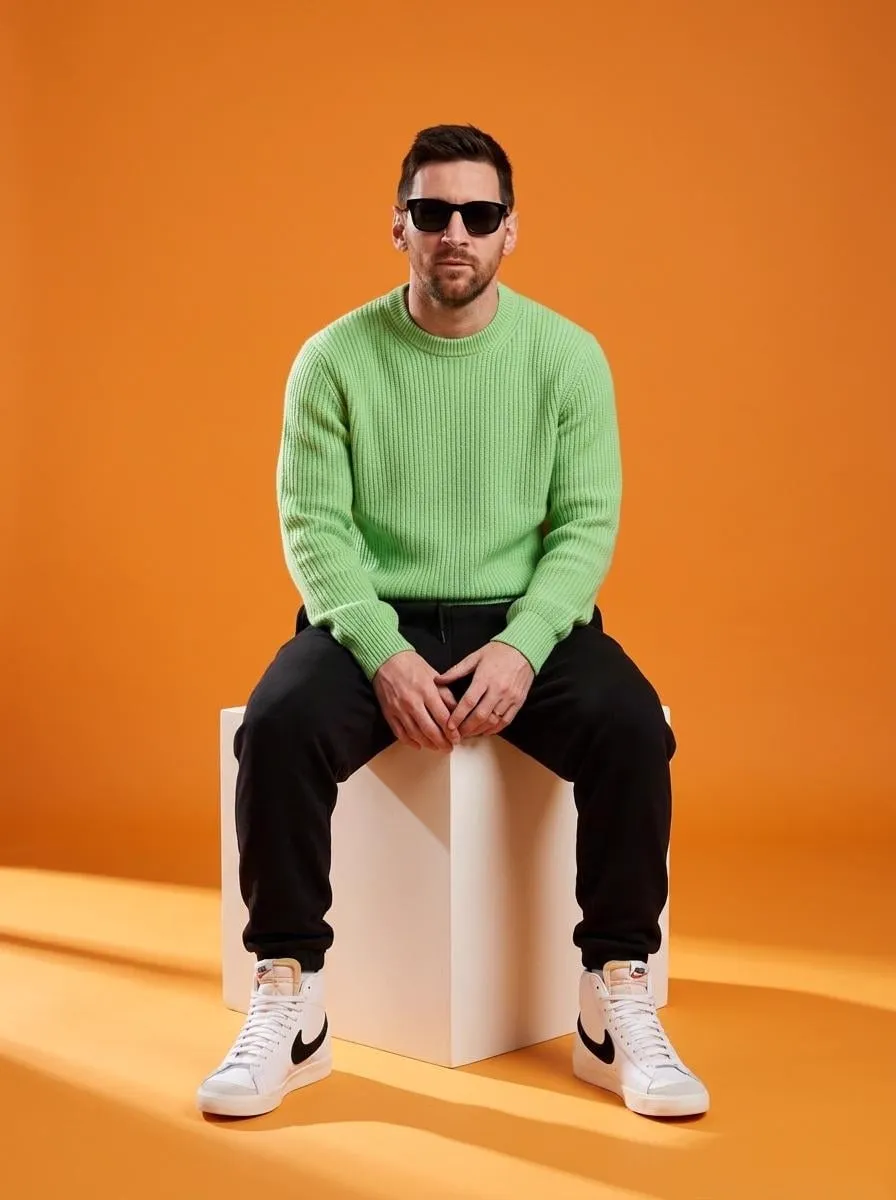
There is a moment that surprises almost everyone trying AI video for the first time: you give the tool a still image, and the image starts to move. Hair lifts in the wind. Light shifts across a face. A camera glides past a landscape that, seconds ago, was frozen. Image-to-video, or I2V, has become one of the most practical capabilities in generative media, because it starts from something the creator already controls: a picture they chose, made, or generated. This guide walks through the technology, the workflow, and the techniques that separate amateur results from professional animation, with concrete steps you can apply today.
Why image-to-video is different from text-to-video
Text-to-video asks the model to invent a world from words. Image-to-video asks it to animate a world that already exists. The difference matters more than it seems.
With an input image, you keep control over the most important creative decisions: composition, subject, style, color palette. The model's job is narrower, which means the result is more predictable. If you have a specific character, a specific product, or a specific brand look, I2V lets you animate exactly that, rather than hoping the model approximates it from a prompt.
The practical consequence is reliability. In professional workflows, reliability beats raw impressiveness. A tool that delivers the intended subject in motion, even with modest movement, is more useful than a tool that occasionally produces something stunning and often produces something random.
The technology underneath: how a still image becomes motion
Understanding the basics helps you use the tools better, so here is a compressed version.
Modern I2V systems are built on diffusion models trained on large collections of video. They learn not just what objects look like, but how they plausibly move. When you provide a still image, the model treats it as the visual anchor and generates the temporal dimension: it predicts frames that follow the image, consistent with its learned understanding of physics and motion.
Two technical ideas matter most for output quality.
The first is temporal attention. The model must consider how pixels change over time, not just within one frame. Better temporal modeling means smoother motion, fewer warping artifacts, and more natural interactions between elements.
The second is conditioning. The input image guides the generation at every step, keeping the identity of the subject stable while the scene evolves. The strength of this conditioning is usually adjustable: strong conditioning keeps the output very close to the input, while weaker conditioning allows more creative deviation. Finding the right balance for each project is one of the core skills of I2V.
Preparing your source image: the half of the work
Professionals know that a great animation starts before any generation. The source image determines the ceiling of what is possible. Invest in it.
Resolution and clarity come first. A sharp, high-resolution source gives the model more information to preserve. Upscale blurry images before you start; don't ask the model to fix what the source lacks.
Composition matters. Leave room for motion. A subject tightly cropped to the frame edges has nowhere to move. Consider the story you want: if the camera should push in, the subject needs breathing space; if the character should turn, they need a pose that can plausibly transition.
Think about motion potential. Choose images that imply action: a coat caught in the wind, a hand mid-gesture, water about to break. Static scenes can still be animated, but images with latent motion give the model an easier path to a dynamic result.
Separate foreground and background in your thinking. Backgrounds can move subtly, foreground subjects can move boldly; mixing these layers creates depth that feels expensive.
Choosing the right model for the job
The model landscape for I2V is varied, and the right choice depends on the animation you want.
For photorealistic results, use the latest generation models, which handle lighting, skin texture, and environmental realism best. For stylized animation, anime and illustration models produce results that generic models cannot match. For camera movement, some models specialize in cinematic pushes, tilts, and orbits, while others are stronger at character motion.
A useful habit is to keep a shortlist of models you know, each with a documented strength, and to match the project to the model instead of using one tool for everything. Test with small clips first: generate a short preview, evaluate the motion quality, and only then commit to the full render.
The workflow step by step
Here is a repeatable process for turning an image into professional animation.
Step one: define the motion goal. Write one sentence describing the intended movement. "A slow push-in on the character while the background blurs" is a goal; "make it move" is not.
Step two: prepare the source. Upscale, clean, and compose the image with the motion goal in mind.
Step three: craft the prompt. Describe the motion, the environment dynamics, and the camera behavior. Include negative hints for common failure modes: warping, flickering, limbs distorting.
Step four: generate a preview. Short clips are cheap; use them to validate the direction before spending budget on long renders.
Step five: iterate on parameters. Adjust motion strength, conditioning, seed, and camera settings until the preview matches your intent.
Step six: render and inspect. Watch the full clip carefully, frame by frame if needed. Look for identity drift, warping, and artifacts.
Step seven: post-produce. Clean up in editing: stabilize, color-grade, add sound design. A good animation gets noticeably better with proper finishing.
Consistency across multiple shots
The hardest problems in I2V appear when you need more than one clip: a sequence, a story, a character appearing in several scenes.
The solution is keyframe thinking. Treat your source images as anchors, and plan the sequence as a chain: each clip's output can become the next clip's input, keeping the subject stable while the scene evolves. This approach creates long sequences that stay visually consistent.
Multi-image fusion takes this further. Instead of one anchor, you provide several reference images describing the same character or style from different angles and settings. The system fuses them into a stable identity, then animates that identity across new scenes. This is the technique behind consistent characters in AI video, and it is worth learning early.
Finally, keep a style bible for your project: reference images, color grades, lighting notes. Every time you generate, anchor to the same references. Consistency is a system, not a lucky coincidence.
Managing cost and resources
I2V generation consumes compute, and costs add up fast if you generate without discipline.
Budget by stage. Spend little during exploration: short previews, low resolution when the tool allows it. Spend more once the direction is validated and you are rendering the final.
Limit iterations deliberately. The temptation is to regenerate until perfect. Instead, change one variable at a time and keep notes. You will converge faster and learn what actually matters.
Batch what you can. If several clips share a character or style, plan them together so reference data and settings are reused rather than rebuilt.
Track your effective cost per finished clip. Most creators discover that their real cost per usable second drops quickly once the workflow stabilizes, because waste disappears.
Advanced techniques worth mastering
Once the basics are solid, a few techniques elevate your work.
Motion transfer: apply a movement pattern from one clip to a new subject. Great for consistent choreography across scenes.
Camera choreography: design the clip around a camera move, then let the subject move within that frame. Camera-led sequences feel intentional and cinematic.
Element isolation: animate only the background, or only a prop, while keeping the main subject static. This creates subtle, professional depth cheaply.
Loop design: for product shots and ambient scenes, design motion that loops seamlessly, which is gold for backgrounds and website heroes.
None of these require special tools beyond what a good I2V platform offers, but they require deliberate practice. Pick one technique per project and get good at it.
Building a reusable asset library
The professionals who work fastest with I2V share a secret: they do not start from scratch. They maintain a library of reusable assets, and every project draws from it.
The core of the library is your source image collection. Every high-quality image you generate or collect becomes a candidate for animation. Organize by subject, style, and mood, and tag everything so you can find it in seconds. A good library turns a blank project into a search, and searching is faster than creating.
The second layer is your prompt and settings log. When a combination of prompt, model, and parameters produces a great clip, record it. Over time, you build a recipe book: known-good starting points for portraits, products, landscapes, and stylized animation. New projects start from a recipe instead of a guess.
The third layer is your style contract: reference images, color grades, and character sheets that define your visual identity. Consistency across projects, not just within them, is what makes a portfolio feel like a brand.
Building the library takes an upfront investment, but it pays off exponentially. The tenth project that starts from a good library will take a fraction of the time of the first, and the quality will be higher, because you are reusing your best work instead of rediscovering it.
Common mistakes and how to avoid them
The most common mistake is expecting the model to fix a bad source. It will not; it will animate the flaws. Fix the image first.
The second is over-prompting. Long, contradictory prompts confuse the model. Keep the prompt focused on motion and environment, and put appearance details in the reference image instead.
The third is ignoring the preview stage. Full renders feel like sunk cost, so people skip validation and generate everything at once. Always preview.
The fourth is inconsistency across clips. Without keyframes and references, your sequence will look like a collection of strangers. Anchor everything.
The fifth is skipping post-production. Raw generations look raw. Color grading, stabilization, and sound design are not optional polish; they are the difference between a demo and a deliverable.
Getting started with a practice project
If you are new to image-to-video, the best way to learn is a small, bounded project with a clear finish line. Choose a single subject you care about, a single motion goal, and a short target duration. Do not aim for a masterpiece; aim to complete the loop from source image to finished clip.
As you work, keep a simple log: what you tried, what the output looked like, what you changed. After two or three practice projects, the log will reveal your personal patterns, including the mistakes you repeat. That awareness is worth more than any tutorial.
Then expand the scope deliberately. Add a second shot and practice keyframe chaining. Add a character and practice consistency. Add sound design and practice finishing. Each project extends one skill rather than all of them, which keeps learning steady and frustration low.
FAQ
Can I use any image, including photos of real people?
Technically yes, but be careful. For real people, you need consent, and some platforms restrict generating likenesses. For commercial work, use your own photos or properly licensed assets.
How long does a typical animation take to generate?
It varies by model and length, from seconds for short previews to several minutes for long, high-resolution clips. Plan for iteration time, not just generation time.
Do I need a powerful computer?
No. Generation happens in the cloud. A reasonably modern computer is enough for editing and post-production.
Why does my character's face change between clips?
Identity drift is the classic I2V failure. Use keyframe chaining, multi-image fusion, and consistent references to lock the identity.
Can I make money with AI animation?
Yes, in many ways: client work, stock content, product videos, and social content. The same craft quality rules apply; treat it as a profession, and it can pay like one.
Conclusion
Image-to-video is the most controllable entry point into AI animation because it starts from your vision instead of replacing it. Master the source image, understand the model's strengths, work in previews, and manage consistency as a system. The tools are already good enough for professional work; the remaining gap is process, not technology. Build your workflow, document what works, and the distance from still image to finished animation will shrink to a routine you can repeat and sell.
