

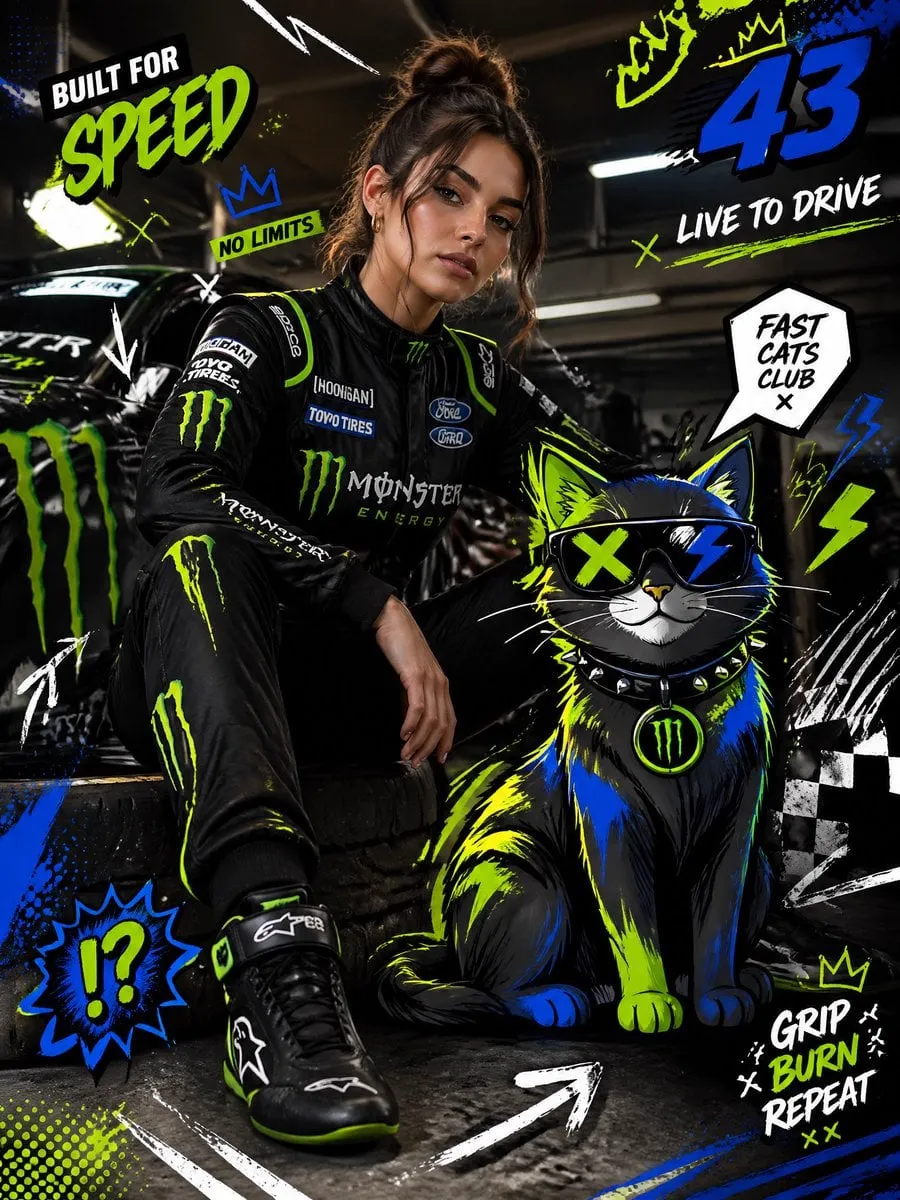

Traditional animation has always been a slow, expensive craft. A two-minute animated short can require months of work: script, storyboard, character design, modeling, rigging, animation, lighting, rendering, and a complex post-production phase. For independent creators, advertising teams, and small studios, that timeline was simply impossible to sustain at scale. Either you produced very little, or you hired a large team.
AI text-to-animation tools have rewritten the timeline. What used to take months can now take hours, and what used to require a full studio can be done by one person with a script and a computer. This guide explains how these tools work, what they can and cannot do, and how to build a production workflow that saves time without sacrificing quality. You will learn how to choose the right tool for each job, control the style of your output, and avoid the common mistakes that turn fast production into wasted effort.
Why animation was so slow before AI
The production pipeline for traditional animation is long by design. Every shot needs a storyboard, every character needs a consistent design, every movement needs to be animated frame by frame or through complex rigging systems. In 3D production, modeling, texturing, lighting, and rendering add weeks. In 2D production, the drawing workload is enormous. The result is a craft with high quality ceilings and equally high time costs.
For commercial content, this created a hard trade-off. Brands and creators had to choose between premium animation, which was expensive and slow, and cheaper formats like live-action stock footage or slideshows, which felt generic. AI text-to-animation breaks this trade-off by generating visuals directly from a description. The model handles the heavy lifting of drawing, motion, and rendering, leaving the creator to focus on story, script, and art direction.
How text-to-animation actually works
Modern AI animation tools combine several capabilities. Language models understand your script and break it into scenes and shots. Image generation models create the visual style: characters, backgrounds, and keyframes. Video generation models animate those images, adding motion to characters and cameras. Some tools go further and generate voiceover, music, and sound effects, producing a complete video from a script.
The practical workflow is usually iterative. You start with a script, the tool suggests a storyboard or scene breakdown, you adjust it, and the system generates previews for each scene. You review, refine prompts, regenerate weak shots, and assemble the final cut. The key difference from traditional animation is that iteration is measured in minutes, not days. You can test ten visual styles for a scene in an afternoon.
What to look for in a text-to-animation tool
Style control
The most important capability is style control. Animation tools differ dramatically in their default aesthetics: some excel at cartoon styles, others at anime, others at realistic or semi-realistic looks, others at specific textures like watercolor or pixel art. Before committing to a tool, test whether you can steer the output toward the style your project needs. Tools that accept reference images give you far more control than tools that rely on text prompts alone.
Scene and shot management
A useful tool should let you manage multiple scenes within one project: reorder shots, edit descriptions, regenerate individual scenes without redoing the whole video, and maintain consistent characters across scenes. This project-level thinking is what separates production tools from single-shot generators. If every scene is an isolated generation, your video will feel like a collection of clips rather than a story.
Character consistency
Consistency is the make-or-break feature for narrative animation. If the main character changes appearance between scenes, the story falls apart. Look for tools that support reference images or character sheets, so you can define the protagonist once and keep them recognizable across the entire video. Some tools also offer voice consistency, keeping the same synthetic voice from scene to scene.
Audio integration
Animation without sound feels incomplete. The best workflows integrate voiceover, music, and sound effects into the same pipeline, so the final export is a finished video rather than a silent draft. Check whether the tool generates voiceover from your script, supports multiple languages, and lets you add music and effects. If not, plan to add audio in your editor, which is perfectly viable but adds a step.
Building a script that animates well
Text-to-animation tools are only as good as their input. A script written for a traditional pitch deck will not animate well; a script written for the ear and for visuals will. Use short, concrete sentences that describe what the audience sees and hears. Avoid abstract language that gives the model nothing to visualize. Break the story into clear beats, one per scene, and describe the action, the location, and the emotional tone of each beat.
Write with visual verbs: "a robot walks into a workshop", "the sky darkens as a storm approaches", "a character opens a letter and smiles". The more specific the visual language, the less the model has to invent. You can also include style notes in the script, like "warm color palette" or "stylized 2D with thick outlines", as long as your tool passes those notes through to the generator.
A useful trick is to read your script aloud as you review it. If a sentence is hard to say, it will likely be hard to animate: the model has to invent visual meaning for abstract words. Rewrite until every sentence can be visualized in a single image. This habit improves both the voiceover and the visuals, because the same clarity that helps a narrator helps a video model.
A production workflow in six steps
Step one: write the script. Draft the story with clear scene beats and visual language. Decide the runtime, because every scene costs generation time.
Step two: break down the scenes. Divide the script into individual shots, each with a description, a location, and a desired style. This breakdown becomes the backbone of the project.
Step three: lock the visual style. Create or choose reference images for the characters and the overall look. Test the style on one scene before generating the rest.
Step four: generate scene by scene. Work through the shots in order, reviewing each preview before moving on. Regenerate weak shots immediately, while the context is fresh.
Step five: add audio. Generate or record the voiceover, choose or generate the music, and add sound effects. Sync everything to the cut.
Step six: final review and export. Watch the full video, check consistency across scenes, fix any remaining issues, and export in the format your platform requires.
Using model diversity to your advantage
No single model does everything well. Smart creators combine models within one project: a strong image model for keyframes and character design, a video model that excels at motion for dynamic scenes, and an audio tool for the soundtrack. The challenge is keeping everything consistent, which is where reference images and character sheets earn their keep.
If you are just starting, pick one integrated tool and learn it deeply before mixing models. The integrated pipeline is faster to learn and fewer things can break. As your projects grow more complex, add specialized tools one at a time, always testing that the output still matches your style and characters.
As a rule of thumb, budget more review time than generation time. Generation is fast; catching the weak shots, fixing consistency, and polishing the cut is where the real production happens. Plan your day around review passes, not around queuing renders.
Case study: an explainer video in half a day
Here is what a realistic text-to-animation project looks like. A software startup needs a ninety-second explainer for its landing page. The script explains the problem, the solution, and a call to action in three beats. The creator writes the script in the morning, using concrete visual language: "a user opens a dashboard with cluttered tabs", "the tabs merge into one clean timeline", "a message confirms the export is complete".
The storyboard pass splits this into nine shots. The creator locks a clean, flat-design style using one reference image and a character sheet for the simple user avatar. Scene generation takes the bulk of the afternoon: each shot is generated, reviewed, and regenerated when the motion feels stiff or the avatar drifts off-model. The most difficult shot, the tabs merging into a timeline, is handled by generating a first frame and a last frame and letting the model animate the transition. By late afternoon, the visuals are done. Voiceover is generated from the script, music is chosen from a library, and sound effects are added on the key transitions. The final export is ready before dinner.
The same project, using traditional animation pipelines, would have required a designer, an animator, and several weeks. Not every project can be compressed this aggressively, but explainers, ads, and social content absolutely can, and the quality gap is closing fast.
Common pitfalls and how to avoid them
The first pitfall is expecting perfection on the first pass. AI animation is iterative; plan for several rounds of review and regeneration, and budget time for it. The second is ignoring consistency: without reference images, your characters will drift, and the result will look unprofessional no matter how beautiful each shot is. The third is overloading the prompt: too many instructions in one scene confuse the model, and the output becomes a compromise. Keep scene descriptions focused on the essentials. The fourth is skipping audio: a silent animation feels unfinished, and adding sound at the end is harder than planning it from the start.
Frequently asked questions
Can AI animation really replace a studio? For many types of content, yes. Explainer videos, social media animation, ad creative, and short stories are all within reach of a solo creator using the right tools. High-end cinematic animation still benefits from human artists, but the gap is closing.
Will AI animation make human animators obsolete? No, but it will change their role. Animators who direct AI tools, control style, and handle the parts models still fail at will be in higher demand. The bottleneck shifts from drawing to art direction.
How do I keep the same voice and style across many videos? Build a reusable project template: character sheets, style references, voice settings, and music picks saved in one place. Start every new video from the template instead of from scratch.
What is the best length for AI animation projects? Short pieces, thirty to ninety seconds, are the sweet spot today. Longer videos are possible, but each additional minute multiplies the risk of consistency drift and the time spent reviewing. Master short-form first, then extend.
How long does it take to produce a short animated video? With an integrated tool, a one-minute video can go from script to finished draft in a few hours. The exact time depends on the number of scenes, the complexity of the style, and how many iterations you need.
Do I need drawing skills? No. The tools generate the visuals; you provide the script and the art direction. Basic design sensibility helps, but drawing ability is not required.
Is the output usable for commercial projects? Yes, but check the licensing terms of each tool. Most commercial tools grant usage rights for monetized content, while some free or open-source tools have restrictions.
What about copyright? You are responsible for the script and for any reference images you feed the tool. Keep the content original, avoid copying existing characters, and read the tool's terms on ownership of generated output.
The bottom line
Text-to-animation tools have democratized a craft that was once reserved for well-funded studios. The pipeline is still a craft, but the bottleneck has shifted from drawing and rendering to writing and directing. Creators who write scripts with visual clarity, lock their style early, manage scenes as a project, and plan audio from the start can now produce animated content at a pace that was impossible just a few years ago. The tools are only getting better, and the creators who build solid workflows around them today will have a durable advantage as the technology continues to evolve.
