

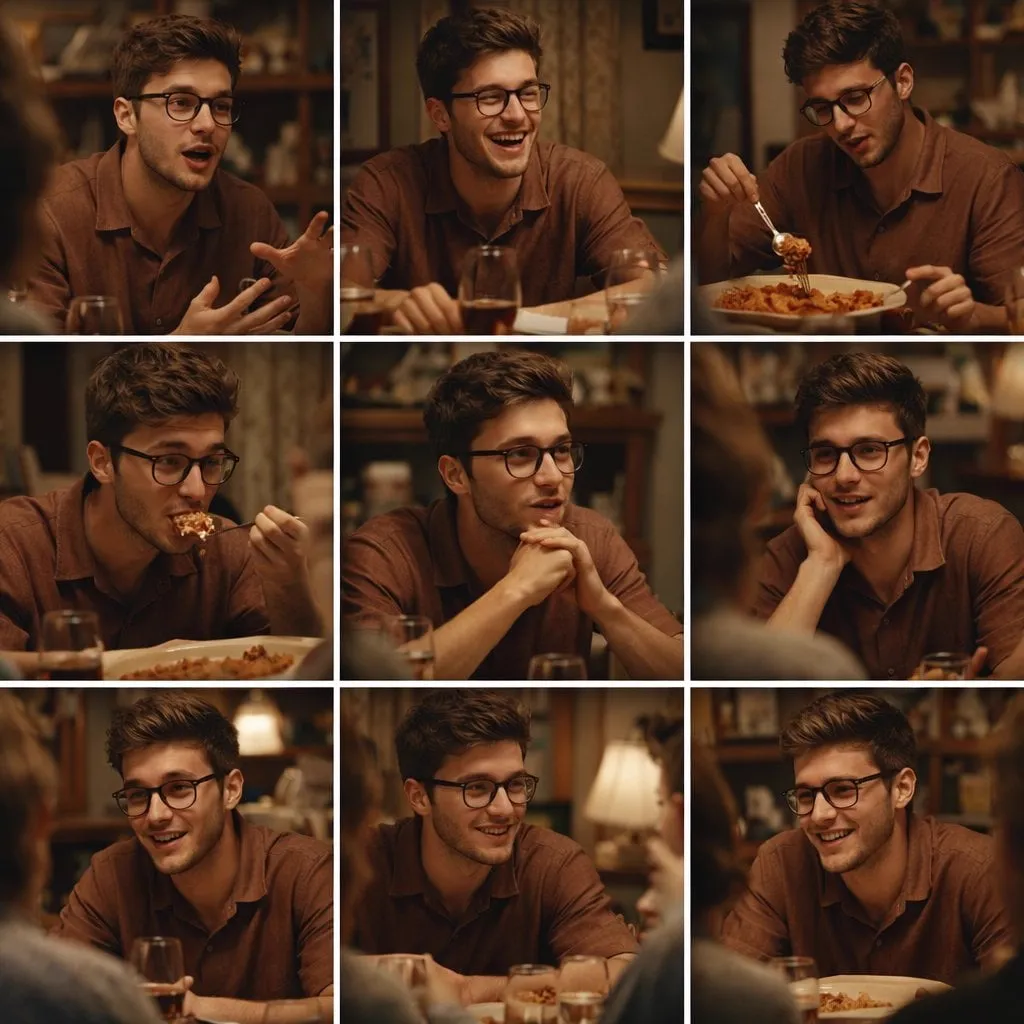
An online AI image generator turns a sentence into a picture in seconds. Type "a wooden cabin in a snowy forest at dusk, warm light in the windows", and you get exactly that — usually in four variations, ready to refine. The capability has moved from novelty to daily tooling for marketers, designers, and hobbyists. This guide covers the practical side: how these tools work, how to choose one, how to write prompts that actually deliver, and how to turn a first draft into a finished image.
What Is a Text-to-Image Generator?
A text-to-image generator is a machine-learning system that takes a written description — a prompt — and produces an image that matches it. The modern generation of tools is powered by diffusion models, which start from random noise and iteratively refine it toward the description. The result is that the same prompt can produce many different images, because the starting noise is different each time.
The practical implication is simple: generation is a search, not a single attempt. The skill is not writing one perfect prompt; it is writing a good prompt and then iterating through variations until one result matches your intention.
How These Models Actually Work
You do not need a computer science degree to use these tools, but a mental model helps you debug failures instead of getting frustrated by them.
From Text Tokens to Pixels
The model first converts your words into a numerical representation — a way of encoding meaning that the image side of the model understands. This is why word choice matters: "cabin" and "house" encode differently, and "cozy cabin" encodes differently again. The image side then uses that representation to guide the refinement from noise toward a picture. Every stage of the process involves statistical prediction, which is why the results are plausible rather than exact.
Why the Same Prompt Gives Different Results
The starting noise is random, so the same prompt produces different images each time. This is a feature: it gives you a free set of variations. It also explains why chasing a single exact result with the same prompt is a dead end. The effective approach is to generate several variations, pick the closest, and then refine — either by adjusting the prompt or by editing the image directly.
The Best Use Cases Right Now
Text-to-image tools shine in four areas:
- Concept exploration: testing visual directions for a brand, a product, or a campaign before committing to production.
- Content production: social media visuals, blog illustrations, and ad creatives produced at volume.
- Personal projects: portraits, wallpapers, gifts, and art experiments that would require real skill or real money otherwise.
- Foundation for further work: generated images used as references, backgrounds, or starting points for video and design.
The common thread is speed and iteration. These tools do not replace a designer; they replace the slow parts of visual exploration.
Choosing the Right Tool
The market is crowded, and the "best" tool changes often. Decide by your use case, not by hype.
Quality vs Cost
Free tiers are excellent for testing and light work, but they often cap resolution, add watermarks, or throttle speed. Paid tiers change the economics once you produce regularly. For commercial work, check the license terms before you rely on a tool: some allow commercial use on all plans, others restrict it to paid plans.
Speed vs Control
Some tools emphasize raw speed — great for exploring many ideas quickly. Others emphasize control: consistent characters, precise styles, image editing, and multi-reference fusion. If you need a specific character to appear across many images, control features matter more than speed. If you need a hundred thumbnail ideas, speed wins.
Writing Prompts That Work
Prompting is a skill, and it is learnable. The structure that works most reliably:
Structure: Subject, Context, Style, Details
A complete prompt names the subject, places it in a context, sets a style, and adds detail. Compare:
- Weak: "a dog"
- Better: "a golden retriever sitting on a dock at sunset"
- Strong: "a golden retriever sitting on a wooden dock at sunset, lake reflections, warm golden light, photorealistic, shallow depth of field"
The strong version works because every added phrase narrows the search space. You do not need a paragraph; you need the phrases that matter for your intent.
Negative Prompts and Parameters
Most tools let you specify what you do not want: "blurry, extra fingers, watermark, text". Negative prompts are especially useful for avoiding the classic AI artifacts. Parameters like aspect ratio, resolution, and seed give you control over the output format and reproducibility. A fixed seed lets you reproduce a result and tweak it slightly — useful when you find something close to what you want.
Iterating From Draft to Final
The first generation is rarely the final image. The iteration loop: generate four variations, pick the best, adjust the prompt based on what is wrong (too dark? add "bright, high-key lighting"; wrong mood? change the style words), and regenerate. Three or four loops usually land close to the target. The discipline is to change one thing per loop, so you know what caused the improvement.
Refining and Editing Generated Images
Prompt iteration has limits. When the composition is right but the details are wrong, switch to editing: inpainting to replace a region, outpainting to extend the canvas, upscaling for resolution, and background removal for clean cutouts. The efficient workflow uses the generator for the concept and an editor for the finish. Most good final images are a hybrid of generation and editing, not a single perfect generation.
Prompt Patterns That Consistently Work
Certain prompt patterns survive across tools and models. Learn them once, adapt them everywhere.
The Portrait Pattern
Subject + expression + lighting + style. Example: "portrait of an elderly sailor, weathered face, soft window light, painterly style". Portraits improve fastest when you control lighting words, because lighting is what separates a flat render from a characterful one.
The Product Pattern
Product + context + angle + studio treatment. Example: "minimalist water bottle on a stone pedestal, soft gradient background, 45-degree angle, studio product photography". The context word ("on a stone pedestal") does more work than adding more adjectives to the product itself.
The Landscape Pattern
Scene + time of day + weather + focal point. Example: "mountain lake at dawn, thin mist, a single rowboat near the shore, ultra-wide". Time and weather set the mood; the focal point gives the composition a subject.
The Character Sheet Pattern
For consistent characters: "character reference sheet, full body, front and side views, neutral expression, consistent outfit, flat background". Character sheets are the standard input for keeping a person or creature consistent across multiple images — generate the sheet first, then reuse it as a reference.
When to Break the Pattern
Patterns are a starting point, not a cage. The most interesting images often come from violating one element: an impossible perspective, an unexpected material, a style mashup. Use the pattern to get a strong baseline, then break one thing deliberately and see what happens.
Batch Generation Strategy
When you need many images — a campaign set, a storyboard, a content calendar — do not generate one at a time. Plan a batch: define the shared elements (style phrase, palette, character references), write all prompts first, then generate. Batch generation reveals inconsistencies early: if two images in the same batch disagree on a color or a character trait, fix the shared elements before going further. The discipline of treating a batch as one project, not many individual tries, is what makes a set feel cohesive.
Keeping a Prompt Log
The cheapest professional habit is a prompt log: every prompt you run, the settings, and what worked or failed. Within a few weeks the log becomes your personal playbook, and you stop re-deriving solutions you have already found. When a new tool appears, the log tells you which of your patterns to port over first.
Practical Workflows
For Marketers
Generate a batch of ad creative variations, keep the ones that match the brand kit, and test them against each other. Use consistent style phrases in every prompt so the batch looks like one campaign. Keep the brand colors in the prompt or add them in post.
For Designers
Use generation for mood boards and concept directions before moving to real design tools. Generated images make excellent reference material for illustration, packaging, and web design — they communicate a direction faster than words.
For Hobbyists
Treat the tool as a sketchpad. The low cost of generation makes experimentation free: try wild styles, mash up ideas, and discover directions you would not have considered. Keep the images you like, and study why the prompts that worked did work.
Resolution and Format Decisions
Decide the output format before you generate, not after. Most platforms display images at fixed sizes, and generating at the target resolution avoids re-rendering. If your tool supports it, generate larger and downscale — a sharp downscaled image beats a native low-resolution one. For print or large displays, generate at the highest resolution your tool allows and check the details at full zoom. For web and social, match the platform's standard sizes and export in a compressed format that keeps quality. The format decision is boring and mechanical, which is exactly why deciding it once saves time on every later project.
For Educators and Students
Text-to-image tools are excellent for teaching visual thinking: students can describe a concept, generate it, and compare the result against the description. Use generation to illustrate lessons, create study visuals, and prototype project ideas. The same discipline applies — structured prompts, iteration, and a record of what worked — and it transfers directly to any other creative tool.
Common Beginner Mistakes
- Prompting for everything: too many details dilute the intent. Focus on the phrases that matter.
- Giving up after one generation: the first result is the first search result, not the answer. Generate variations.
- Ignoring the license: using a free-tier image commercially when the license forbids it is a real risk. Check before shipping.
- Judging at thumbnail size: AI artifacts hide at small sizes. Always inspect the full-resolution output.
- Skipping editing: expecting one generation to be perfect. Plan for generation plus refinement.
FAQ
Do I need artistic skill to use an AI image generator?
No. The skill that matters is direction: knowing what you want and being able to describe it. Artistic judgment helps at the selection and editing stages, but the tool does the drawing.
Are the images free to use commercially?
It depends on the tool and the plan. Read the license terms for the specific tool and tier you use. When in doubt, assume the more restrictive reading and check with the provider.
Why do hands and text look wrong?
Diffusion models are weakest at high-frequency structured details like fingers and letterforms. Mitigate with negative prompts, better phrasing, and targeted editing for the final image.
How do I get the same character across many images?
Use tools with character-consistency or multi-reference features. Upload a reference set, lock the identity, and keep the same style phrases across prompts.
What is the difference between an image model and a video model?
Image models generate static pictures; video models generate sequences with motion. Many video workflows start from images — a generated still becomes the first frame or a reference for the video.
What resolution should I generate at?
Generate at the native resolution of your final use: social images rarely need more than 2048 pixels on the long edge, while print and large displays need the maximum the tool offers. Generating larger than needed and downscaling usually produces a crisper result than upscaling a small image.
The practical takeaway: a text-to-image generator is a search tool with a natural language interface. Write a structured prompt, generate variations, iterate with intent, and finish with editing. Master that loop, and the image you have in your head becomes the image on the screen — not by magic, but by process.
