
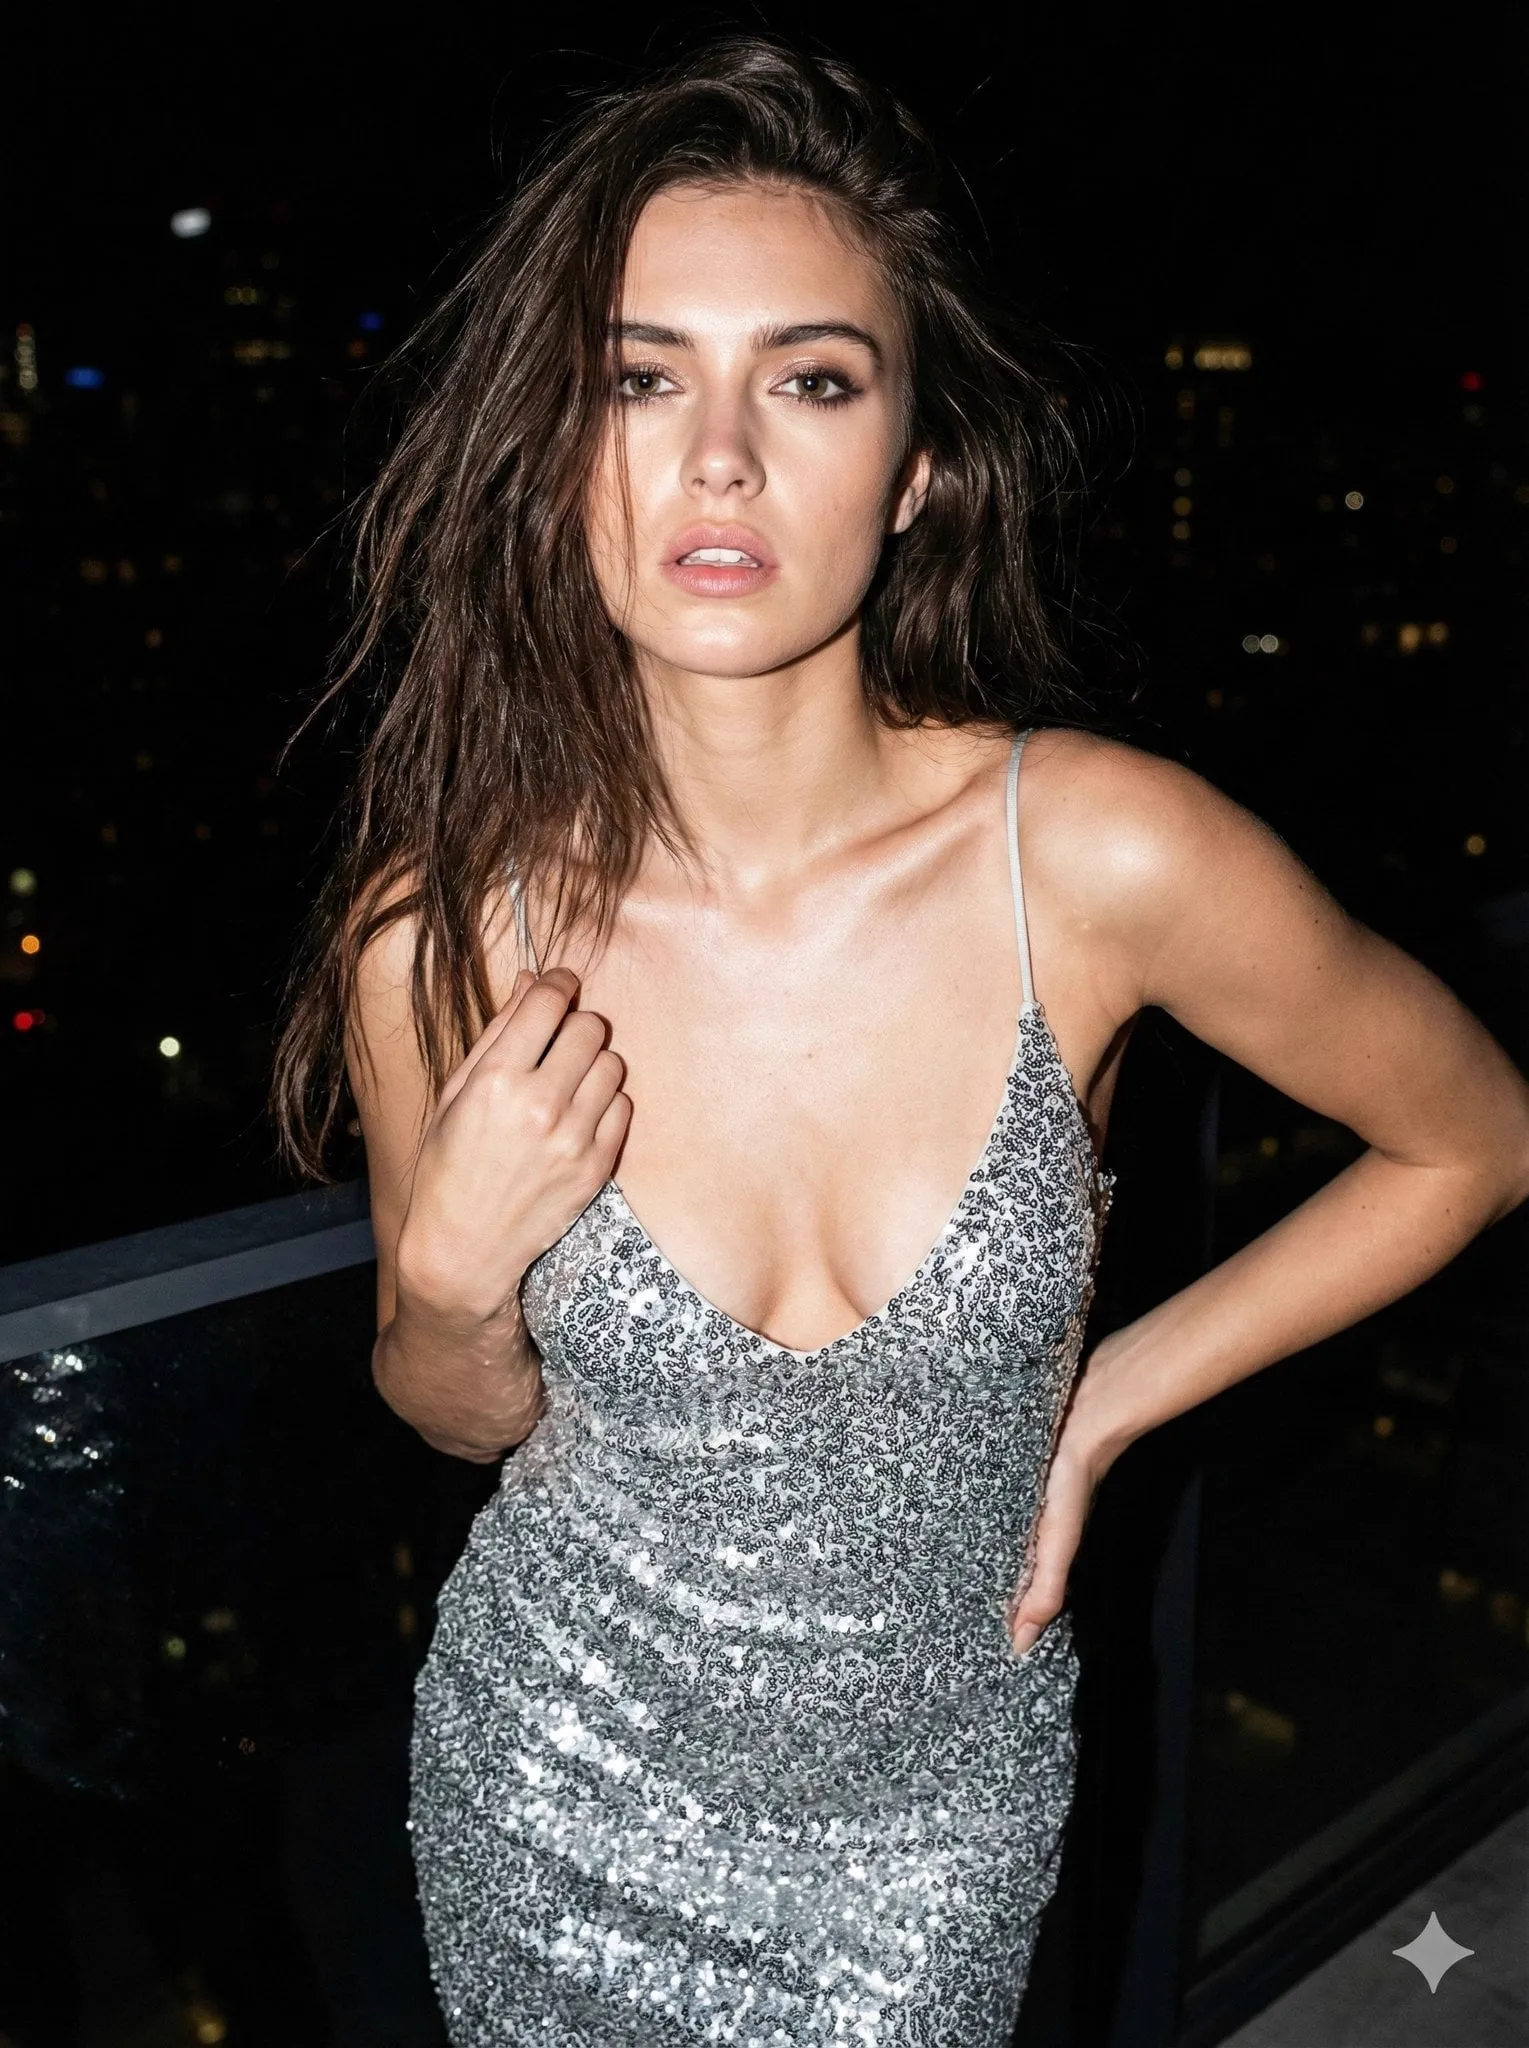
The first time you type a sentence and a moving image appears, it feels like magic. That feeling fades quickly, though, when you realize not every clip is worth keeping. Some videos are sharp, controlled, and exactly what you imagined. Others drift, warp, or miss the tone entirely. The difference rarely comes down to luck.
Text-to-video has grown from a curiosity into a production tool that thousands of creators rely on every day. But it is also a tool with limits, and knowing those limits matters as much as knowing your way around a prompt. The models behind it are not all the same. Some prioritize photorealism, some excel at stylized animation, some handle motion better, and others let you steer the shot with unusual control.
This guide is about pushing the limits of text-to-video without wasting your time. You will learn how video models think, how to choose the right model for a project, how to write prompts that get closer to your intention, and how to work around common weaknesses instead of fighting them.
The goal is not to master one tool, but to understand the landscape well enough that you can pick the right approach for every job — and know when a model is the wrong fit before you spend hours on it.
What text-to-video models can and cannot do
Before choosing a model, it helps to be honest about what text-to-video does well and where it struggles. The strongest results come from short, single-subject scenes with a clear action: a person walking through a market, an object floating in light, a landscape under moving clouds. In these cases, models produce smooth, coherent clips quickly.
The challenges appear with longer and busier scenes. Multiple interacting subjects, complex physics, rapid changes in motion, and precise timing all strain current models. Hands and small details, fine text in the frame, and sudden camera moves are classic weak spots where results wobble or distort.
None of this means text-to-video is unreliable. It means you should design around the strengths. Break a big idea into simpler shots, keep the subject count low, and avoid asking the model to do more than it handles well. Work with the tool's limits, and the limits stop mattering.
How the major model families differ
The video model landscape divides into a few broad families, each with a personality worth knowing. Some models chase photorealism, producing near-lifelike footage of people and real places, which suits commercials, cinematic scenes, and realistic storytelling. They often come with a higher compute cost and a need for careful prompting to avoid uncanny results.
Stylized and anime-oriented models aim for a consistent, often hand-drawn look. They are forgiving of the inaccuracies that break photorealism, because the stylization carries the image. They shine for character-driven shorts, music videos, and anything where a signature aesthetic matters more than realism.
Between these, a middle group balances quality, speed, and control. Some let you steer composition and motion with reference images or extended controls, while others favor raw output speed for experimentation. Knowing which family your model belongs to tells you what to expect and how to prompt.
Matching the model to your project
Do not pick a model by popularity alone. Match it to the job. For a product commercial where buyers must trust the realism of the item, lean toward a photorealistic model and give it clean, well-lit references. For a branded cartoon series, choose a stylized model and lock its aesthetic from the start.
For fast ideation, such as testing ten rough concepts before committing, favor a faster model so you can iterate cheaply. When you find the concept you like, switch to a higher-quality model for the final pass. Splitting ideation and finishing between different tools saves time without sacrificing polish.
Control is another axis. If you need precise composition, frame-by-frame direction, or strict character consistency, pick a model that accepts reference images and advanced controls rather than a simple text-only option. The extra setup pays for itself in fewer retries.
Writing prompts that control more than style
A common mistake is describing only what you see in your head and hoping the model fills in everything else. A stronger prompt controls motion, camera, and timing as well. Say what moves and how, and say how the camera behaves, since those choices define how the shot feels.
Use concrete motion verbs: "drifts," "sweeps," "rises," "collides," and pair them with an object. "Leaves drift across the courtyard" gives the model a clear physical action, while "a peaceful courtyard" leaves motion undetermined. The more you specify how, the less the model has to guess, and guessing is where chaotic results come from.
Camera language is your direct route to cinematic feel. Describe the shot type and movement: "slow dolly in," "static wide," "handheld close-up." Models trained on these terms connect them to visual reference, so a small vocabulary of camera terms gives you disproportionate control.
Controlling motion, camera, and timing
Beyond motion verbs, you can steer the feel of the clip with timing language. A "slow, drifting push toward the subject" reads very differently from a "rapid whip pan." If you want a calm, observational mood, describe slow stable movement. For energy and urgency, describe faster, more abrupt moves.
Composition matters too. Mention negative space, framing, and depth: "the subject sits low in the frame with a wide sky above." Compositional instructions reduce the model's tendency to center everything and give your shots a more considered, designed look.
Duration and pacing are the hardest to control purely with text, because time is compressed in generation. In practice, generate the action you can, then handle pacing in editing. Text-to-video gives you strong single clips; editing gives you rhythm. Use each where it is strong.
Working with reference images
Reference images dramatically expand what you can control. Instead of describing an appearance or a composition entirely in words, you supply a visual anchor. This is invaluable for character consistency, for keeping a product's branding accurate, and for preserving a specific setting across multiple shots.
Treat references as a shared contract with the text. The image handles the stable details: who, what, what the space looks like. The text supplies the changeable details: the action, the mood, the arrangement. When the two agree, the results are far more consistent.
Keep references clean and unambiguous. A well-lit, sharply focused subject against a simple background transfers far more reliably than a busy, dimly lit scene. Prep your source material with the same care you give your prompt.
Mixing models in one project
Few projects need to be entirely one model's job. A realistic establishing shot from one model can open a sequence, while a stylized series of scenes from another carries the story. Mixing intentionally gives you more good options than committing to a single look.
The risk of mixing is visual inconsistency. Mitigate it by standardizing the things you control: consistent color grading in editing, matching light direction described in prompts, and unified framing. Small shared elements between clips help them read as one piece.
Let the model sit where it is strongest. Use photorealism for scenes that demand trust, stylization for scenes that demand a look, and speed for the exploratory parts. A workflow that routes work to the right tool beats a single model stretched across every task.
Steering for speed versus quality
Every project involves a speed-versus-quality trade-off. For rough drafts and creative exploration, bias toward speed. Generate fast, review quickly, and let yourself discard half the results without guilt. The cheap iterations are where you discover what you like.
For the final output, bias toward quality. Take the time to use higher-fidelity models, reference images, and refined prompts. A single well-crafted final pass usually outperforms many rushed attempts at the same result.
Build the habit of asking which stage you are in for each clip. If it is exploratory, do not polish; if it is final, do not rush. Keeping the two stages separate protects both your time and your quality.
A practical decision workflow
Here is a sequence you can reuse. First, name the goal of the shot: sell, explain, evoke, or capture attention. Next, choose a model family that fits, photorealism for realism, stylized for a look, balanced for versatility. Then set the controls you need, whether that is references, camera language, or just text.
Draft a prompt covering subject, action, camera, and light. Generate a fast draft, review against your goal, and refine the failing layer only. Once the draft is close, switch to your high-quality pass with references and polish. Finally, assemble clips and match grade in editing.
This workflow is not rigid, but it keeps you from skipping the decisions that shape the result. Choosing a model, setting controls, and reviewing with intent are what turn text-to-video from a gamble into a craft.
Frequently asked questions
Why does text-to-video struggle with hands and detail? Models infer these from training data, and the physics of hands is hard to learn perfectly. Favor larger, cleaner depictions and design shots that hide problematic details.
Should I always use the highest-quality model? No. That wastes time and cost on stages that do not need it. Reserve the best model for the final pass and iterate cheaply earlier.
How do I keep clips consistent across a project? Use consistent references, matching light and color descriptions, and uniform grading in editing. Small shared elements make separate clips read as one piece.
Can I fix a bad clip, or should I regenerate? Usually regenerate with a targeted change is faster than heavy editing. Identify the failing layer, adjust only that, and retry.
Conclusion: know the tool, then break its limits
The limits of text-to-video are real, but they are not walls. They are constraints you learn to work around the same way photographers work around light or writers work around the blank page. Understanding the model is what turns a frustrating tool into a reliable one.
Start with a small set of models you know well instead of trying every option. Learn how each one reacts to prompt structure, motion, and camera language. Build your own playbook of prompts that work, and reuse it.
Pushing the limits is not about demanding the impossible from a single generation. It is about learning what each tool is good at, combining your options, and knowing when to accept a good clip and move on. Master that rhythm, and text-to-video stops being an experiment and becomes a dependable part of your production workflow.
Building your own prompt playbook
The fastest way to improve with any model is to build and reuse a personal prompt playbook. Instead of starting from scratch each time, keep a small library of prompts that you know produce reliable results, organized by use. A playbook for character shots, one for product close-ups, one for establishing settings, and one for text-based control saves hours and keeps your output consistent.
Record what actually worked, not only what you intended. After each generation, note the prompt, the model, and what made the result good or bad. Over time, patterns emerge: which phrase gives you the motion you want, which model handles your subject best, which camera language reliably produces a calm mood. That accumulated knowledge is more valuable than any single model upgrade.
Refine your playbook as you go. Cut what stops working, update entries as models change, and share the discipline across your team if you have one. A good playbook turns your experience into a repeatable asset, which is exactly what separates consistent creative output from a string of lucky guesses.
Staying current as tools evolve
Text-to-video models move fast, and what works today may shift as models are updated. Build the habit of testing change deliberately: when a model updates, run a small set of your playbook prompts and see what improved or regressed. Update your notes accordingly rather than assuming nothing changed.
Keep an eye on new control features, quality improvements, and speed gains, but try them in your own workflow before adopting them. A feature that looks powerful in a demo may not fit how you actually work. The discipline of testing keeps you current without chasing every headline.
Progress is faster when you keep your methods independent of any single model. Because your playbook, references, and workflow are written as ideas rather than locked to one tool, you can move to better tools as they appear without rebuilding everything. That adaptability is what keeps your production working and growing as the technology matures.
