

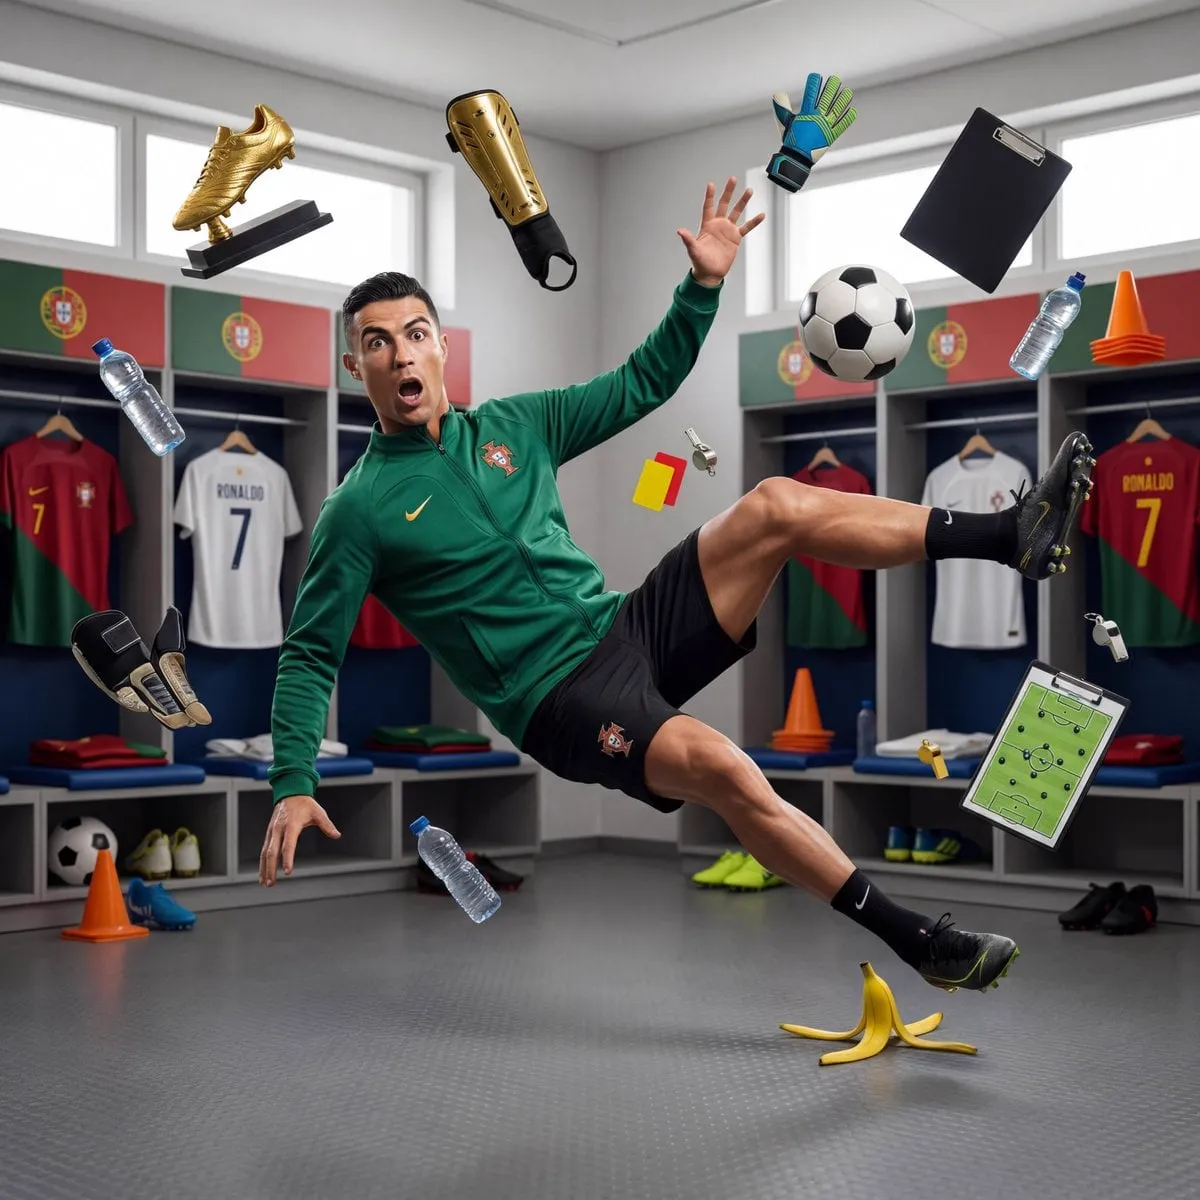

The leap from a single, static photograph to a living, moving scene used to demand either expensive camera rigs or painstaking frame-by-frame animation. Advancements in generative AI have collapsed that gap. Today, with the right tools and a solid workflow, anyone can take a still image and give it believable motion, changing the economics of content creation for creators, marketers and storytellers alike.
Why image-to-video is such a big lever right now
Video outperforms static visuals in nearly every engagement metric. Social platforms reward motion, and audiences, used to endless scrolling, stop for anything that moves with intention. Turning an existing still into a clip lets you reuse assets you already have, whether that is a product shot, a portrait, a landscape, or a piece of concept art.
There is also a creative advantage. A strong still image has already solved composition, lighting and mood. When you animate it, you keep those winning choices and simply add motion. That is far more controllable than generating a moving scene from a purely abstract text prompt, because you constrain the model with concrete visual anchors.
Choosing the right model for the kind of motion you want
Every model has its own strengths in animation. Some excel at natural human movement; others handle camera pans and zooms gracefully; others are best at subtle, dreamlike shifts. Rather than expecting one tool to do everything, match the model to the scene you are building.
For scenes with people walking, running or interacting, reach for models with strong temporal coherence and lifelike body physics. For a slow cinematic push-in on a landscape, a model that handles camera motion smoothly is a better fit. If your image is in a stylized or animated look, pick a model that respects that aesthetic instead of drifting toward photorealism.
The important principle is specialization. Test a couple of models on the same input image, compare how each one moves, and pick based on the result rather than on habit. Building a short list of go-to models for common motion types is a practical way to speed up your workflow.
Keeping characters consistent across many frames
The biggest technical hurdle in image-to-video is consistency. If a character appears in several shots, their face, hair and clothes must stay recognizable. Without an anchor, models tend to redraw details differently every time.
Multi-reference fusion is the most reliable fix. Gather several images of the same character taken from different angles, ideally with matching outfits and styling, and pass them to the model as reference material. The model consolidates these into a stable visual identity that it can reuse from frame to frame.
Keyframing is another useful technique. By fixing a few decisive frames in your sequence and letting the model connect them, you guarantee that the turning points of the scene look the way you intend, while the model fills in the motion between them. Between multiple references and clear keyframes, even long sequences stay coherent.
A practical workflow for animating a still
Start clean. Make sure your source image is high-resolution and has no distracting artifacts, since the model will faithfully amplify whatever is in the frame, including noise.
Next, define the motion you want. Write a short, concrete prompt: the direction of movement, the camera behavior, and anything that should stay still. Ambiguity is the enemy, so describe exactly what should move and what should hold.
Then generate a first batch with a few different seeds. Review them side by side, then lock in the best one. If a character appears multiple times, save the winning still as a reference for the next shot so continuity builds across the sequence.
Finally, iterate section by section rather than trying to perfect the whole video at once. Small, focused passes produce cleaner results than one giant generation.
Animating for different purposes
Your goal shapes your choices. For social media, short clips with an immediate hook and a quick payoff tend to perform best, so keep the motion obvious in the first moments. For e-commerce, product shots benefit from subtle, elegant motion that shows the item from a flattering angle without overwhelming it. For cinematic storytelling, prioritize atmosphere and pacing over spectacle, letting slow, deliberate moves build mood.
For narrative work, character-driven consistency matters even more. Reusing the same set of reference images across every shot of a character ties the whole piece together, making it feel like one continuous production rather than a collection of isolated clips.
Turning animated stills into value
Motion alone is not enough; the most successful creators turn animated stills into a repeatable process. One effective model is to build a library of source stills that you can animate again and again. A single archive of product shots, characters and backdrops becomes a reusable asset pool, so creating fresh content is fast and cheap.
Another angle is niche verticals. Certain topics, like luxury goods, travel, or stylized art, reward high-production polish. By specialising in a niche and delivering consistently refined animated content, you can build an audience that returns specifically for that aesthetic, which is a strong foundation for monetization through sponsored content, licensing or commerce.
Treat your animated output as a portfolio. Each clip you create demonstrates your taste and technical control, and over time that body of work is a credential that opens doors to client work and partnerships.
Advanced techniques to push quality further
Once you have a dependable base workflow, a few advanced techniques can take your results from good to impressive.
Motion control is one of them. Instead of describing motion only in words, you can sometimes steer it with external guidance: a short reference clip that shows the kind of movement you want, or carefully chosen keyframes that fix the important poses. This gives the model a much clearer picture of the intended physics and pacing, especially for complex actions like dancing, running, or a character reacting to something off frame.
Another is camera language. Deciding between a handheld feel, a smooth dolly shot, or a locked tripod frame changes the mood entirely. Handheld movement adds energy and documentary realism; slow dolly moves feel deliberate and cinematic; a locked frame gives the subject stillness and weight. Specify the camera behavior in your prompt and it will read as a deliberate creative choice rather than an accident.
Finally, think in passes rather than one-shot perfection. Generate a version to establish the overall story, then a refined pass focused on detail, and where needed a targeted correction pass on specific frames. This layered approach is more predictable and cheaper than endlessly retrying the full sequence.
Building a reference library
Your best asset over time is a curated collection of images, prompts and settings that you know work. Create a folder for each project and a master archive for reusable elements: character sheets, environments, lighting styles, and motion references.
When you find a prompt that reliably produces a certain look, save it with a note about the model and parameters. When a character design works perfectly, keep the stills as a reusable anchor. Over weeks, this library turns into a kind of personal vocabulary, letting you start new projects from proven ground instead of from scratch.
This habit pays off most in long-running work. A brand with a fixed visual identity, or a series with a recurring cast, depends on being able to reproduce consistent looks reliably. A well-organized library is what makes that possible.
Planning a shot list before you start
A little planning saves a great deal of wasted generation. Before you begin, write a short shot list for the clip or sequence you want: the subject, the action, the camera move, the mood, and what the shot is for in the wider story.
This does not have to be elaborate. A table with a row per shot, a short description, and a note on the reference stills to use is more than enough. The act of writing it forces you to make choices about composition and motion up front, when they are cheap, instead of discovering them halfway through a frustrating iteration loop.
The shot list also becomes your plan for batching. Because you know which shots share a similar style or subject, you can group them and adjust the model, references, and settings once per group, then generate them together. That kind of organization is what lets prolific creators maintain both speed and consistency.
As you gain experience, you will get faster at this planning step. But skipping it entirely is never faster in the long run. A short checklist before any real project is a habit with an excellent return on time.
Working with formats and turnaround
Keep practical constraints in mind. Different platforms have different limits on clip length, aspect ratio, and resolution. Decide early whether your content is vertical for shorts, square for feeds, or widescreen for longer formats, and generate in the matching ratio to avoid awkward cropping later.
Turnaround also matters when you are producing on a schedule. Start with lower-resolution drafts to lock the direction, then produce the final, higher-quality version only once you are confident. This staged approach keeps you from paying premium cost on ideas you may discard.
Finally, factor in a visual QC step. Scan every generated clip for warping, flicker, or abrupt changes before it ships. Realizing a flaw after publishing is far more costly than catching it in a quick review pass, and reviewing the whole piece as a single continuous flow is more reliable than judging clips in isolation.
Collaboration and reuse across a team
Image-to-video workflows shine when a small team coordinates around shared assets rather than working in isolation.
Set up a shared space for the reference library, the style guides, and the approved prompts. When one teammate locks a character design or a lighting style, everyone else builds on it, so the output stays consistent no matter who is generating which shot. This is the same principle that keeps a brand campaign looking unified across many hands.
It is also worth defining a short feedback loop. Rather than every designer iterating in private, circulate drafts and standardize the review criteria, such as consistency, motion quality, and alignment with the brief. Clear criteria make reviews faster and less personal, and they help everyone converge on what good looks like.
Finally, reuse is not laziness; it is efficiency. A library of validated assets means new clips are variations of something already approved, which cuts iteration dramatically and keeps quality stable. Teams that institutionalize this motion library see big gains in both speed and consistency over time.
Common mistakes and fixes
Over-animating is a frequent error. More motion is not better; excessive movement can look chaotic and cheap. Start subtle and only add intensity if the scene truly benefits.
Ignoring the source image quality is another classic pitfall. A mediocre source produces a mediocre clip. Clean your stills before animating them.
Mixing too many styles in one project also hurts. If you switch models casually from shot to shot, characters and lighting drift. Choose a coherent set of tools and references and stick with them for the whole project.
Finally, don't skip the final review. Even reliable models occasionally produce warping or flicker. A quick pass, catching and fixing problematic frames, makes the difference between amateur and professional output.
FAQ
Can I animate any image?
Almost any clean, sharp image works. Images with clearly defined subjects and simple backgrounds tend to animate better than cluttered ones.
Do I need a high-end machine?
Not necessarily. Many capable models run as cloud services, so you can get strong results from an ordinary laptop.
How do I keep the same character across clips?
Build a set of consistent reference images and reuse them for every shot, combined with clear prompts and keyframes.
Is image-to-video expensive?
Costs vary widely by platform and model. Efficient workflows that reuse references and avoid wasteful regeneration keep budgets low.
Wrapping up
Image-to-video transformation is one of the most practical entry points into AI video production. It lets you build on assets you already trust, gives you strong control over composition and motion, and fits naturally into everything from social clips to client work. Choose your models deliberately, protect character consistency, and polish each result, and you will turn a library of stills into an ongoing, valuable stream of living content.
