
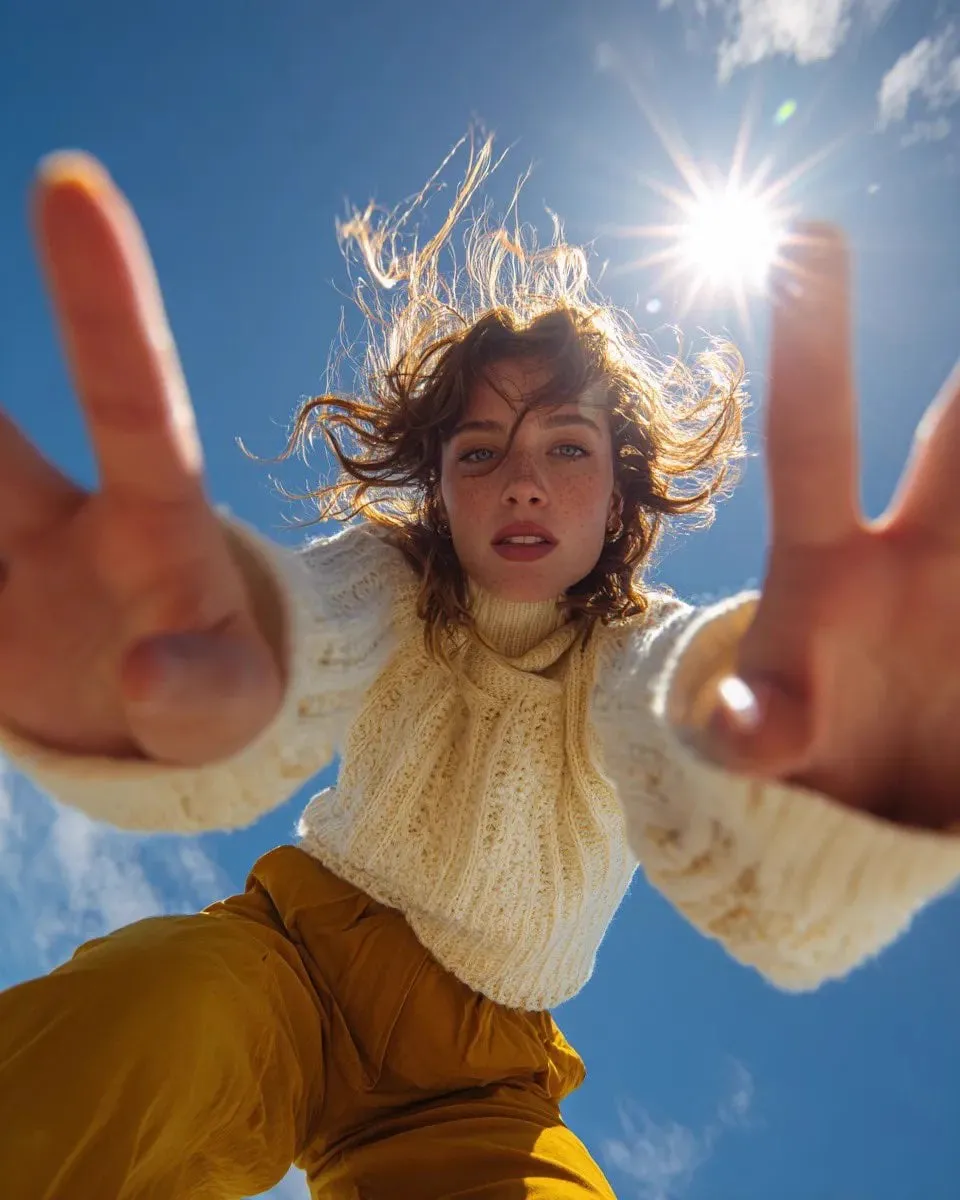
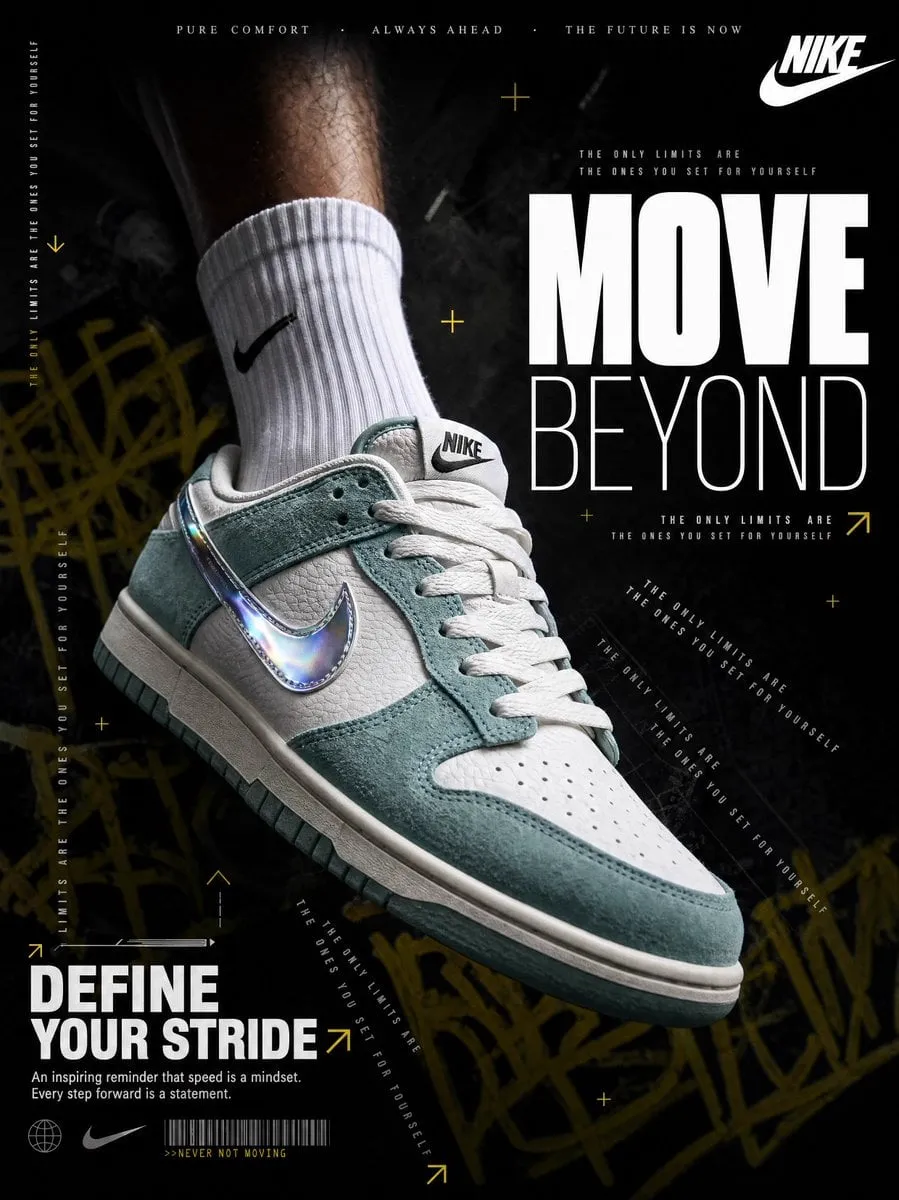
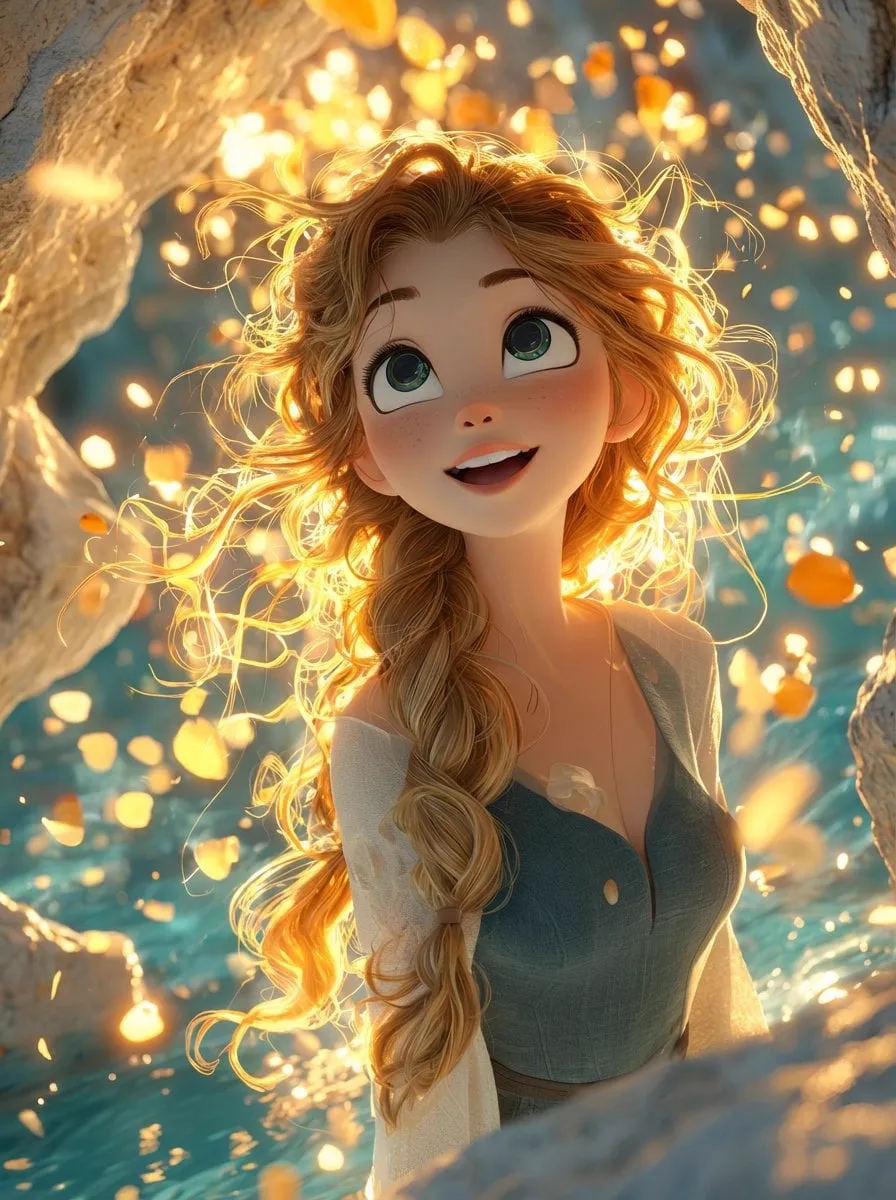
There is a common trap in video generation. You have a stunning image, you feed it into a tool expecting magic, and the result is a stiff, floating, lifeless clip. The picture was beautiful, so why is the motion so disappointing? The answer is usually not the tool. It is the prompt. Making a still image move with cinematic confidence is a craft, and it begins with learning how to describe motion, camera, and consistency in a language the model understands. This guide teaches the high-quality prompting techniques that turn an image into a cinematic video, whether you are an advertiser, a filmmaker, or a social media creator.
Why image to video is different
Text to video starts from nothing and must invent the whole scene. Image to video starts with something you already control: a photograph, a design, a product render, or a frame you love. This is a huge advantage because the subject and composition are already locked. The model's job is narrower. It must add believable motion while preserving what makes the image good. That means the pressure is on your description of how the scene moves, not on what the scene contains.
Preserving the subject is the biggest challenge. A model can take a beautiful image of a person and produce a video where the face subtly transforms, the proportions shift, or the lighting jumps around. This is the classic consistency problem, and it is what makes many image to video attempts feel ruined. The fix is to describe the subject clearly and repeatedly, and to condition the model with a strong reference so it anchors the look across frames.
Understanding this difference changes how you write prompts. Instead of describing what the scene is, you describe what the camera does, how the subject moves, and how the light behaves over time. This shift in focus, from content to motion, is the heart of cinematic prompting.
Writing a prompt for consistent subjects
Consistency has to be a deliberate choice, not a hope. The first step is to give the model a clear, detailed description of the subject so it knows exactly who or what it is preserving. If you want a specific person's face to remain recognizable, that face must be described precisely, and if the tool supports it, locked to a reference image.
Use the same descriptive language every time the subject appears. If you change the wording between scenes, the model has less reason to keep the look stable. Repeating a consistent phrase that names the subject, such as a middle-aged woman with short silver hair and a teal raincoat, anchors every scene to the same character. Consistency in prompt language produces consistency in output.
For products, the same principle applies. A piece of packaging, a watch, or a sneaker should be described the same way across shots so the design detail stays intact. Keep the color, material, and shape language identical. When the object moves, mention that its features remain unchanged, even as the angle or environment changes.
Finally, avoid introducing conflicting details. If one prompt describes warm daylight and the next describes a cool indoor studio, the model may reconcile them in unpredictable ways. Keep the subject, lighting, and atmosphere coherent across the sequence your plan for, so the clips cut together cleanly.
Describing cinematic camera movement
Camera language is where prompts start to feel cinematic. The camera is your narrator, and describing its movement shapes the emotion of every shot. A slow push-in builds intimacy and tension. A slow pull-back reveals scale and context. A lateral tracking shot creates energy and separation. A gentle rise from the ground adds grandeur. Each of these gives the clip a reason to exist beyond its static content.
Be specific about the movement you want. Instead of saying camera moves, say a slow dolly push-in toward the subject, drawing the viewer into the moment. Describing the speed and direction tells the model how much drift to apply and in which direction. Words like slow, deliberate, gentle, or fast, sweeping set the tone of the motion.
Layering motion helps, too. A clip can combine a subtle camera push with the subject turning or a piece of fabric flowing. The more independent layers of motion, the more alive and dimensional the shot feels. But keep the motion controlled. Busy, random camera movement reads as amateur, while restrained, intentional motion reads as professional.
It is worth generating a couple of test clips with different camera behaviors on the same image to see how each changes the feel. This is a fast way to learn which camera language matches the mood you want, and it builds an instinct you will use on every project.
The language of light and post-production
Lighting is the element that separates cinematic frames from snapshots, and it is fully inside your control through the prompt. Describe the quality and direction of the light to shape the mood. Soft, diffused light flattens shadows and feels gentle. Hard, directional light creates dramatic shadow and contrast. Golden-hour warmth feels nostalgic and inviting, while cool, blue tones feel tense or modern.
You can also describe lighting that evolves over time, such as a shaft of light slowly moving across the scene, or a subtle flicker that suggests a candle or a fire. Time-based light descriptions give the model a reason to change the illumination through the frames, which makes the clip feel designed rather than static.
Post-production references belong in the prompt as well. Words about film grain, lens flare, shallow depth of field, and color grading tell the model the aesthetic finish you want. A gentle warm grade with soft film grain gives a nostalgic feel, while a clean, cold, contrasty grade reads as modern and precise. Describing the look, not just the scene, controls the final polish.
A coherent visual style across your whole sequence matters. Choose a palette and grade language and repeat it, so every scene belongs to the same cinematic world. This unity is what makes a series of clips feel like one intentional production rather than a random gallery of shots.
Controlling lighting and technical parameters
Beyond words, most tools expose technical parameters that give you direct influence over the result. Resolution and aspect ratio obviously matter for where the clip will be seen. Motion intensity controls how much the scene moves, useful for keeping a subtle, calm shot or for ramping up energy. Duration determines how long the clip runs, which shapes whether you have a single gesture or a small narrative beat.
Weaving motion strength, camera behavior, and lighting into a coherent set of settings turns the default output into a directed shot. As a rule, start near the defaults, generate one test clip, and adjust one parameter at a time to learn its effect. This disciplined approach prevents you from changing too much at once and losing track of what worked.
It also helps to match the tool's parameter philosophy to your goal. For gentle cinematic b-roll, you want low motion intensity and generous duration. For a snappy social clip, you want shorter duration and slightly stronger, clearer motion. Understanding that parameters are tools for control, not to be left alone, is what elevates your work beyond the defaults.
Building a cinematic workflow from image to finished video
A repeatable workflow keeps the whole process coherent, from the original still to the final cut. It also prevents the aimless experimenting that leads to inconsistent output. Here is a practical five-stage flow.
First, select and prepare your source image. Choose one that is sharp, well-lit, and composed the way you want the video to feel. A good source image is half the battle, because the model preserves its strengths. Crop it to the aspect ratio you need upfront.
Second, write your sequence plan. Decide how the image should be divided into shots, whether you want a single extended take or several distinct scenes, and describe the overarching mood and style that must run through all of them. This plan is your creative brief for the whole sequence.
Third, write and refine your prompts. For each shot, build a prompt that names the subject consistently, describes the camera movement, and specifies the lighting and grade language. Generate test versions and refine the prompt for each clip, using your taste to pull it toward the goal.
Fourth, generate and select. Produce a batch of clips for each scene, then choose the ones that are consistent and that cut together. Generate a few extra candidates so you have options, and do not force an unusable clip into the edit.
Fifth, assemble and finish. Bring the selected clips onto a timeline in the order of your plan, add simple transitions and rhythm, and check that the grading matches across cuts. Add any captions or audio, then export at the correct resolution and aspect ratio. Review the finished piece once and publish.
Working with strengths and limitations of models
A practical dose of realism keeps expectations aligned with what image to video can deliver. Current tools are excellent at adding plausible motion to a clear subject and holding it together over a few seconds. They are less reliable at long sequences, complex interactions, and precise physics, such as a hand gripping an object or water behaving exactly as a fluid. Knowing these boundaries lets you use the tools where they shine and plan around their limits.
For demanding content, keep scenes short and focused. A single subject with one clear action usually succeeds, while a crowded, multi-action scene invites artifacts and drifting. If a sequence needs complexity, break it into separate clips and edit them together rather than asking one generation to do everything. This mirrors how a traditional film is shot anyway, one clean shot at a time.
Model capability also varies by the strength of your source image. A crisp, well-composed still gives the model a solid foundation to animate, while a noisy or cluttered image invites confusion. Investing effort in choosing and preparing the source image is the fastest way to raise the quality of every clip that follows, so never rush that first step.
Troubleshooting common problems
Some issues recur in image to video work, and knowing the fix saves time. If the subject drifts or distorts, strengthen the reference and repeat the subject description more consistently. If the clip feels stiff, increase motion intensity and add a second layer of motion, like flowing fabric or a moving light. If the lighting keeps jumping, describe it as stable and repeat the same light language in every prompt.
If the result feels flat, add contrast and lighting keywords, and describe depth of field to separate subject from background. If the camera feels random, reduce the number of movement terms and commit to one deliberate behavior. If colors drift between clips, lock a consistent grade language across all your prompts.
Most problems trace back to prompting or reference discipline, so fixing one usually means clarifying your instruction. Keep a prompt template with slots for subject, camera, lighting, and style, and reuse it. This routine removes guesswork and makes your workflow dependable.
Creative directions to explore
Once the fundamentals feel natural, image to video opens up creative possibilities. You can bring photographs to life for storytelling, add a shot of subtle movement to a product still for an ad, or transform a piece of artwork into an atmospheric background loop. Each uses the same prompt skills applied to a different end.
For marketers, image to video is a fast way to turn campaign stills into moving assets for social feeds. For filmmakers, it is a way to pre-visualize a scene, animating a concept board to feel the pacing and camera before committing to a real shoot. For artists, it lets them preserve a lovely static work while giving it a life of its own.
The craft scales with your ambition. The same techniques that make a single clip look cinematic carry a longer sequence if you keep the subject, lighting, and style consistent across every shot. You can even combine an animated scene with a voiceover and music to build a complete short film from a handful of images.
Conclusion
The leap from a beautiful still to a cinematic video depends far more on your prompting than on luck. By describing the camera, the motion, and the light, and by keeping your subject and style consistent, you give the model the instruction it needs to produce a directed, professional result. Start from a strong image, write a clear plan, refine each prompt, generate and select deliberately, and assemble with care. The skills are learnable and improve quickly with practice. Very soon, that stiff first attempt will feel like a distant memory, replaced by confident, cinematic work you are proud to publish.
